Step 1: Start by installing the SME Package from AppExchange. For more details about SME Installation, please Click Here.
Step 2: Next, install the SME Pro Package. After the SME Pro Package is activated (contact support if required), ensure the configuration is completed. For assistance, Click Here.
Step 3: Install the DME Package from the AppExchange. For more details about DME Installation, please Click Here.
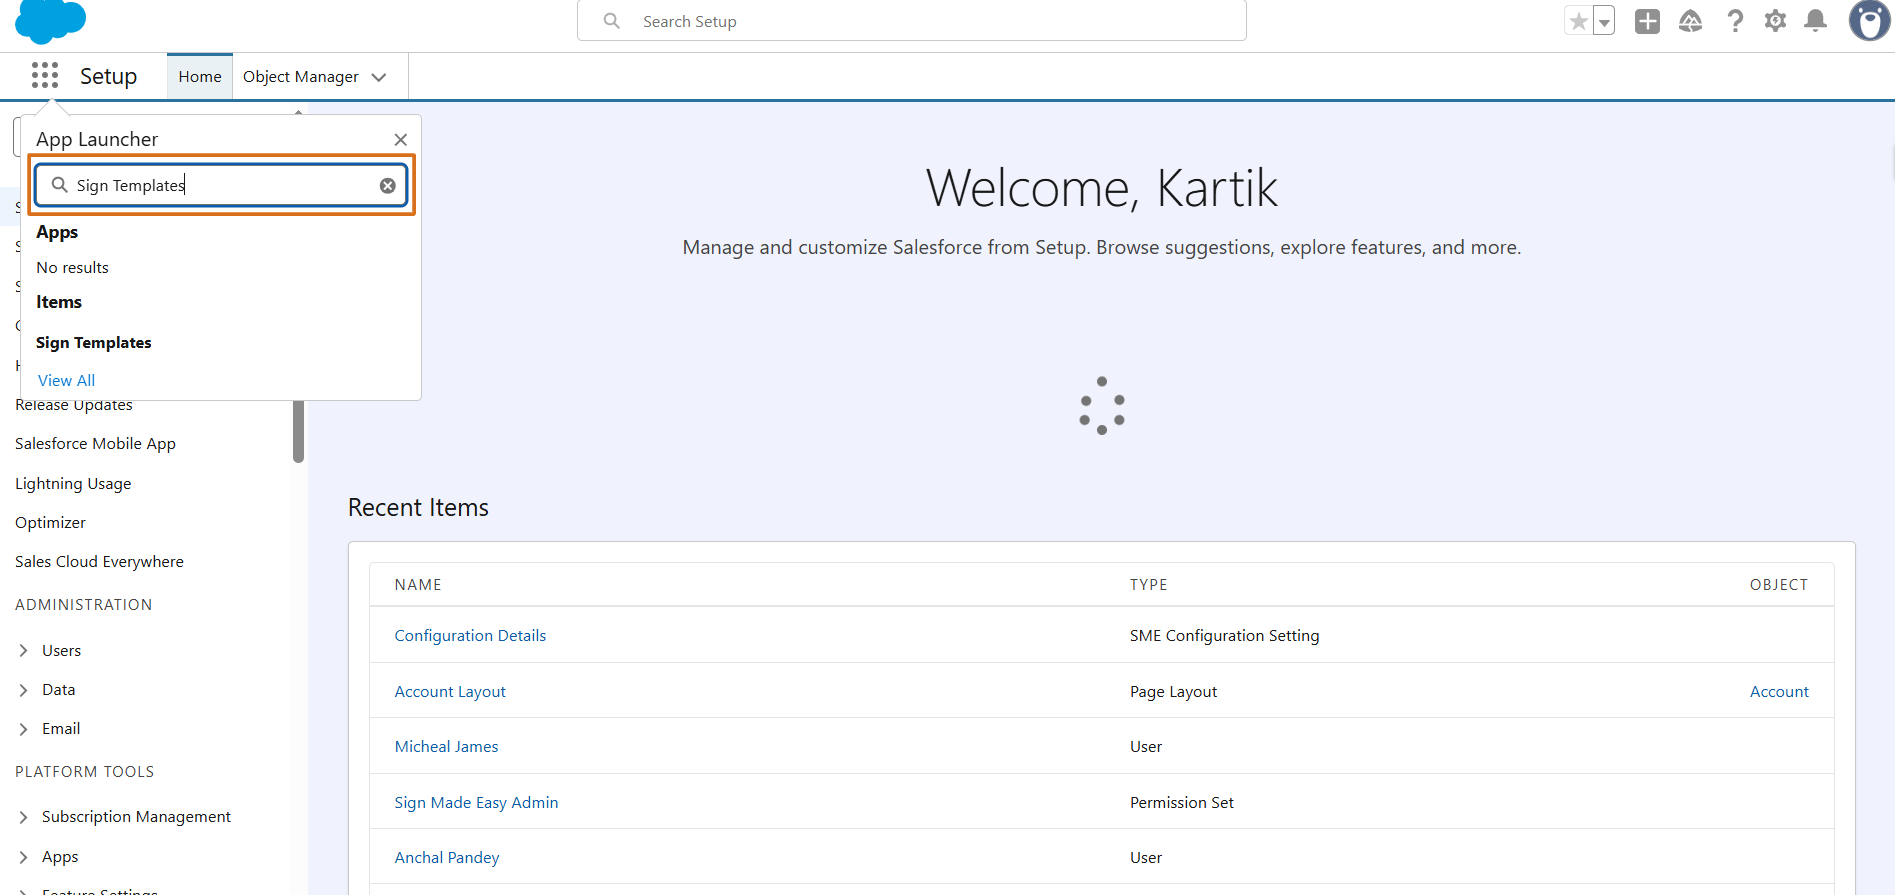
Step 4: After completing the setup, open the App Launcher, search for Sign Template, and open it.
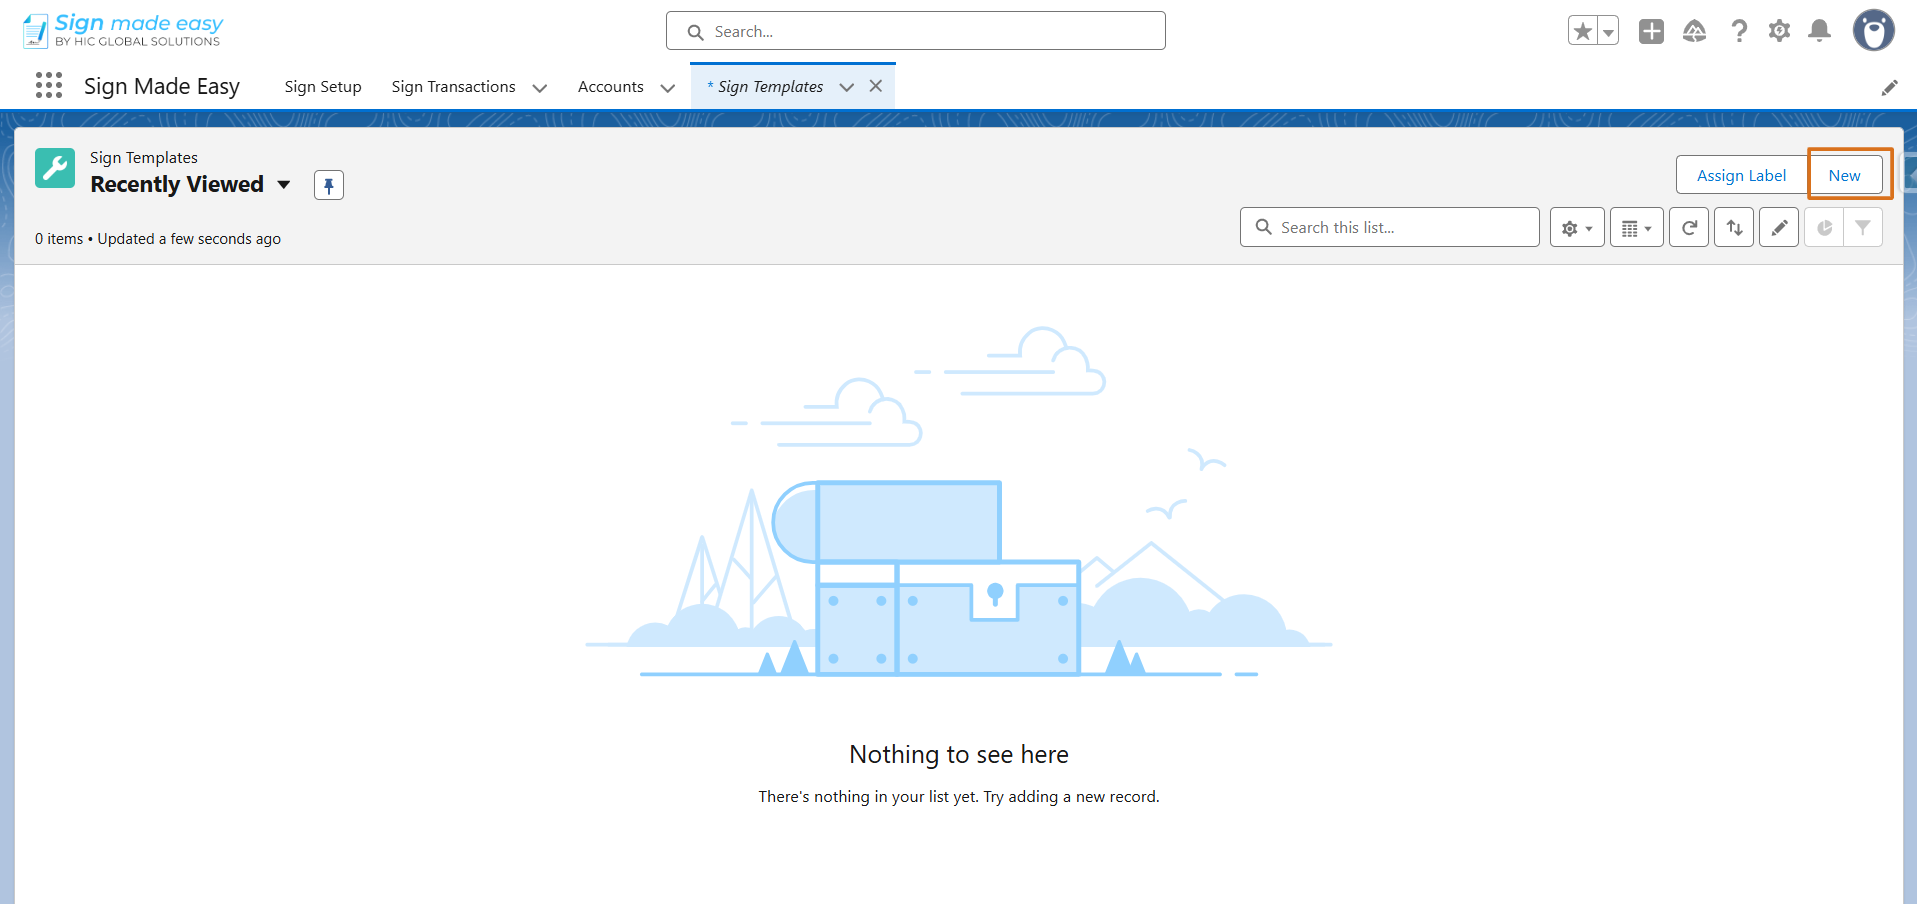
Step 5: Click on the New button to create a new sign template.
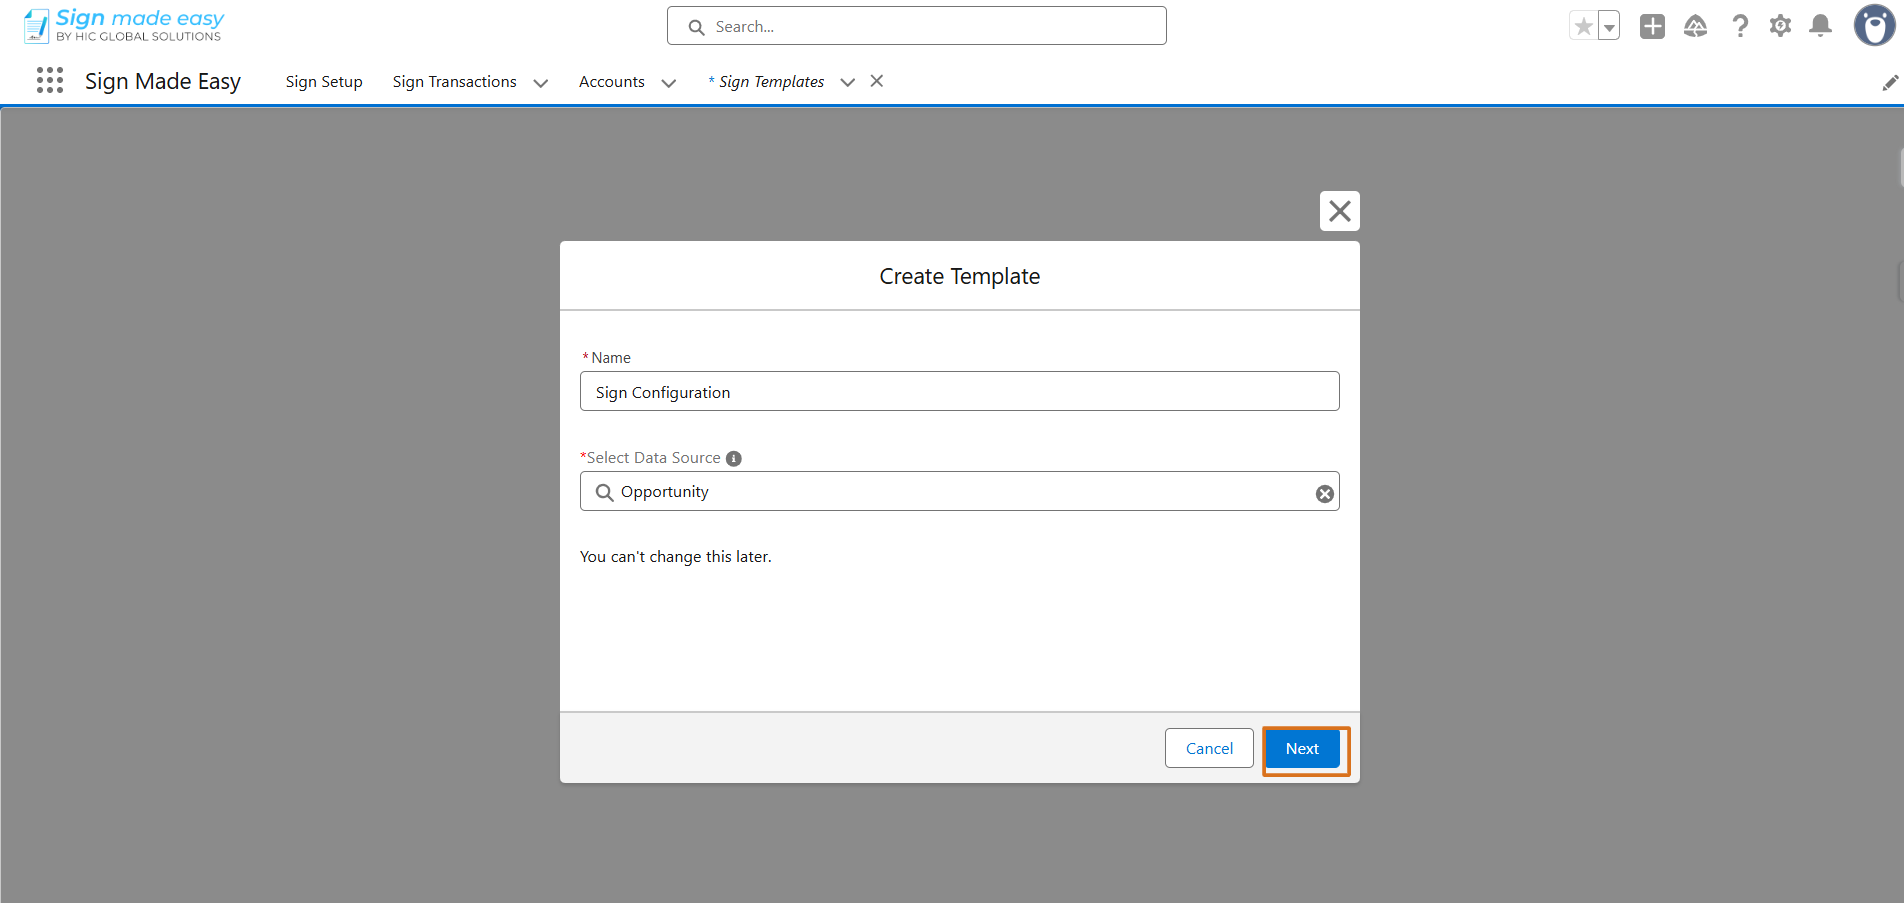
Step 6: Enter the template name and select the source object (such as Account or Opportunity) where you want this template to be used.
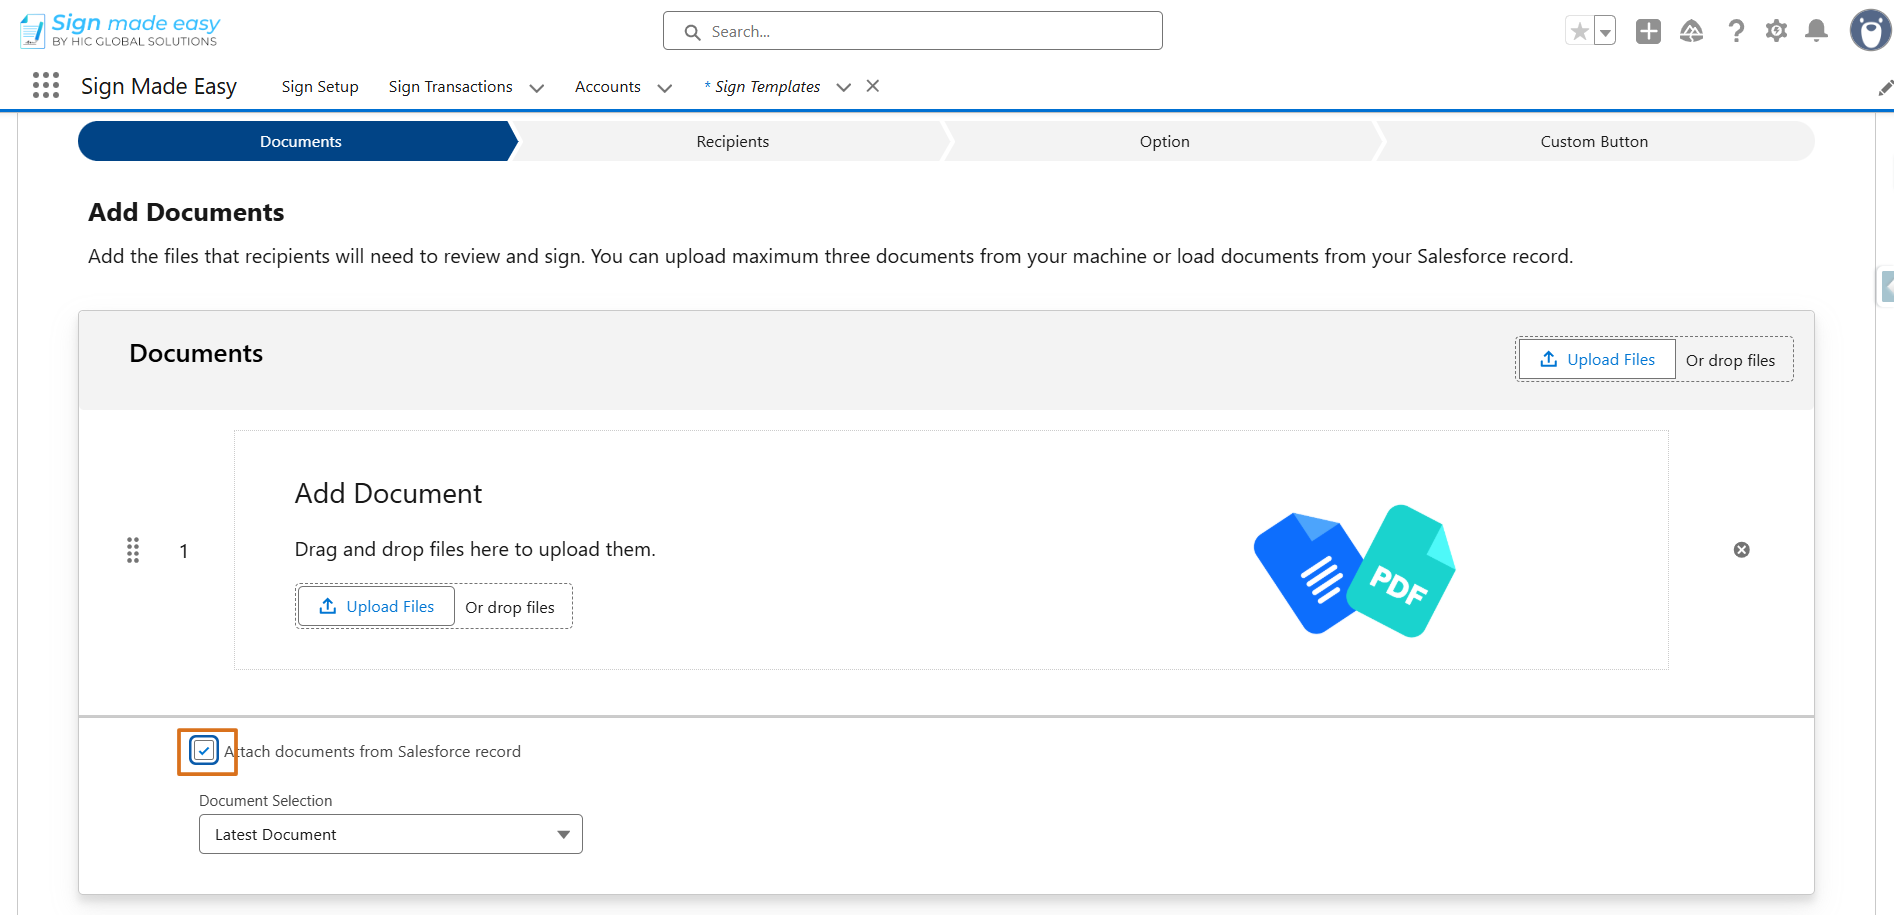
Step 7: Check the Attach Document from Salesforce record checkbox, then click Next.
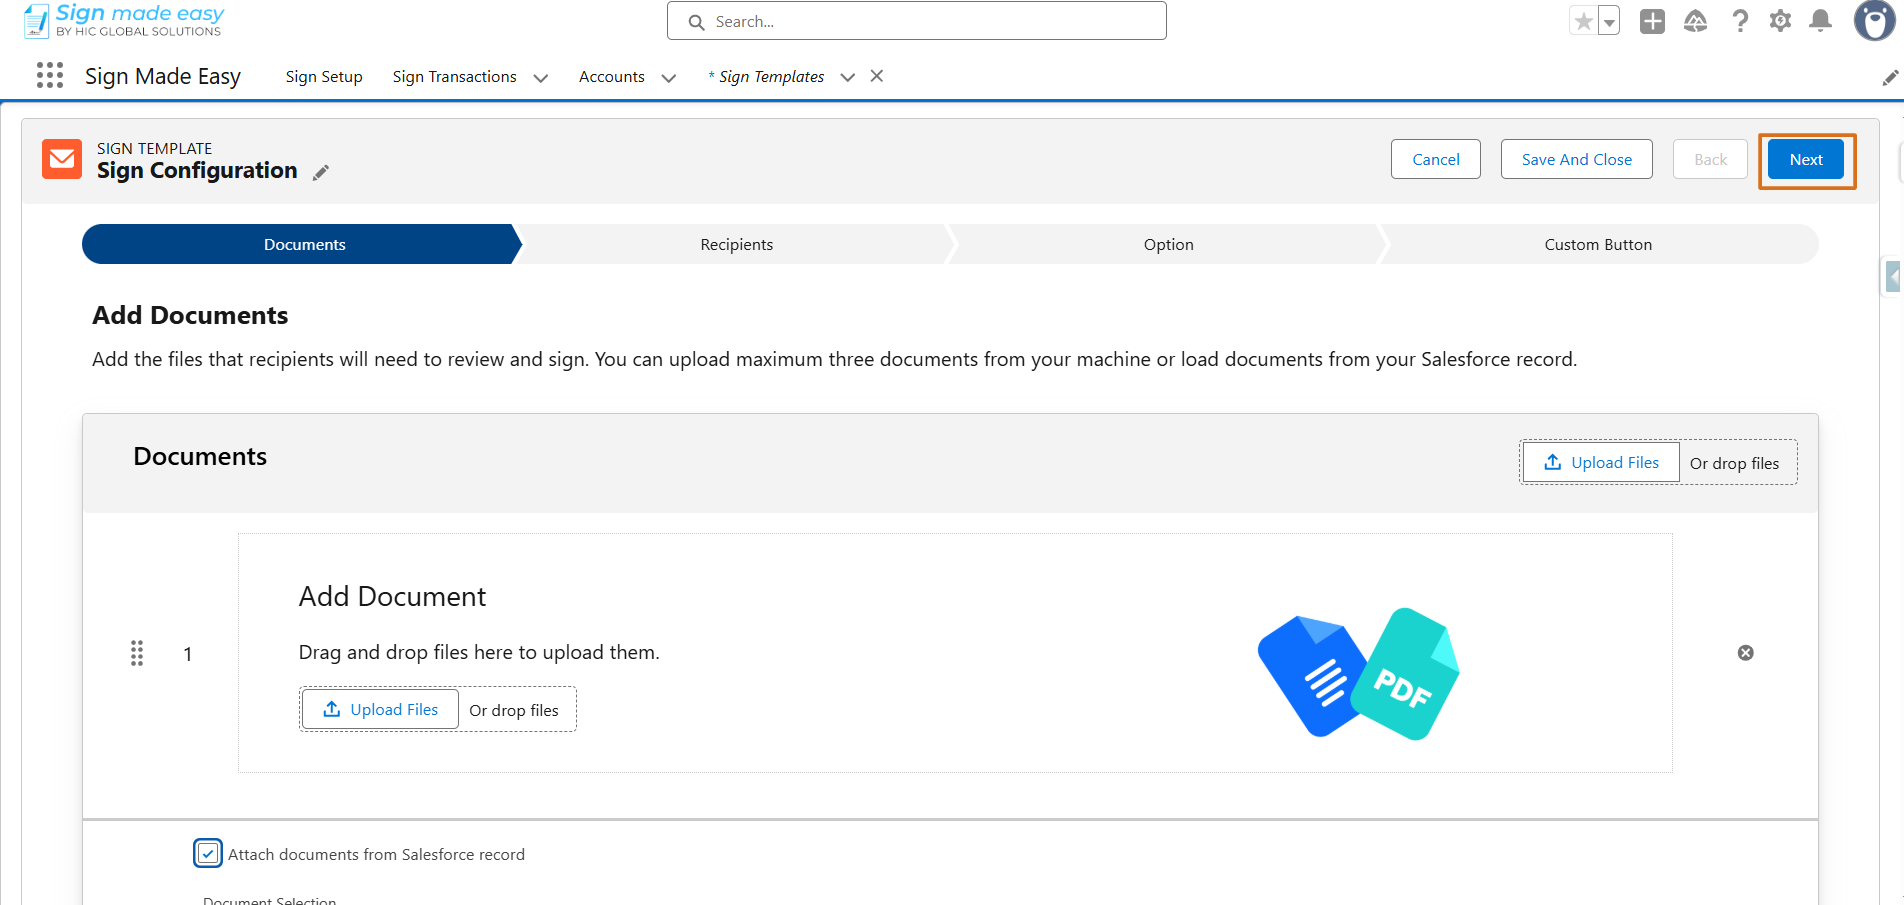
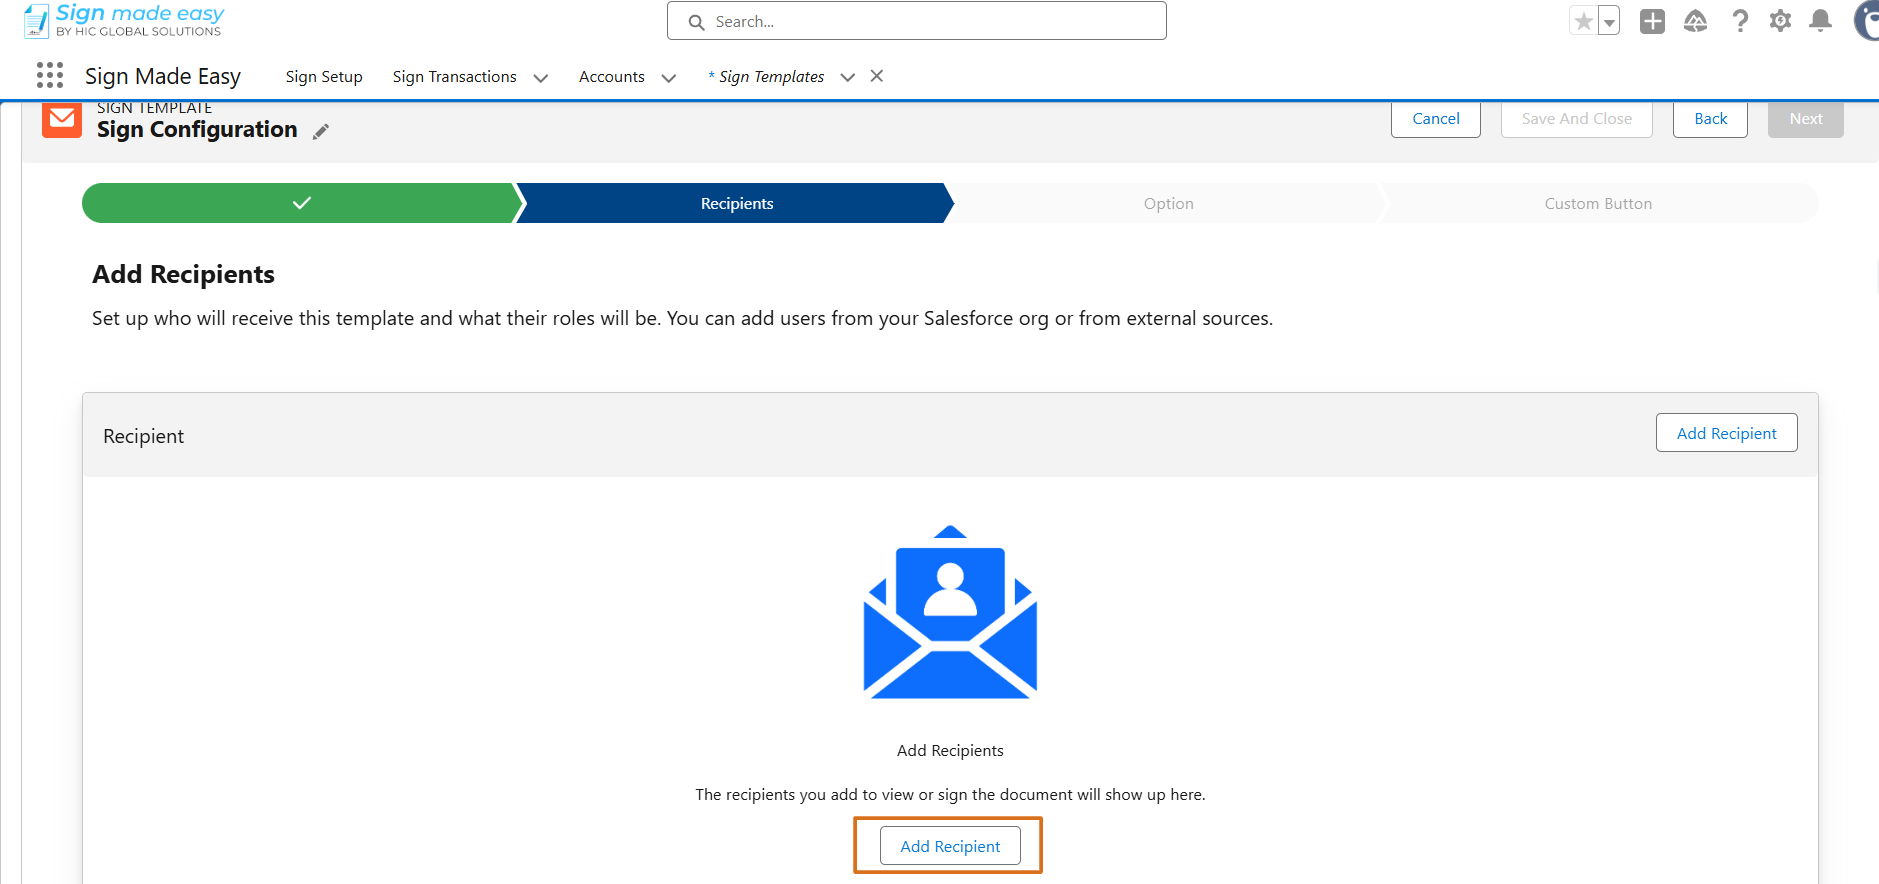
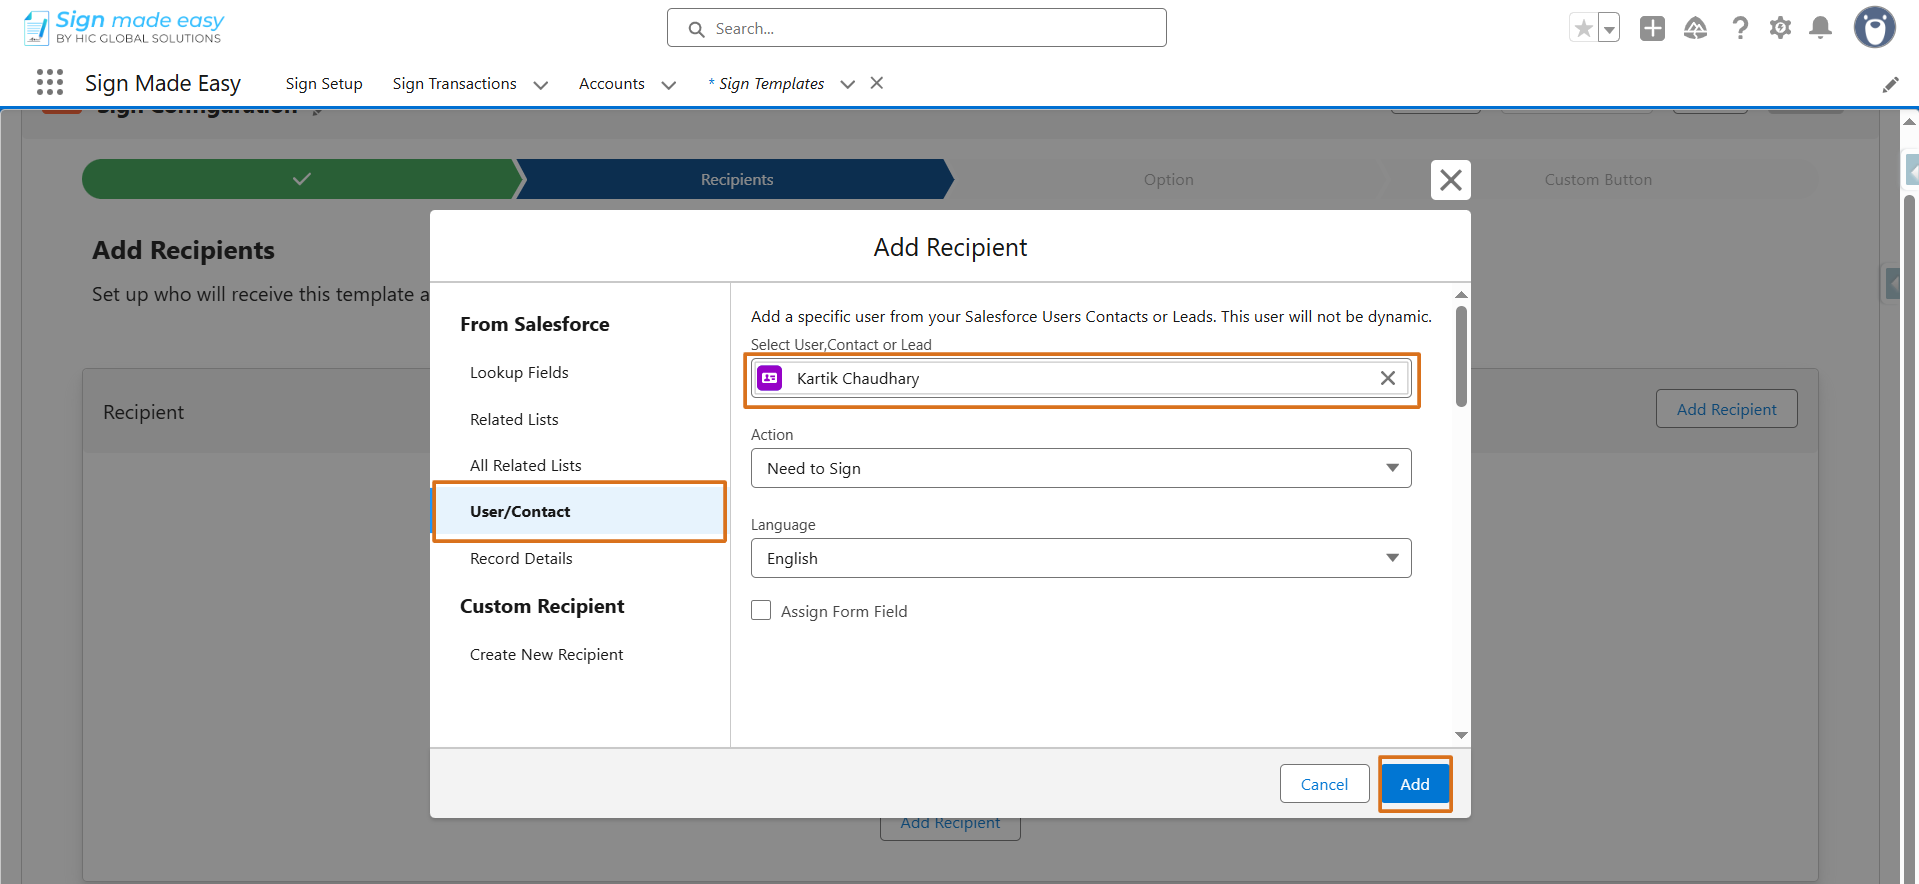
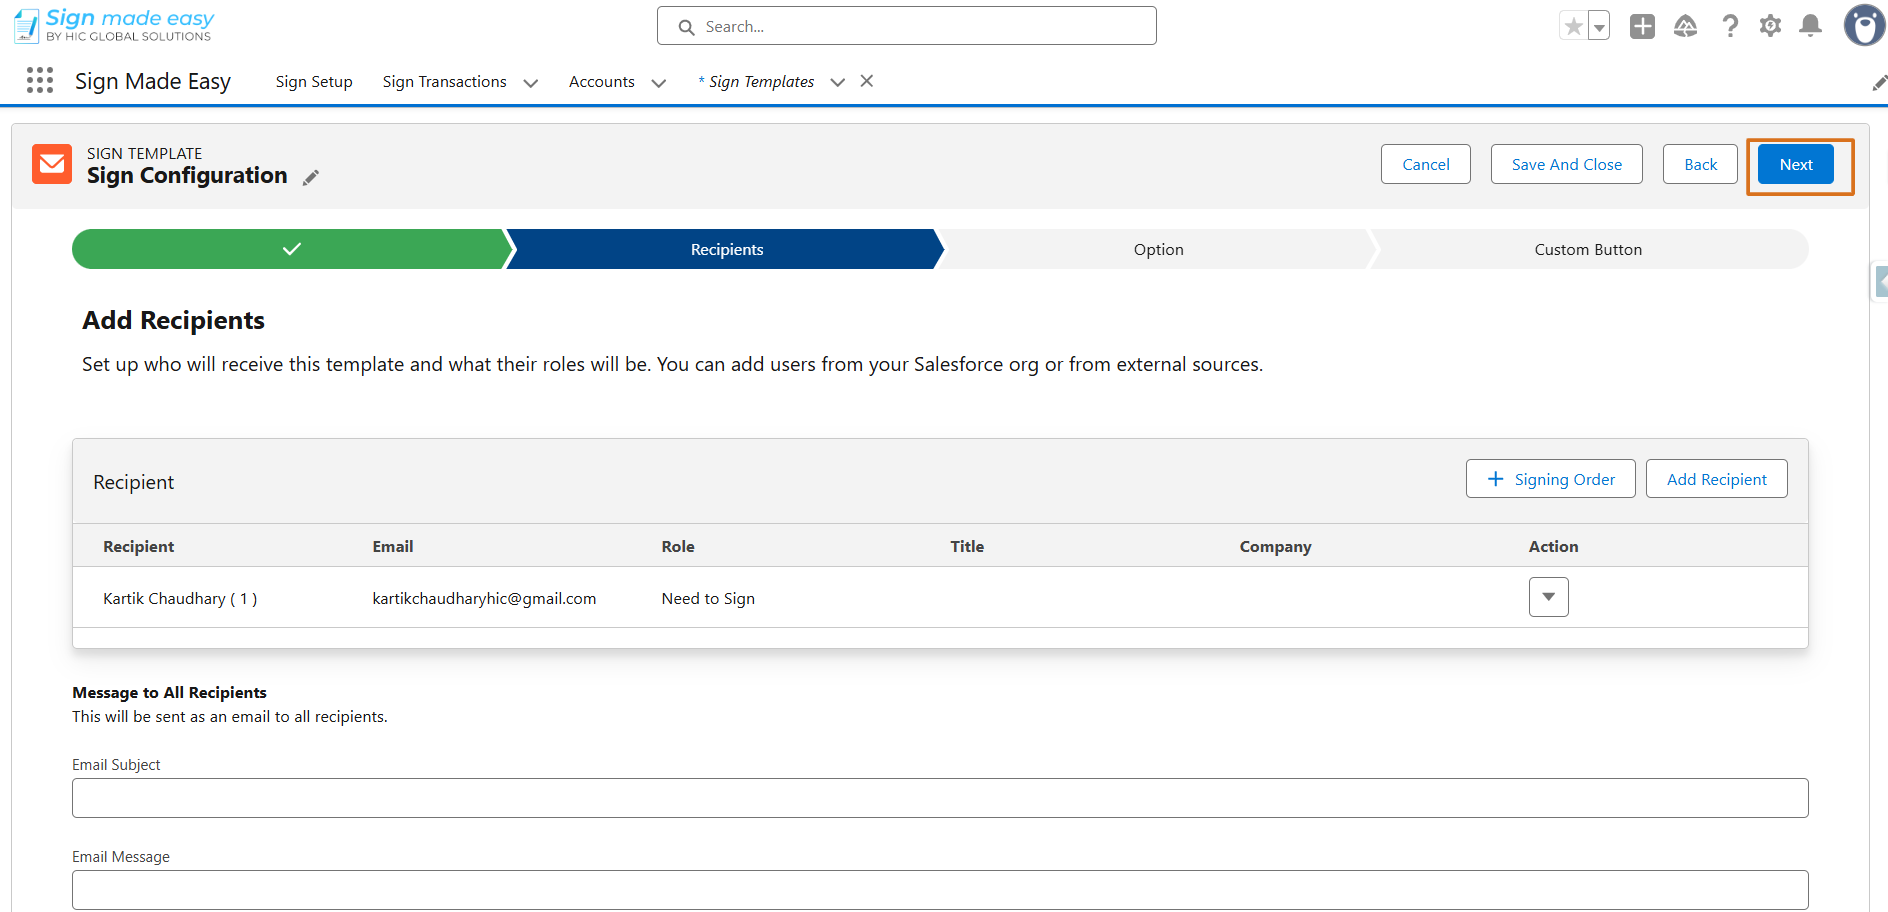
Step 8: Click on Add Recipient, choose the recipient from User or Contact, click Add, and then click Next.
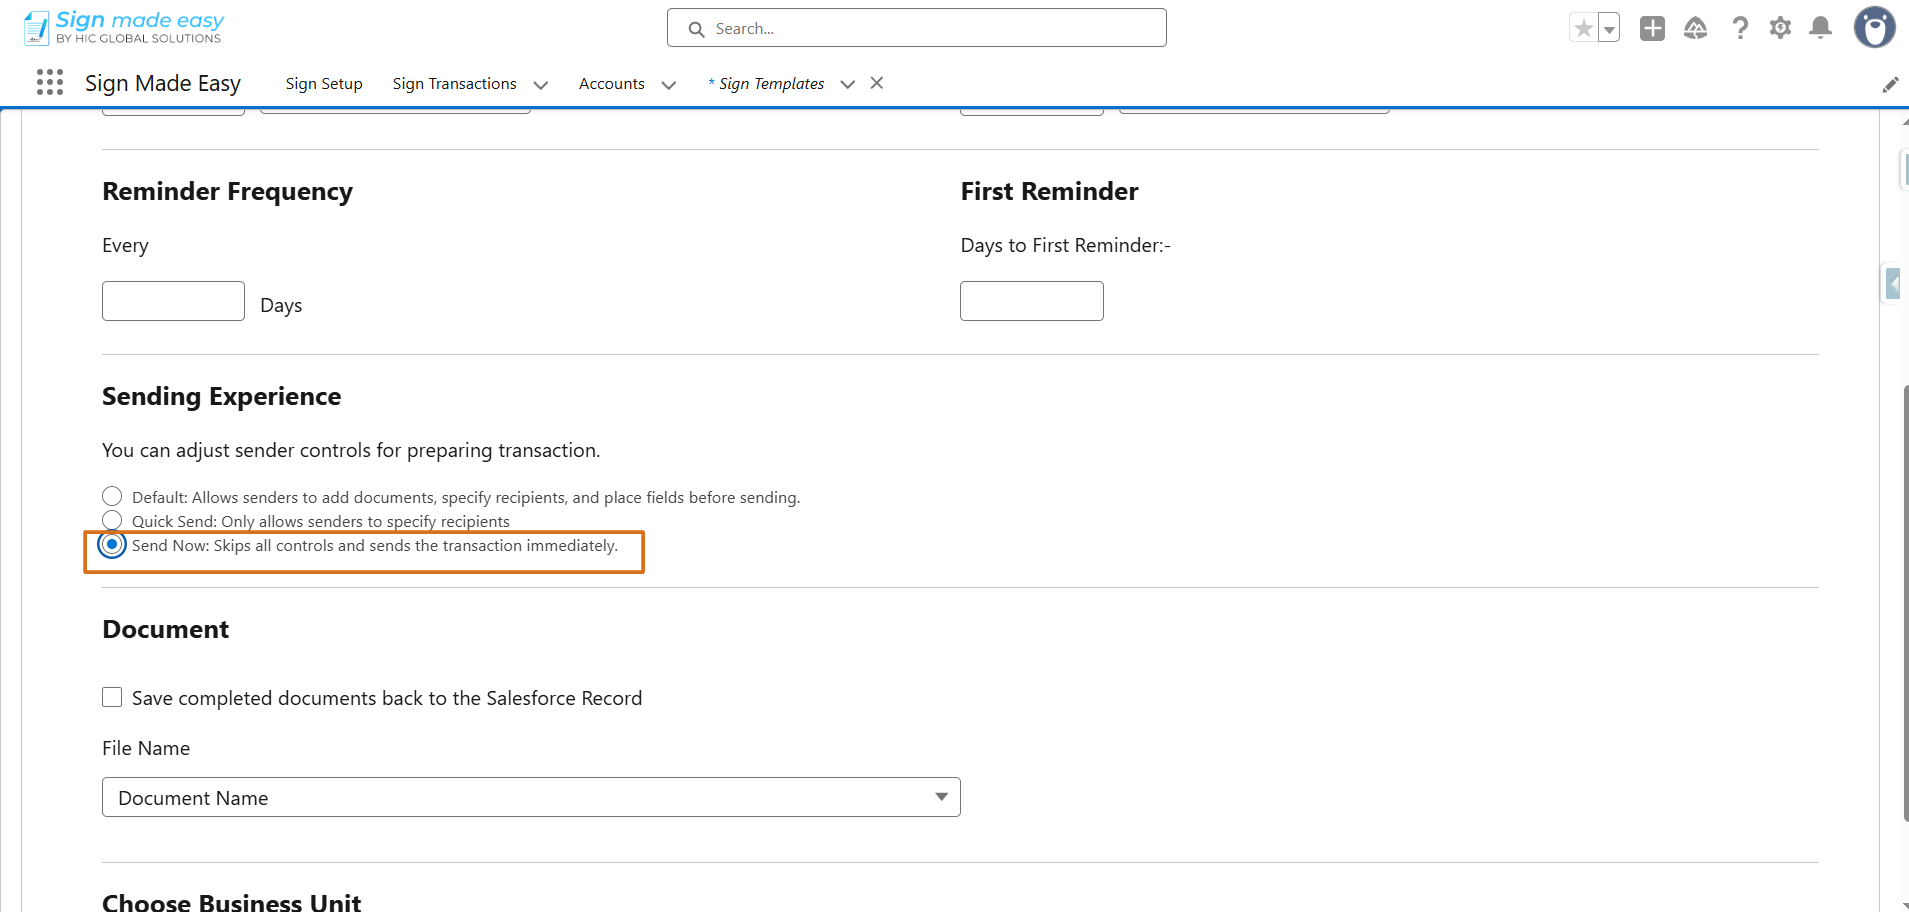
Step 9: Under Sending Experience, select the Send Now radio button, then click Next.
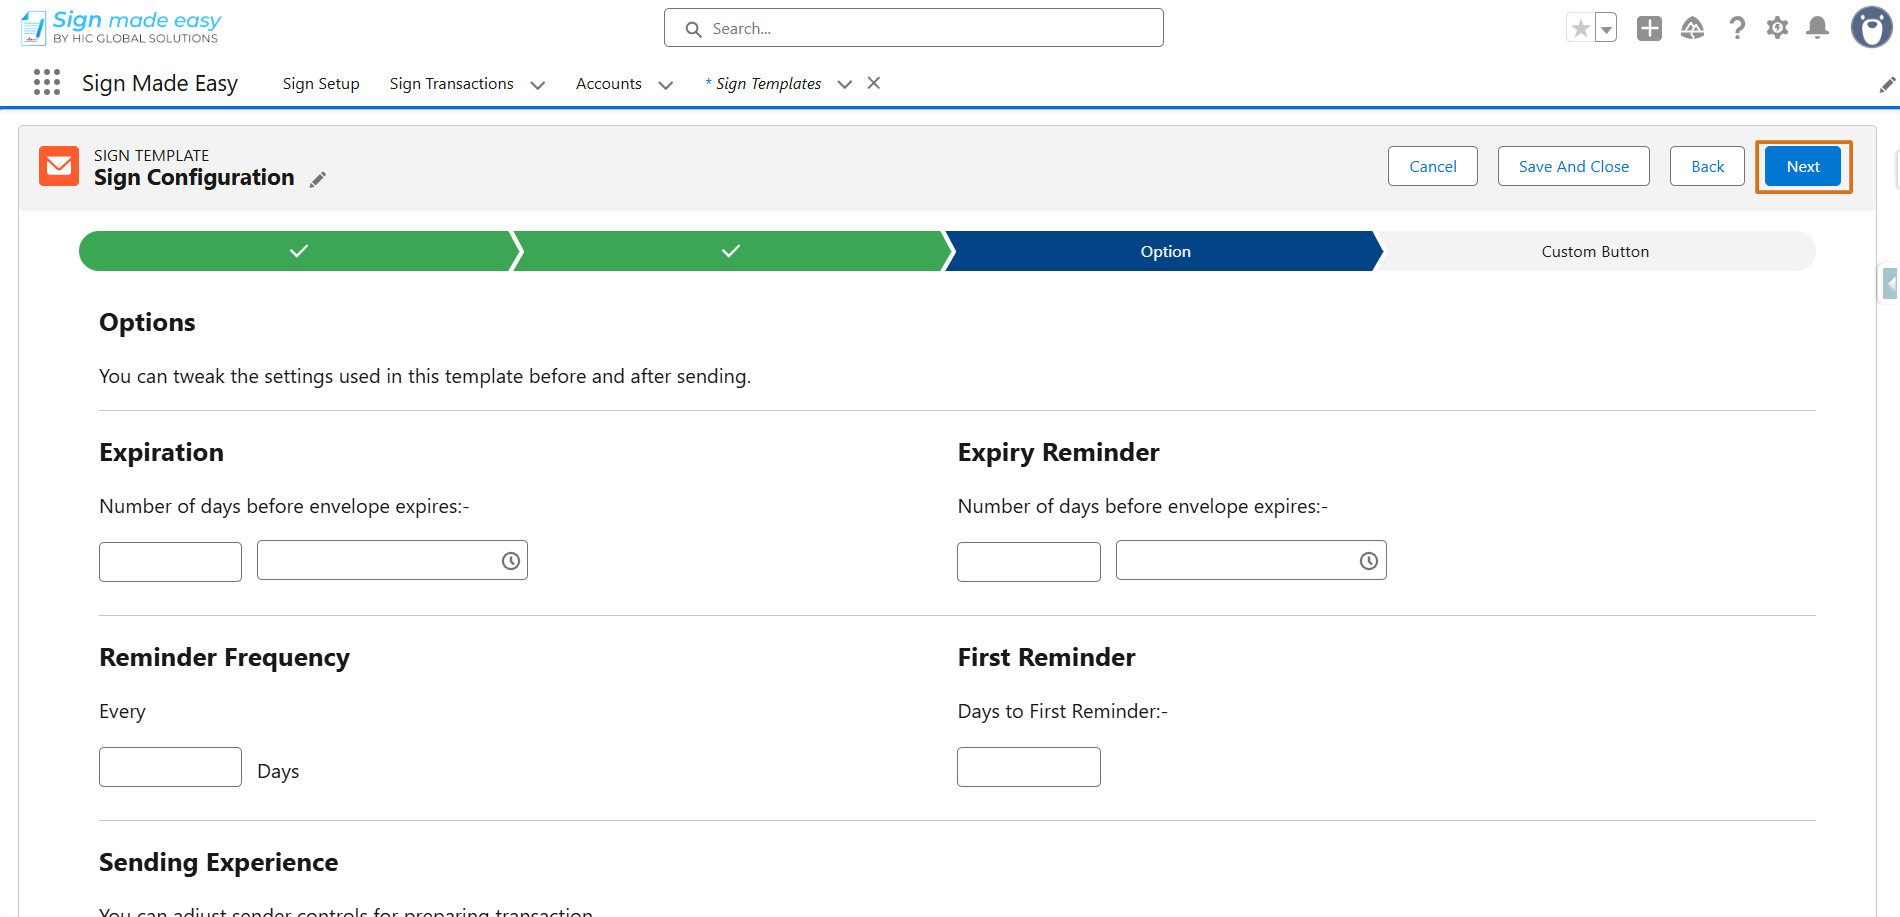
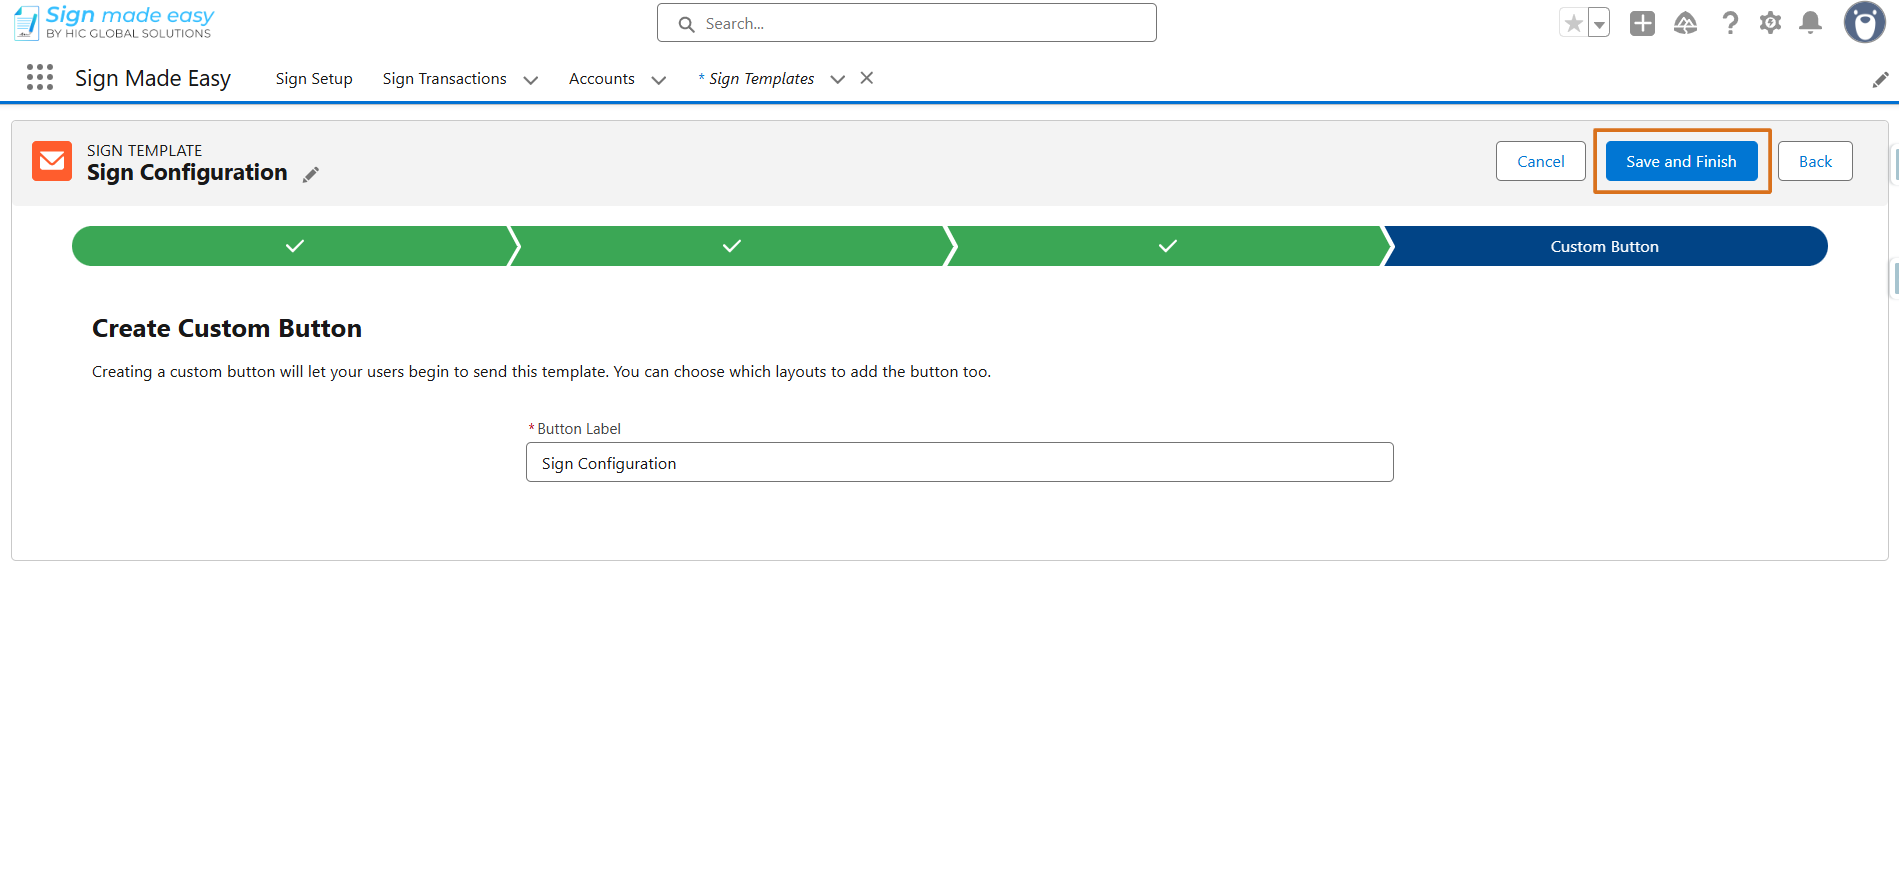
Step 10: Click on Save and Finish to complete the sign template setup.
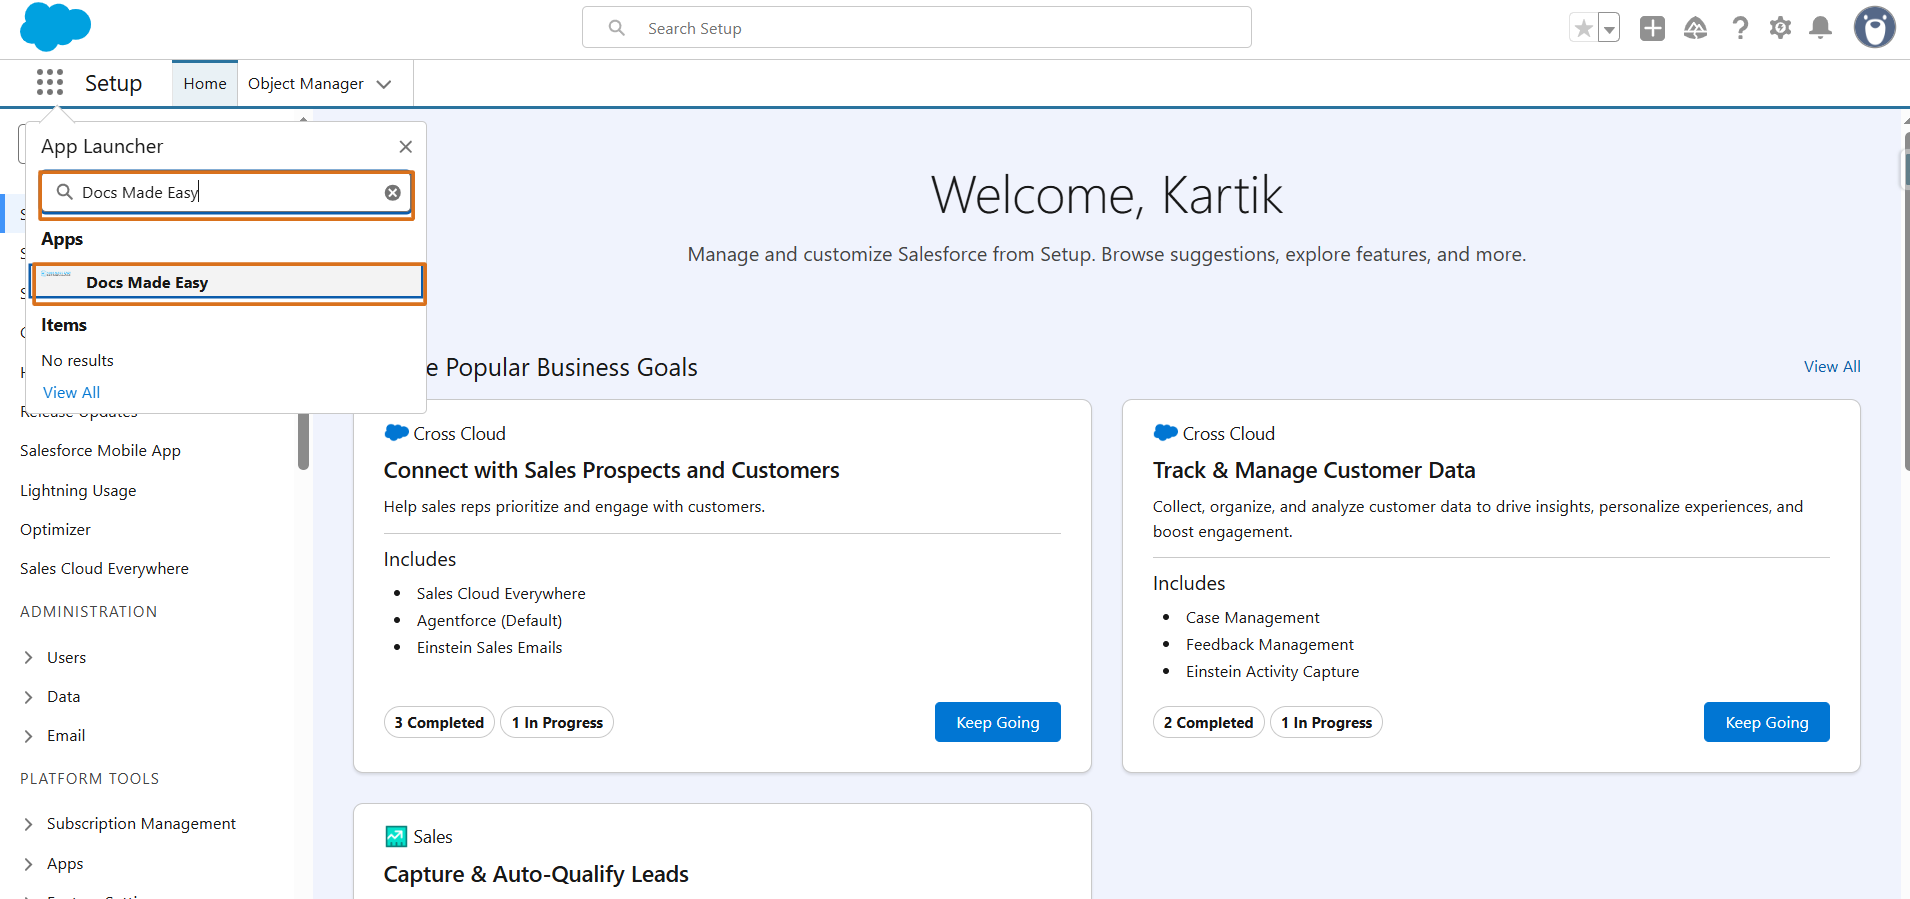
Step 11: Go back to the App Launcher, search for Docs Made Easy, and open it.
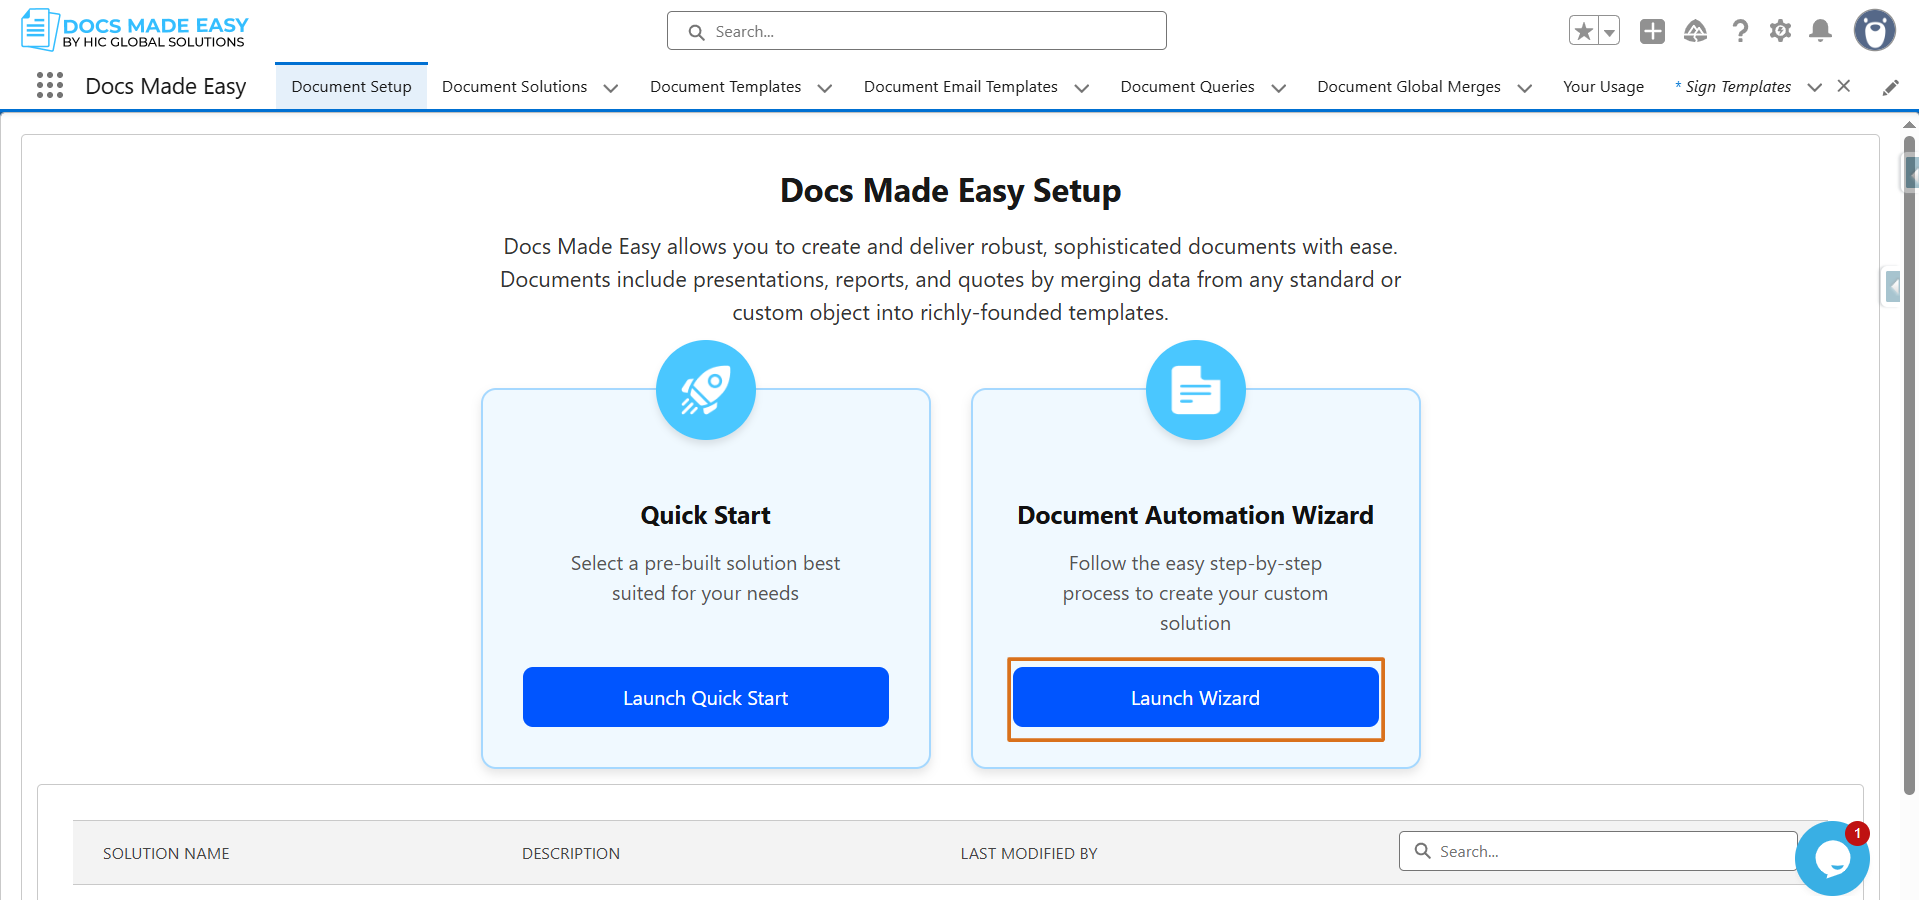
Step 12: Click on the Launch Wizard button.
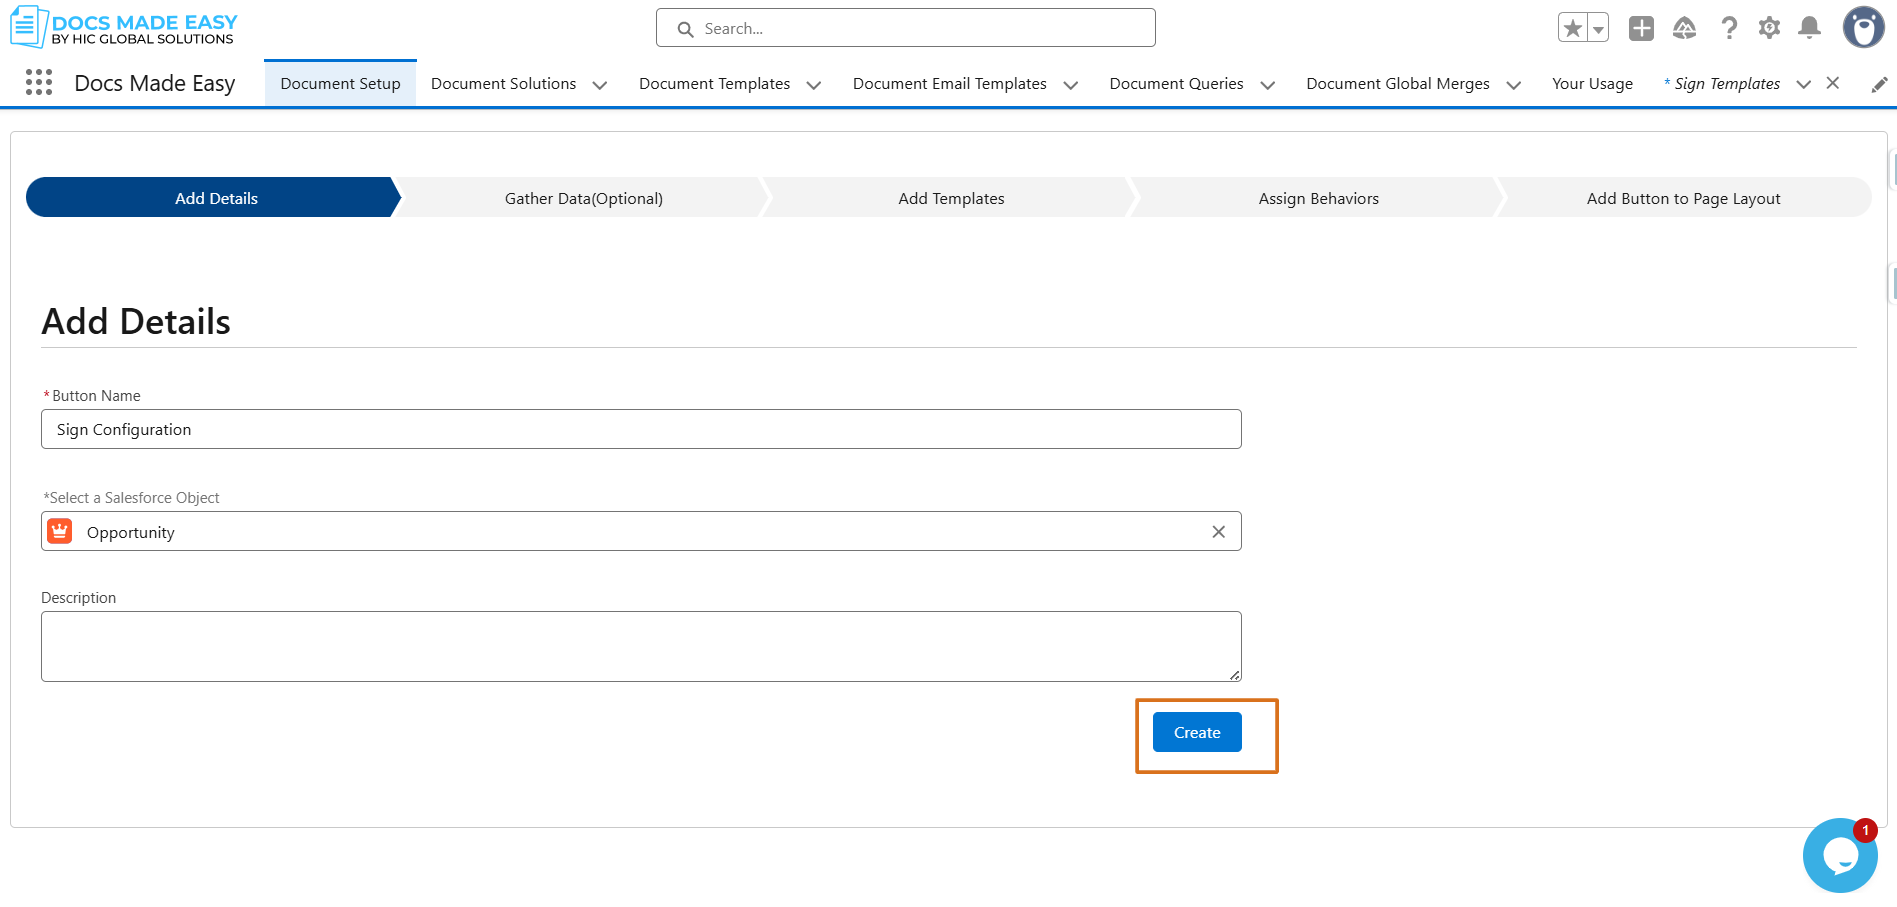
Step 13: Enter the button name as “Sign Configuration”, select the source object (Account, Opportunity, etc.), and click Create.
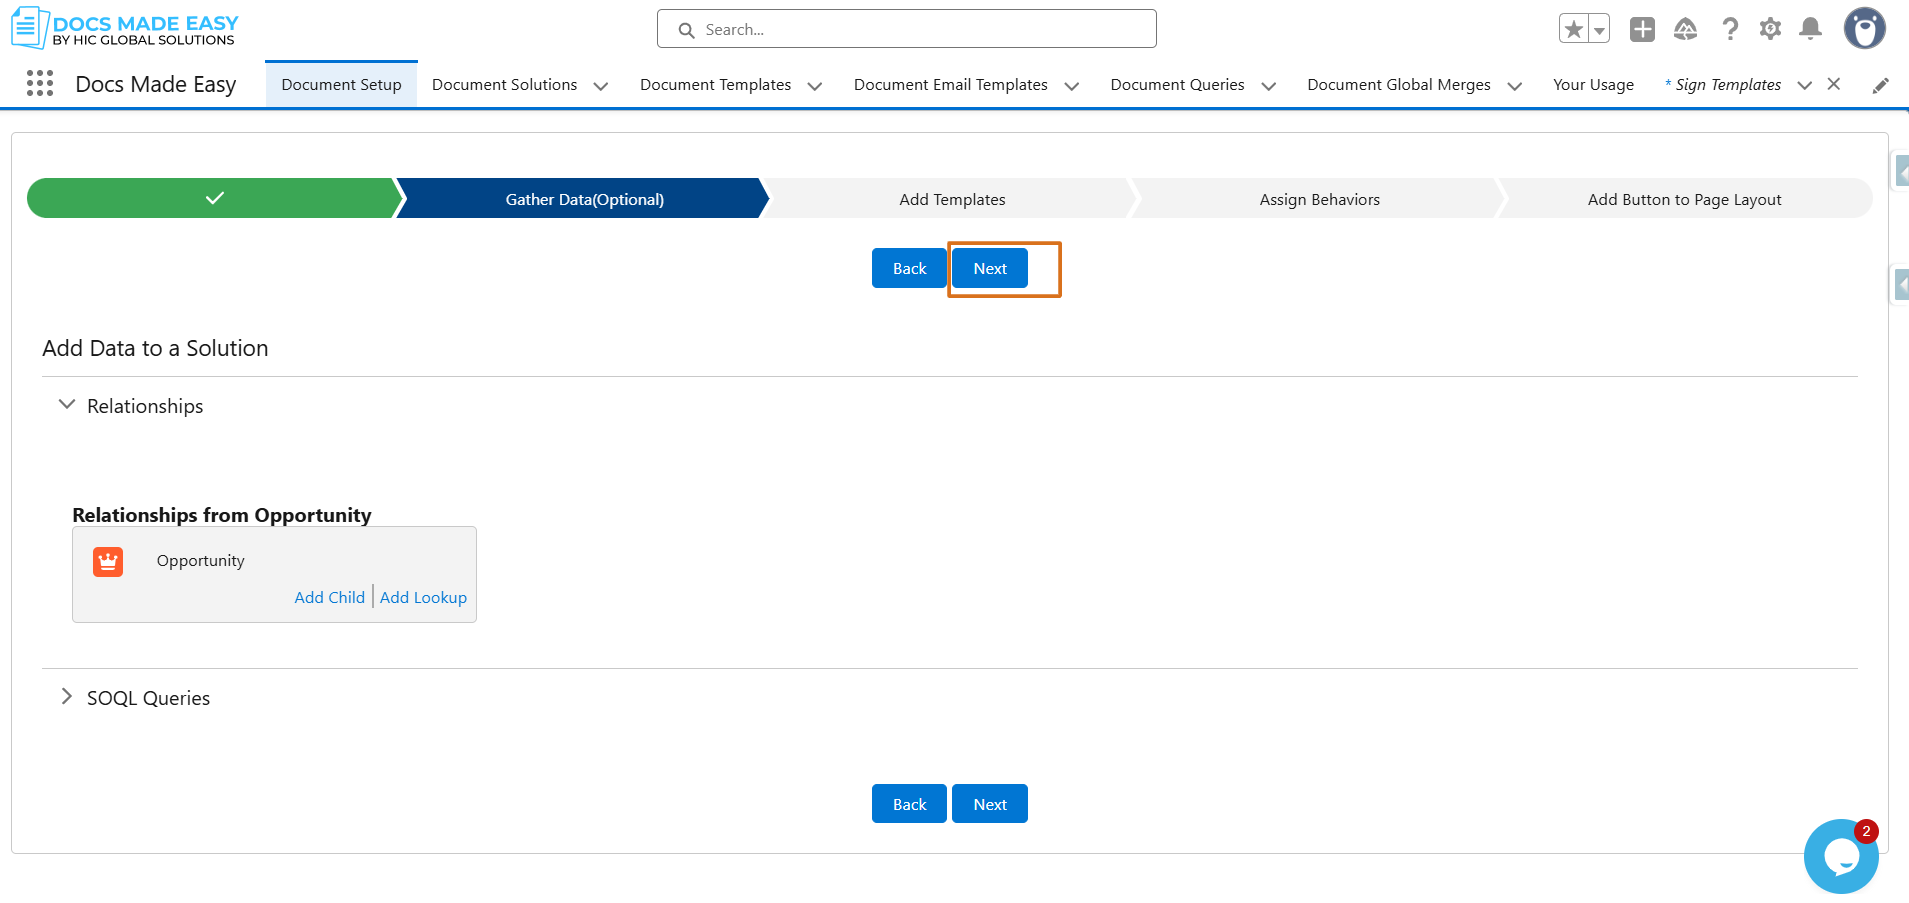
Step 14: Click Next to continue.
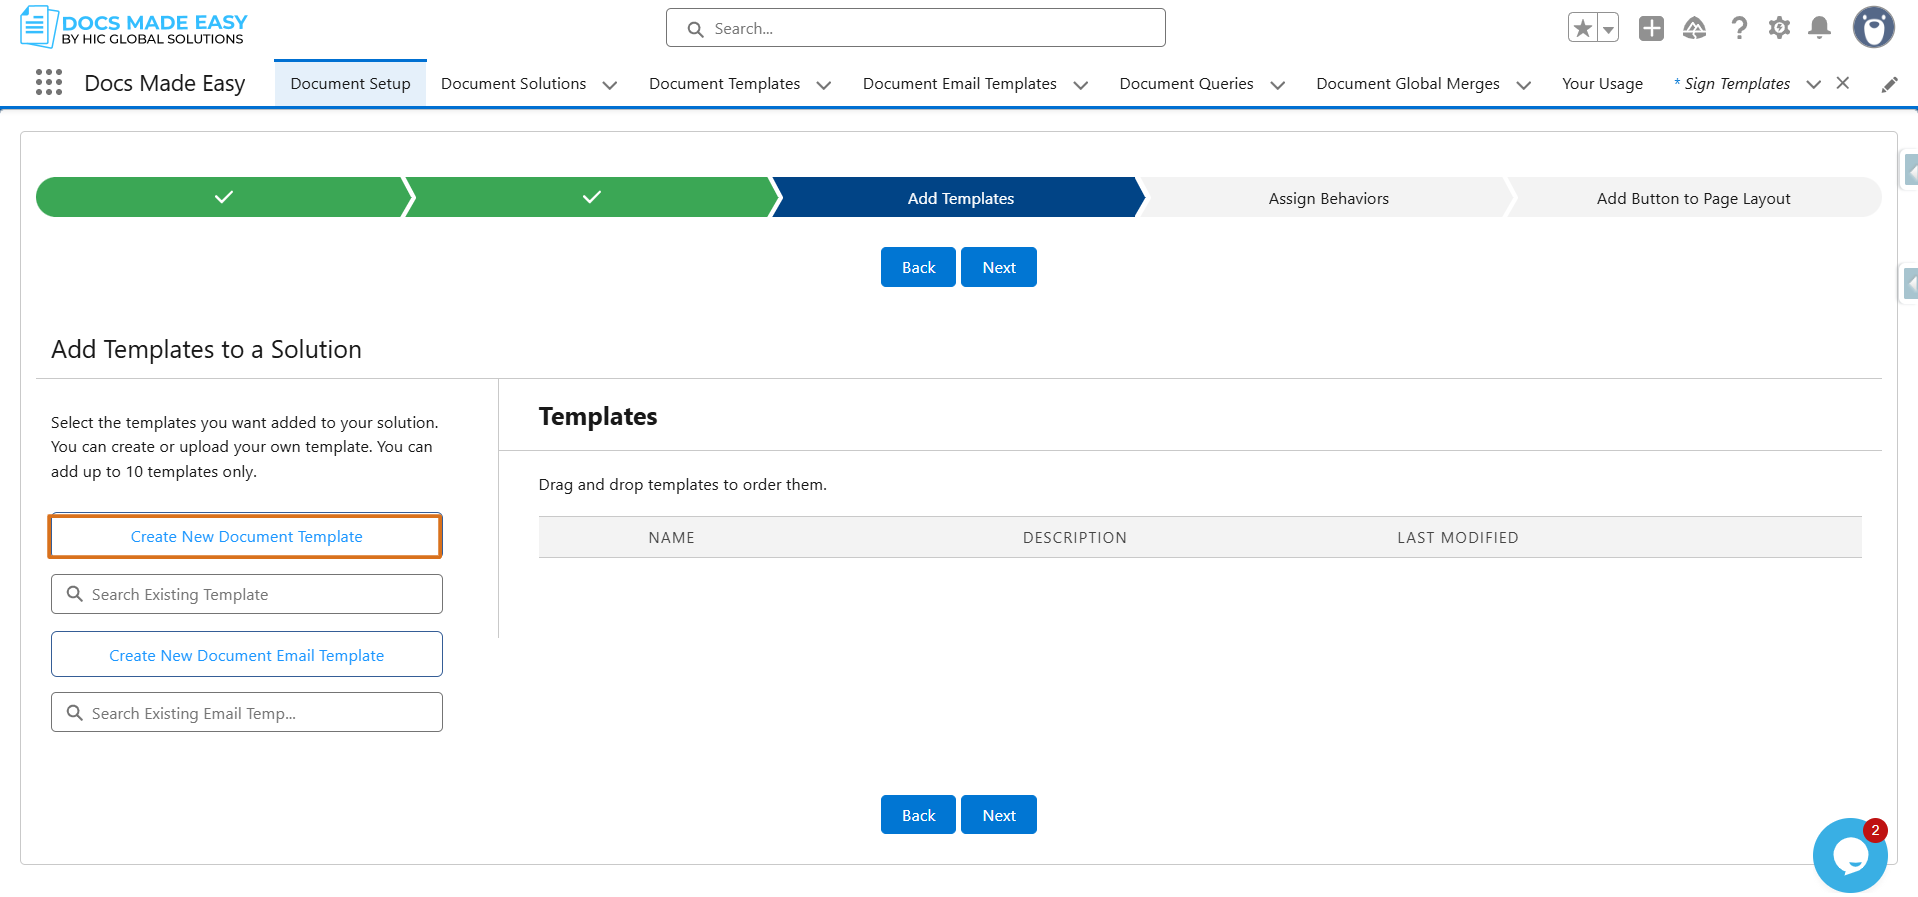
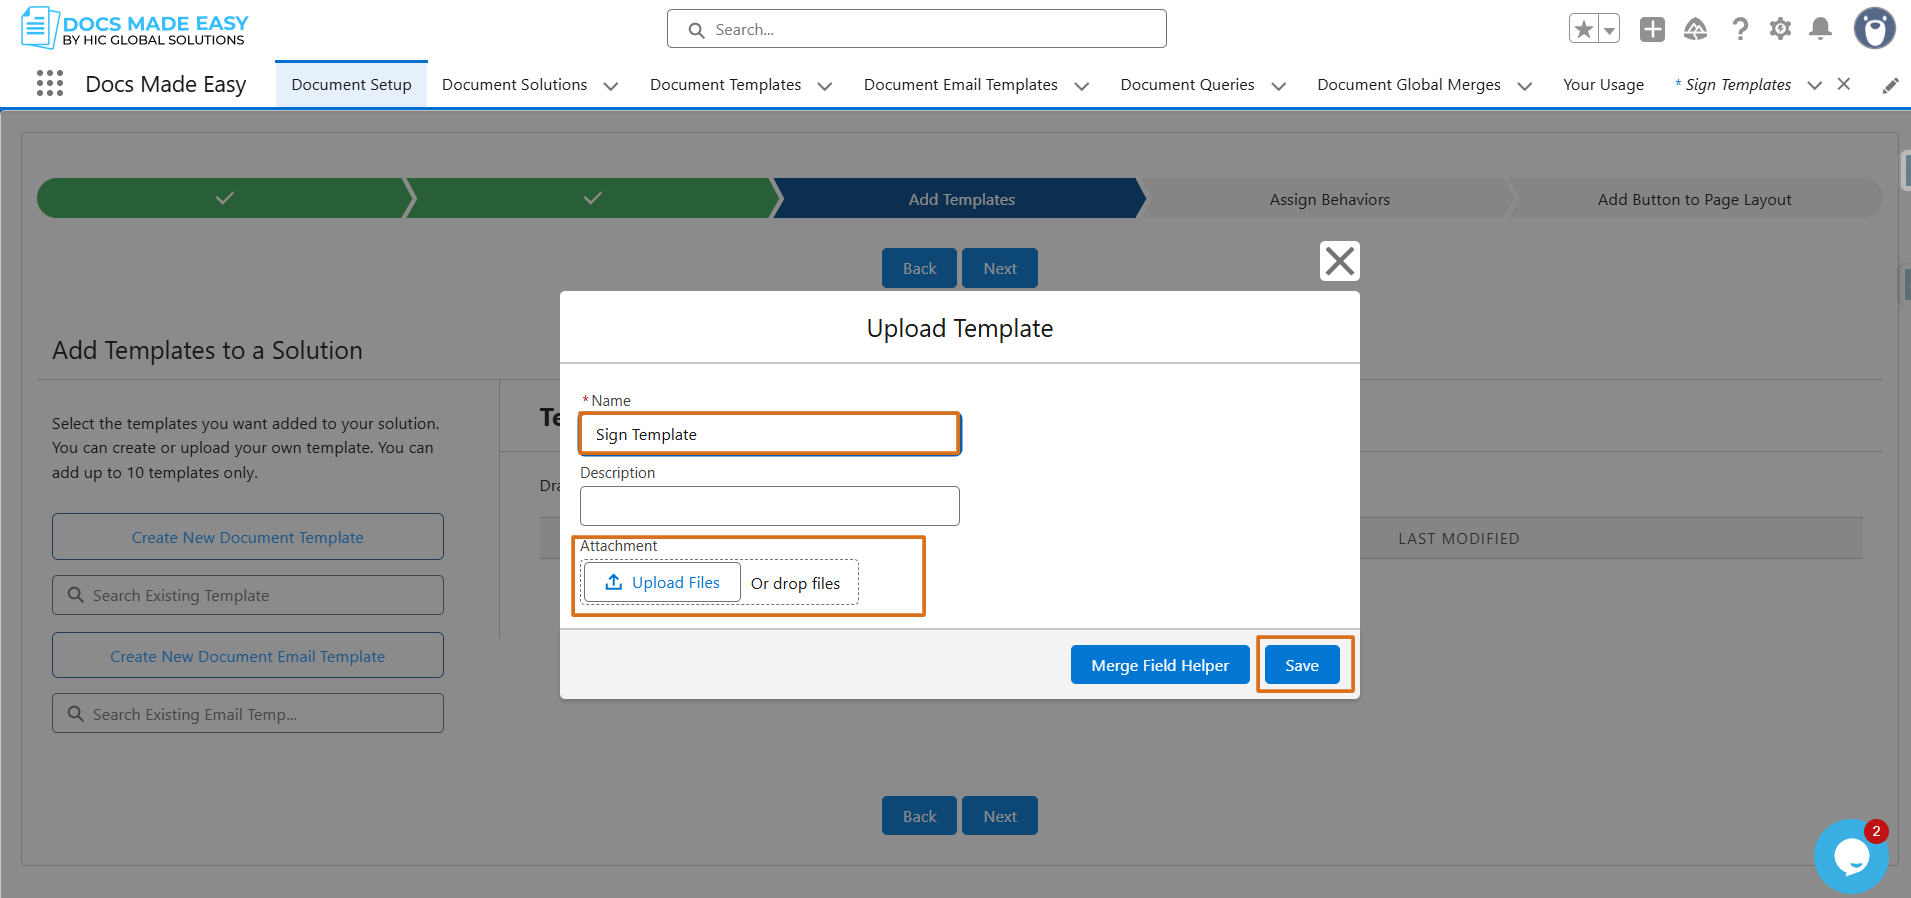
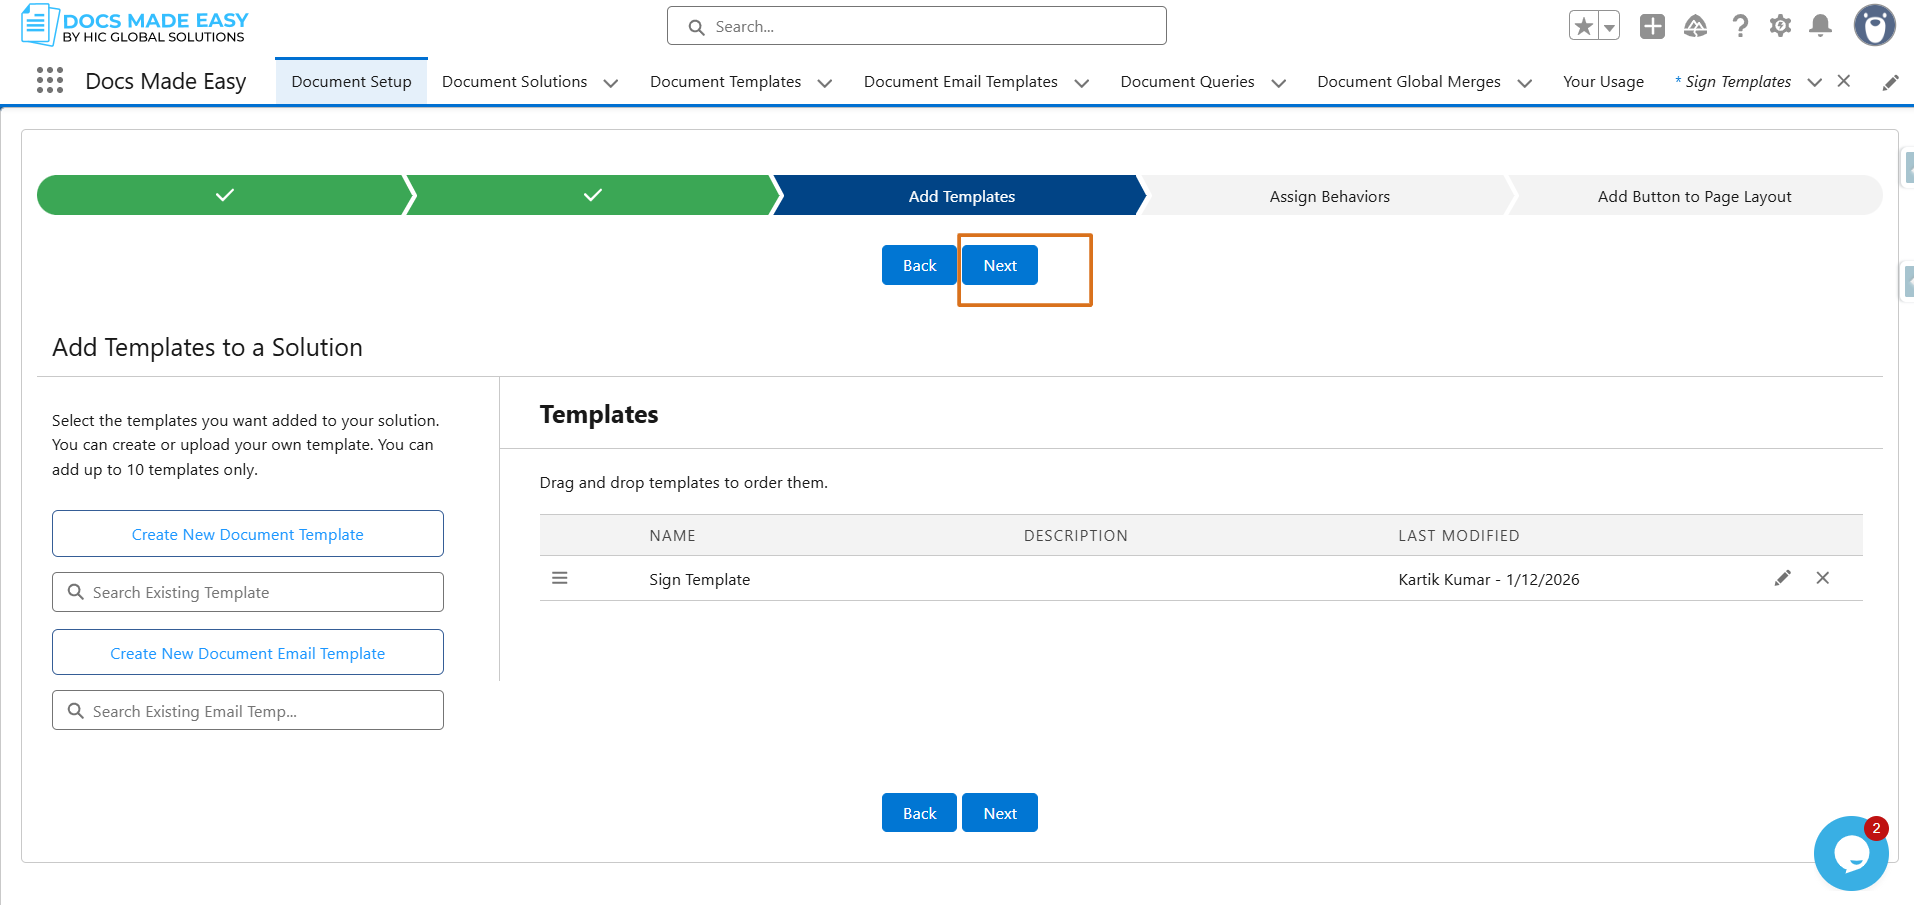
Step 15: Navigate to Create New Document Template, then enter the template name, upload your document, and click Save. This is where you can set up the document generation template that will be used for the signing process.
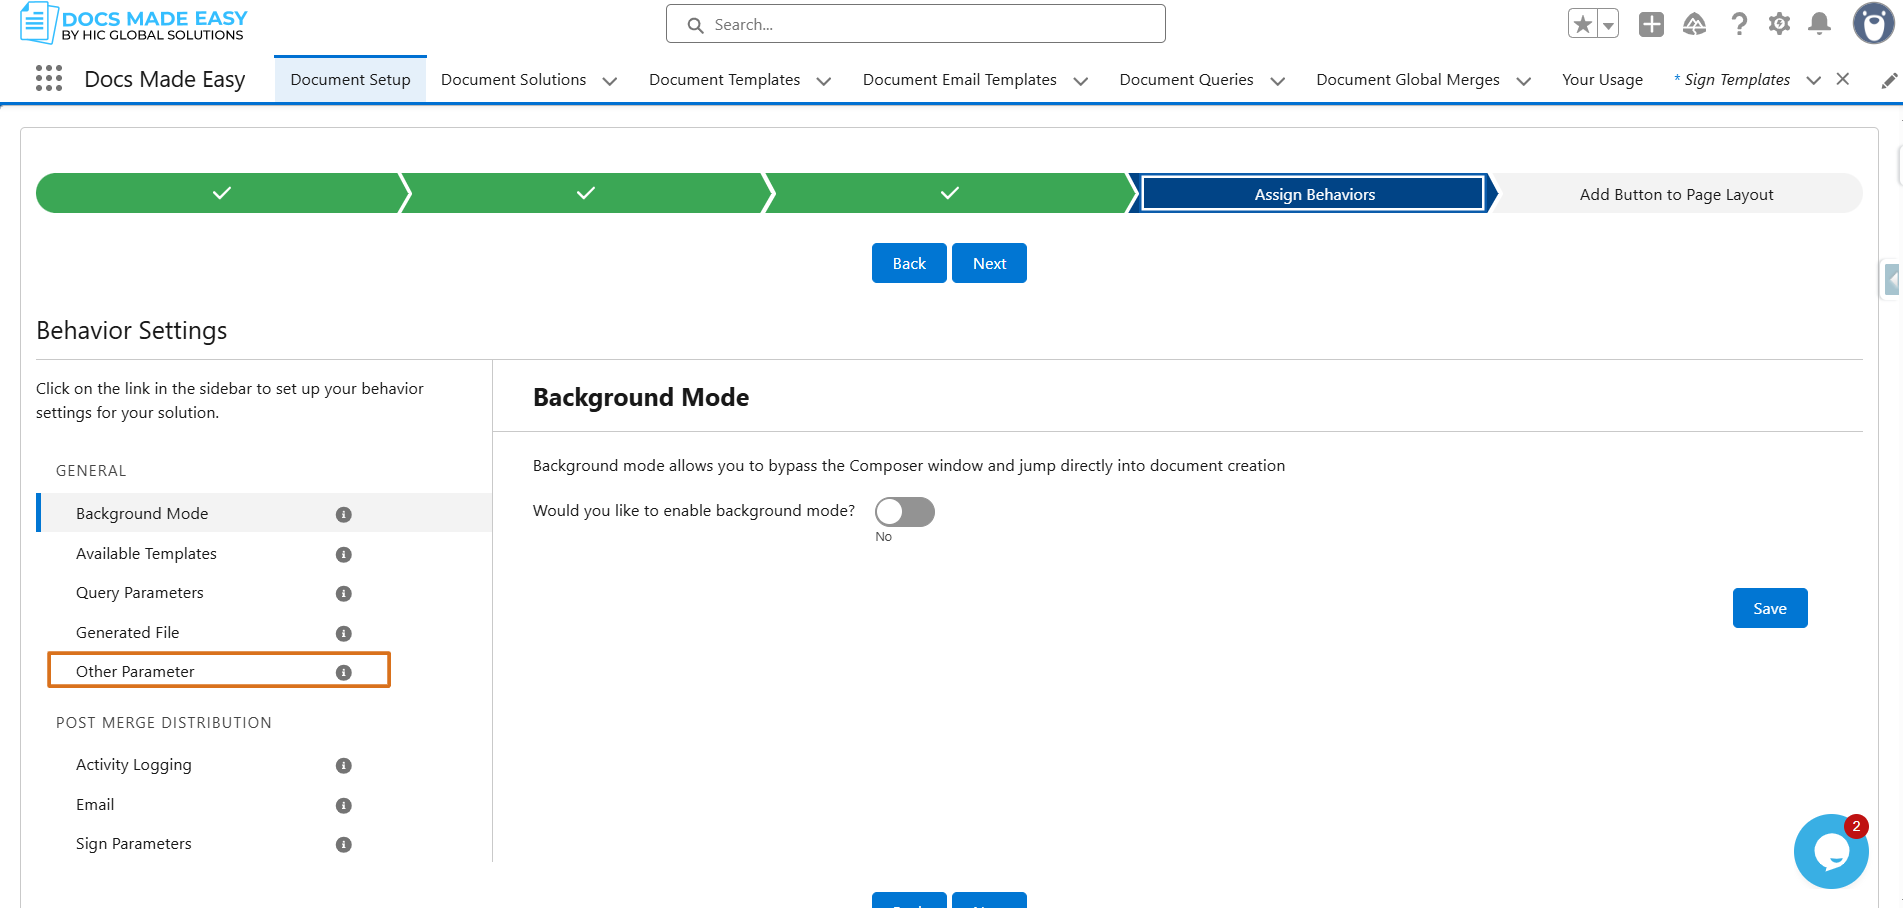
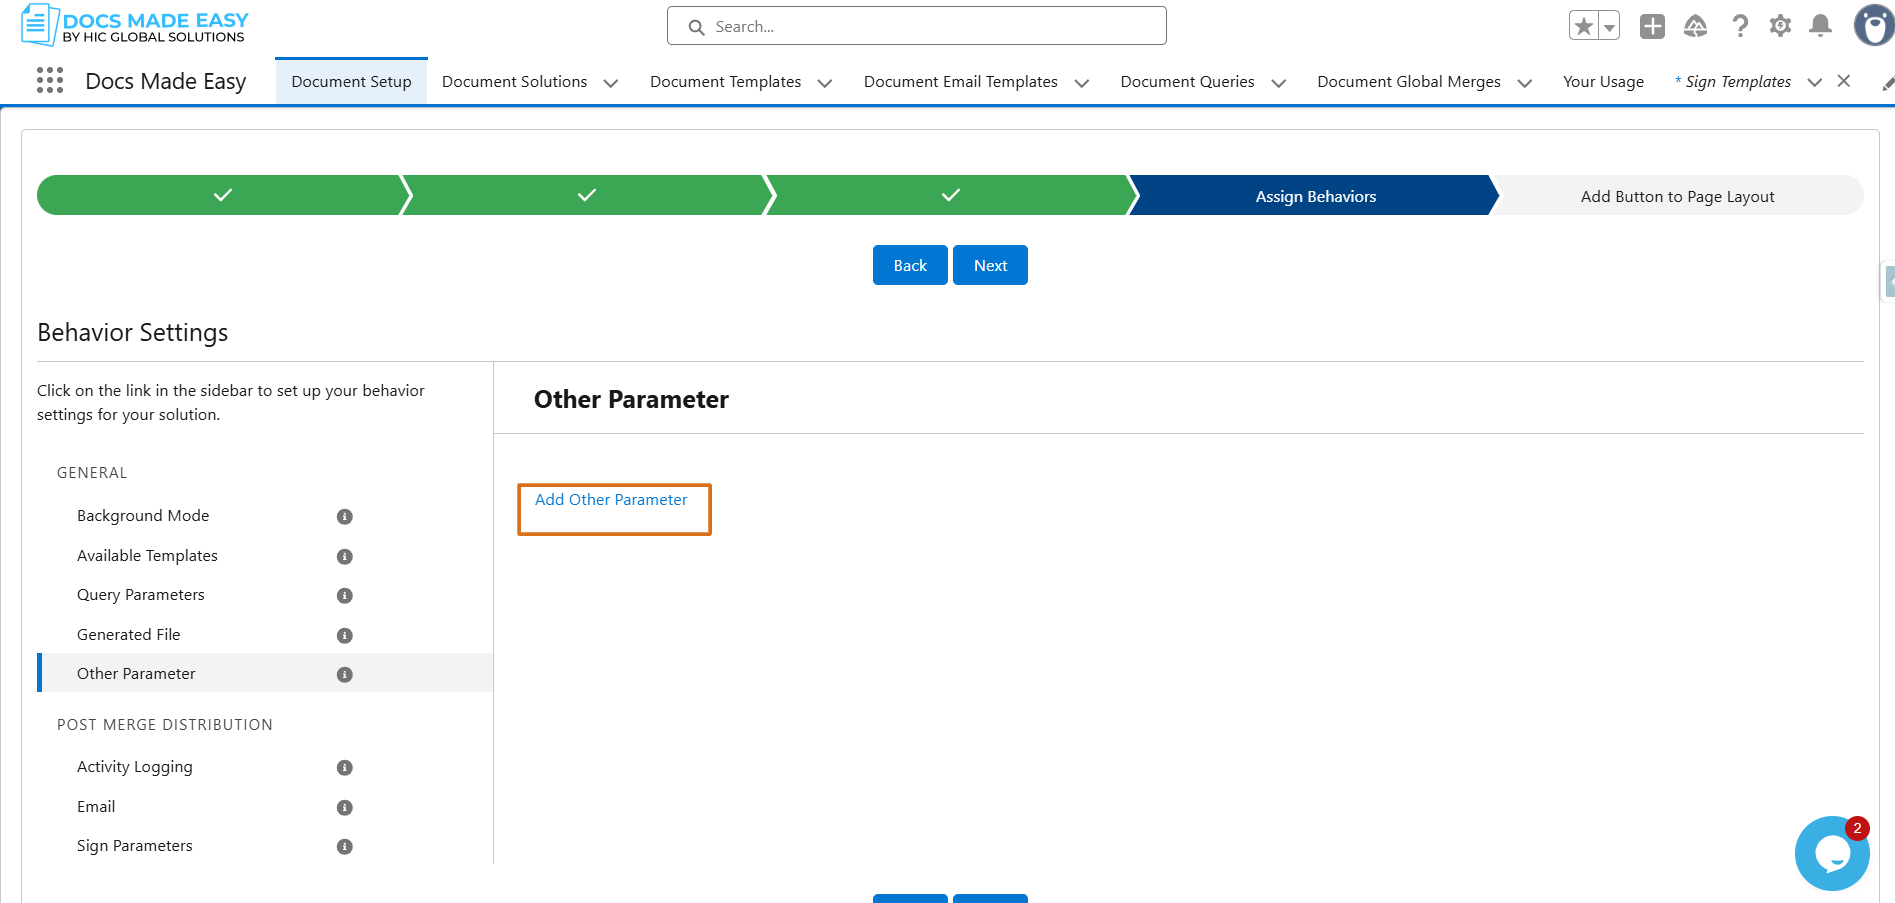
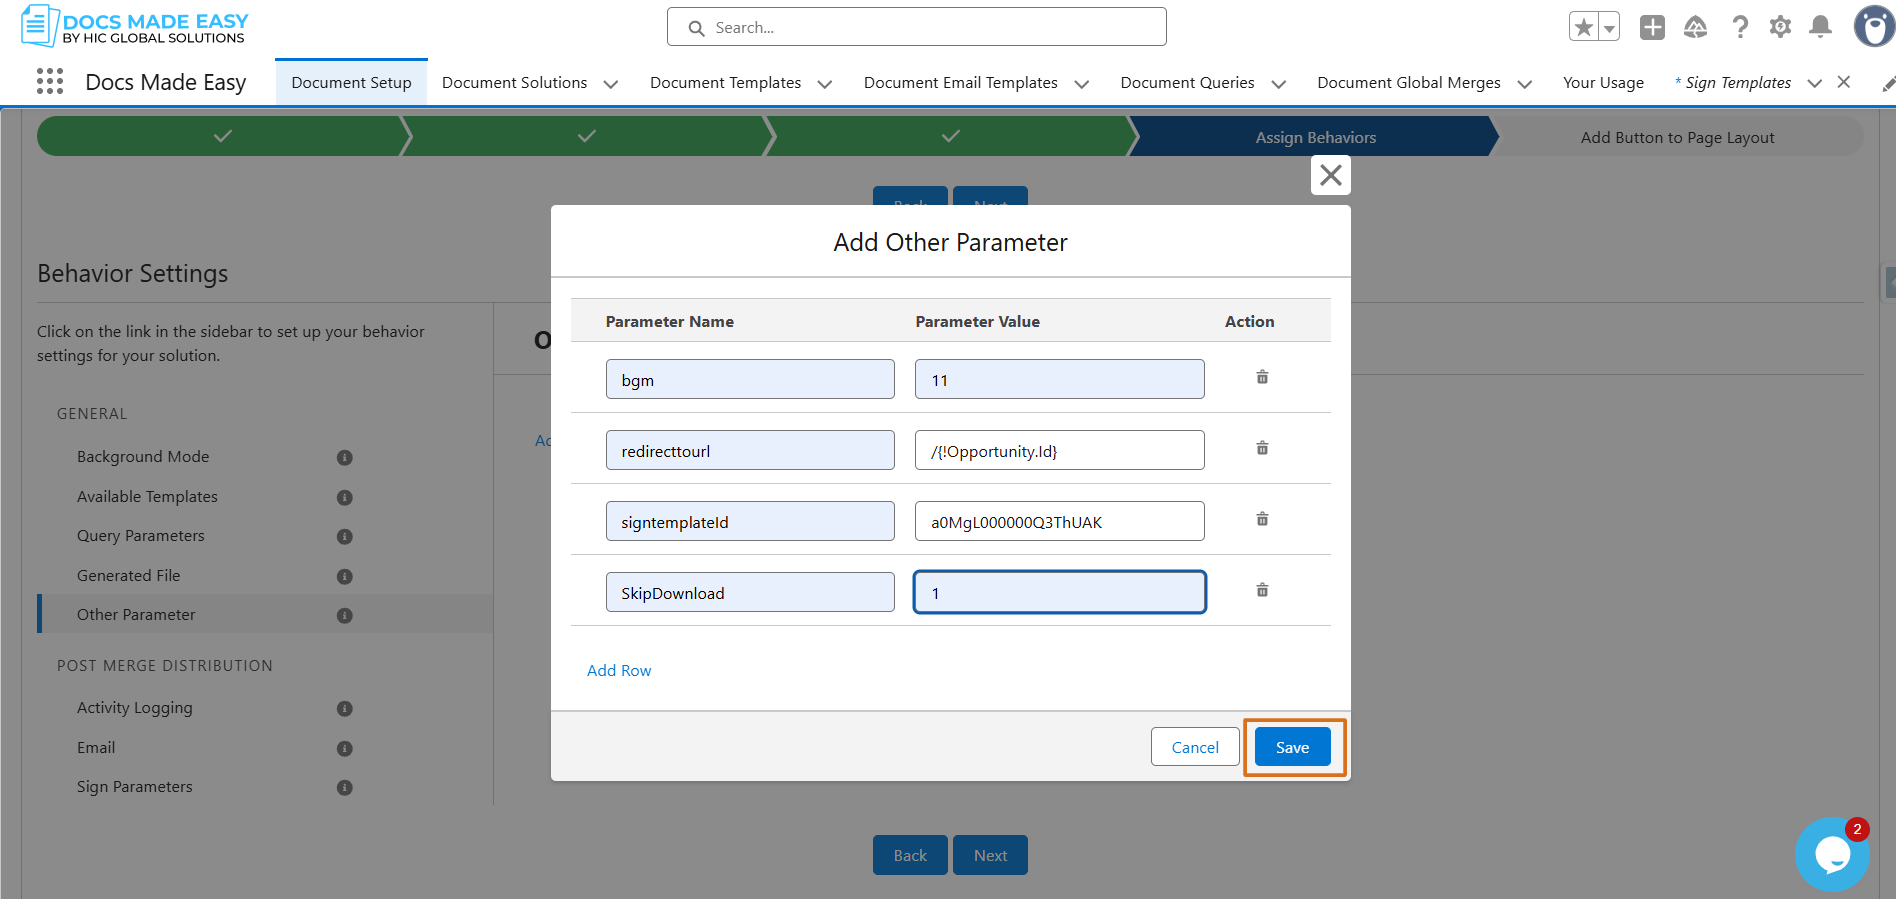
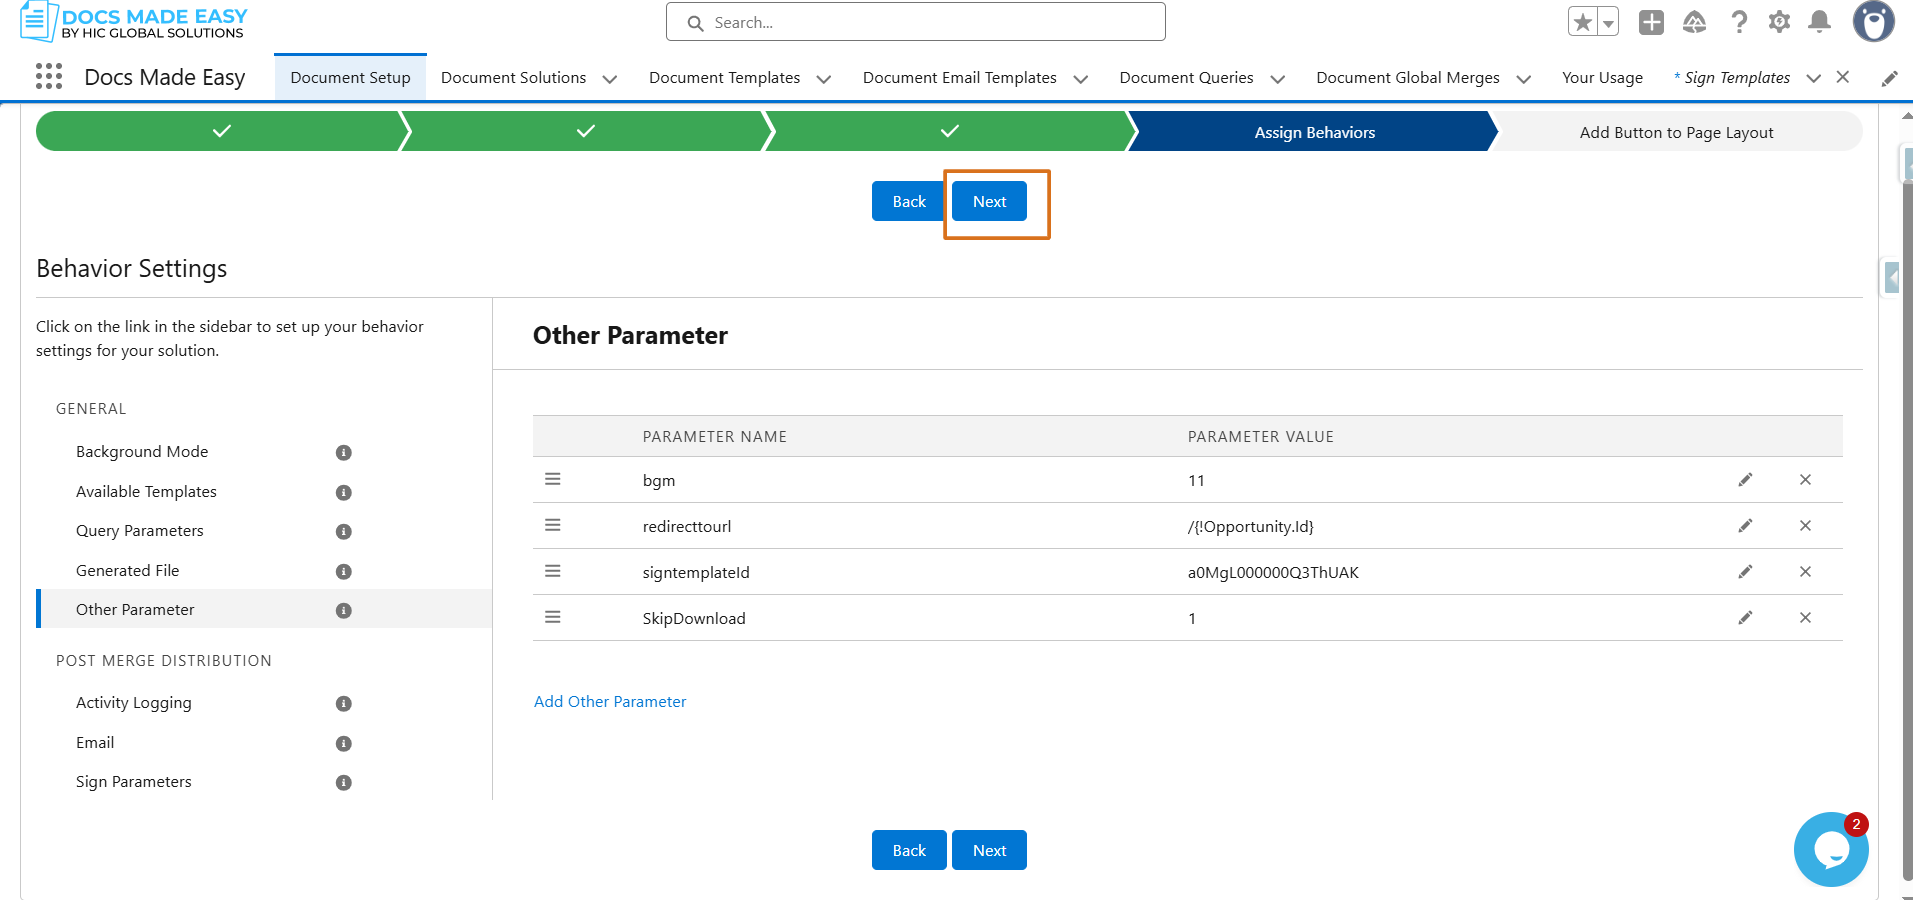
Step 16: Go to Other Parameters, click Add Other Parameter, and add the following:
- bgm 11
- redirecttourl
- signtemplateId
- SkipdDownload
After adding them, click Save. Then click on the Next button.
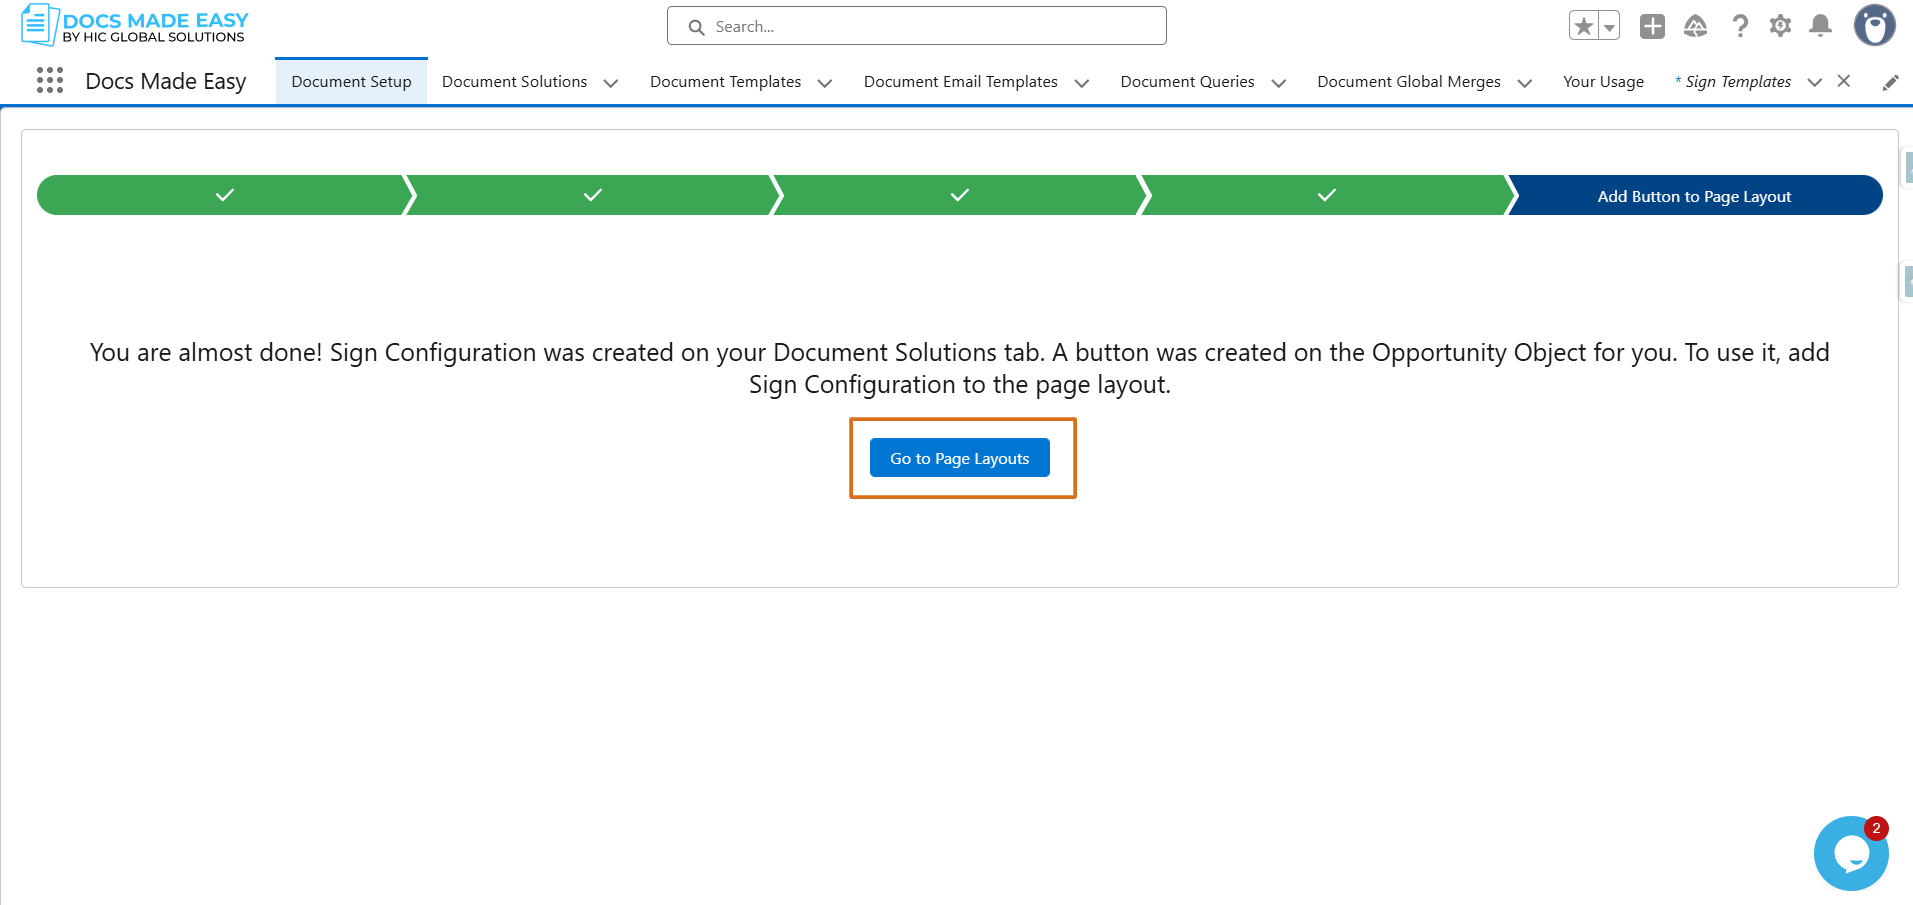
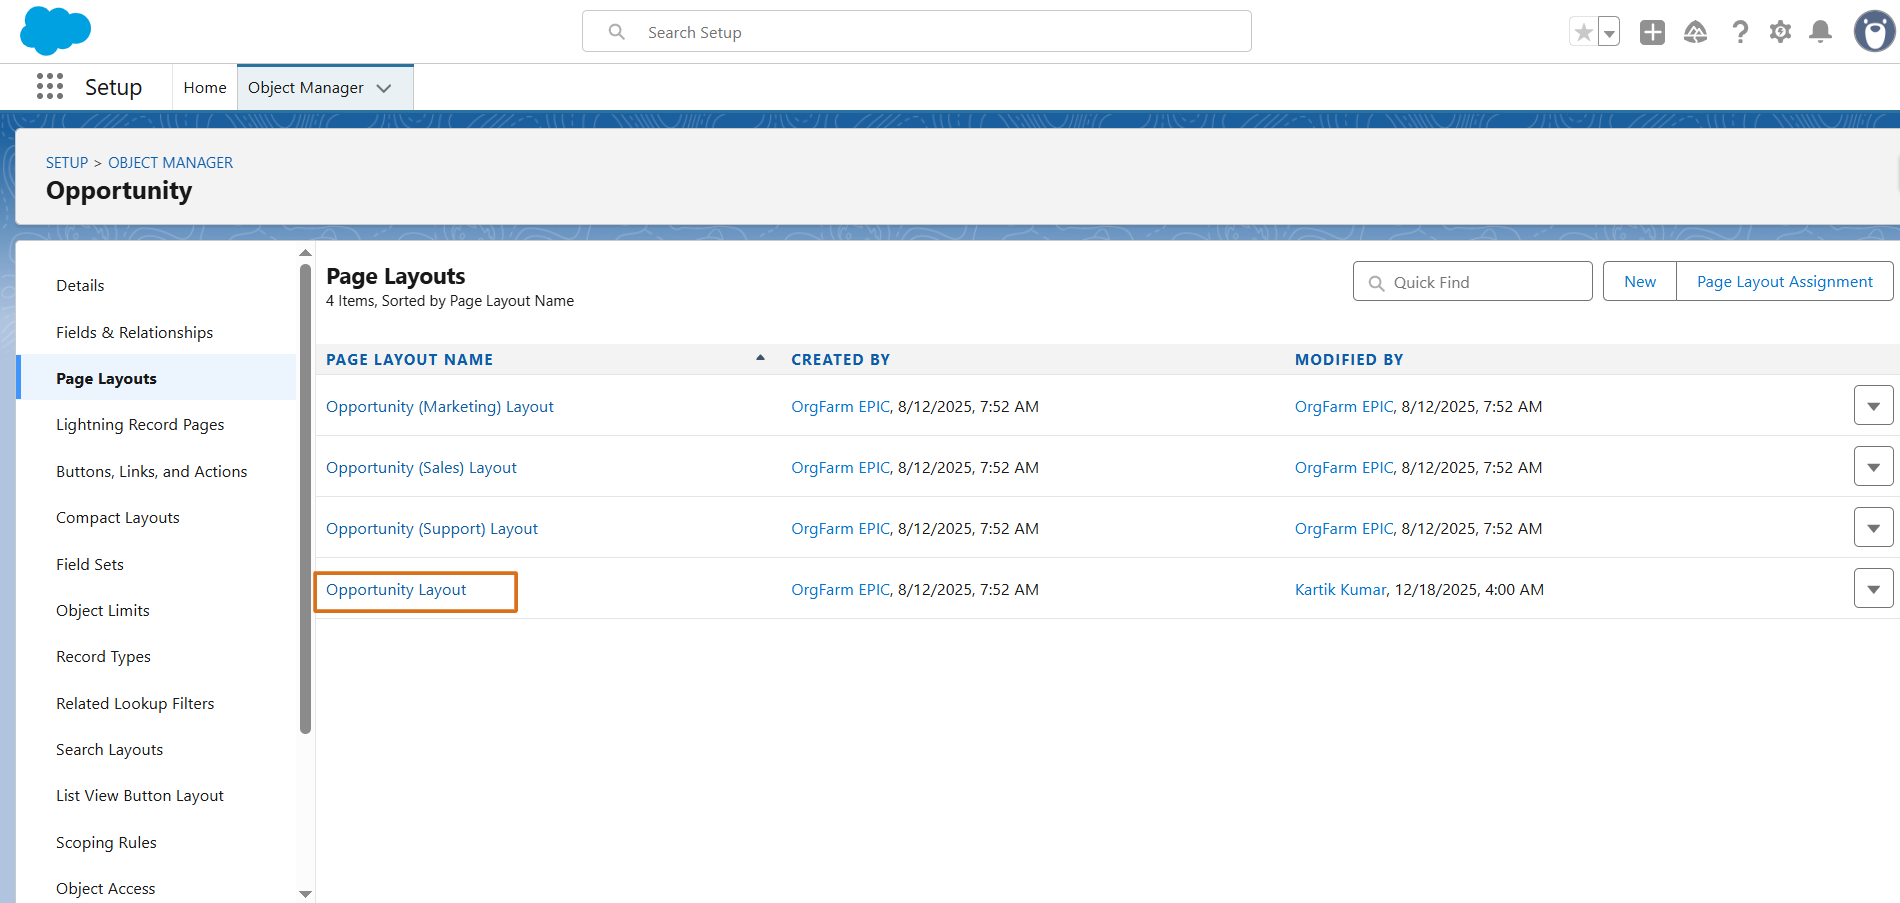
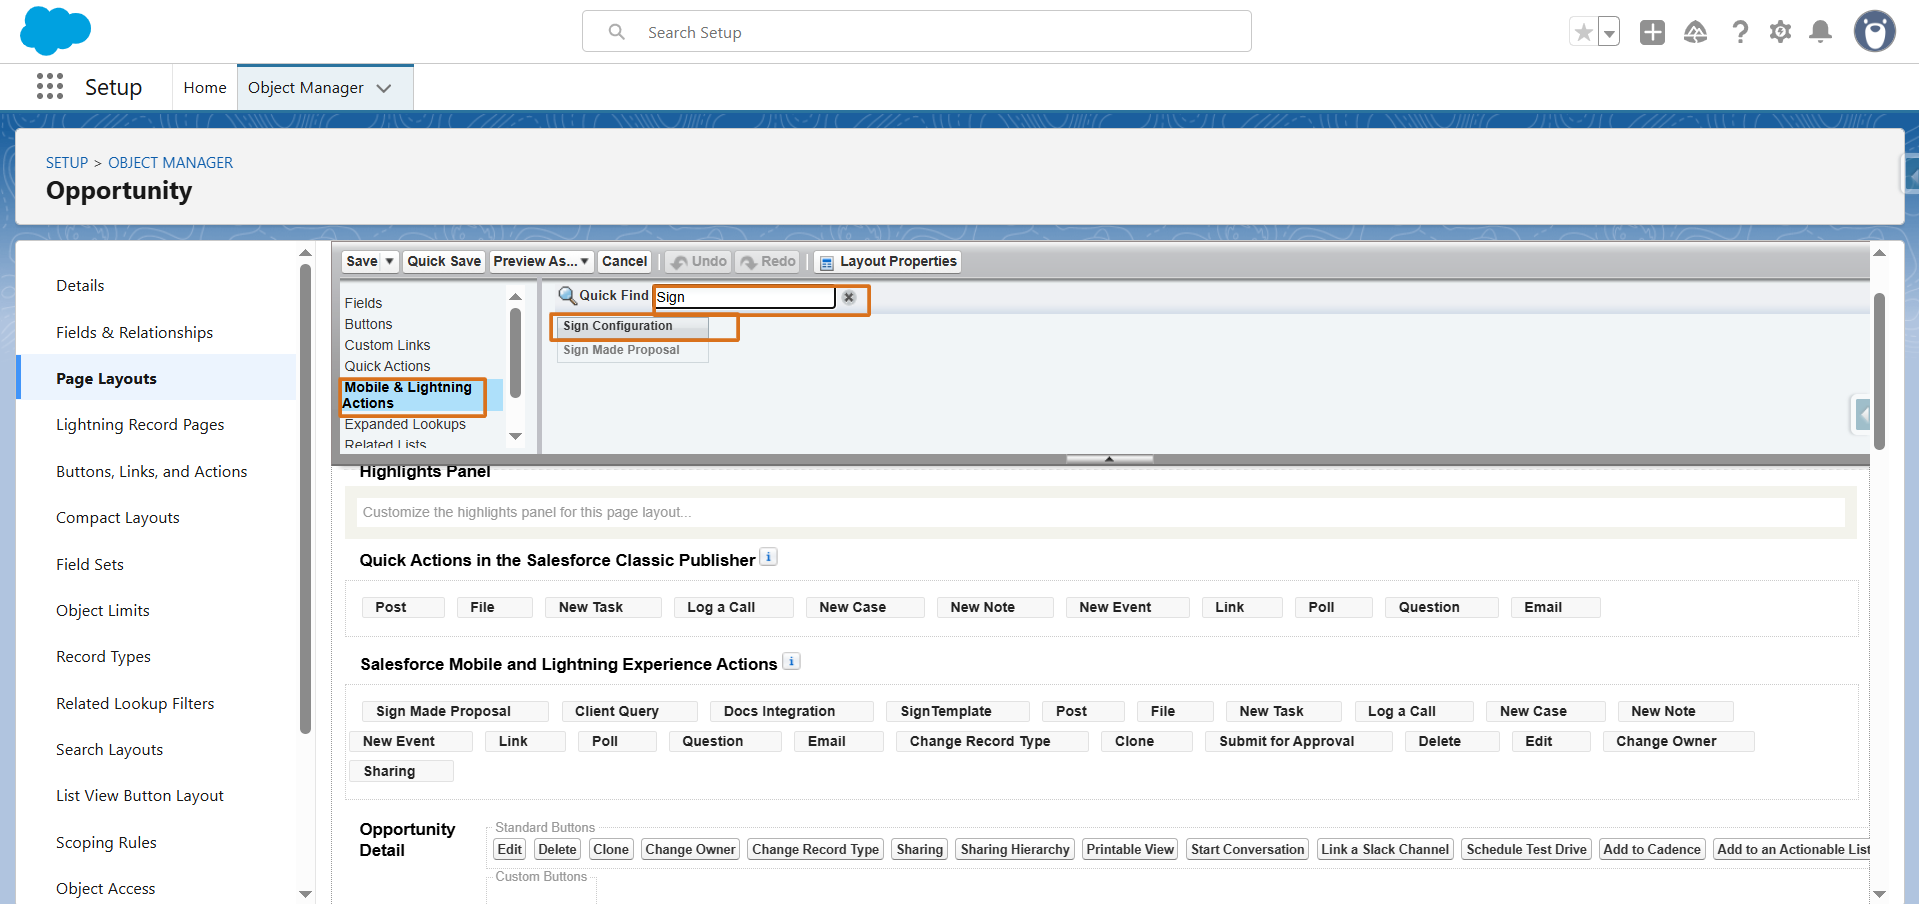
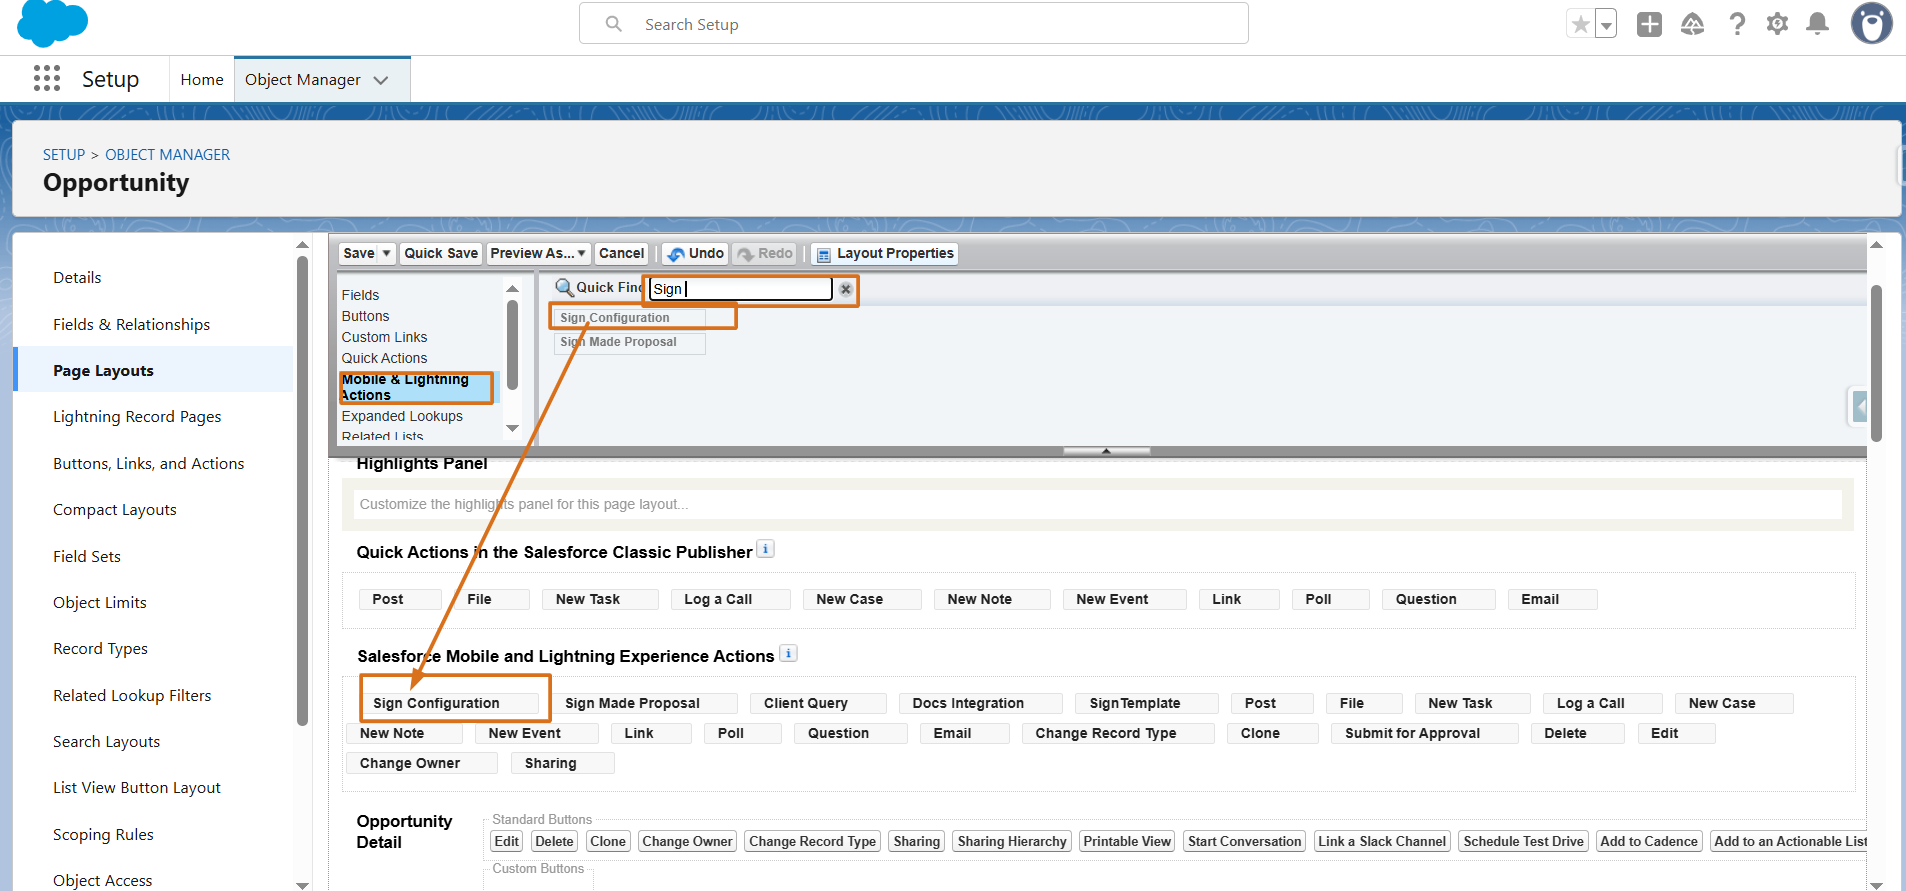
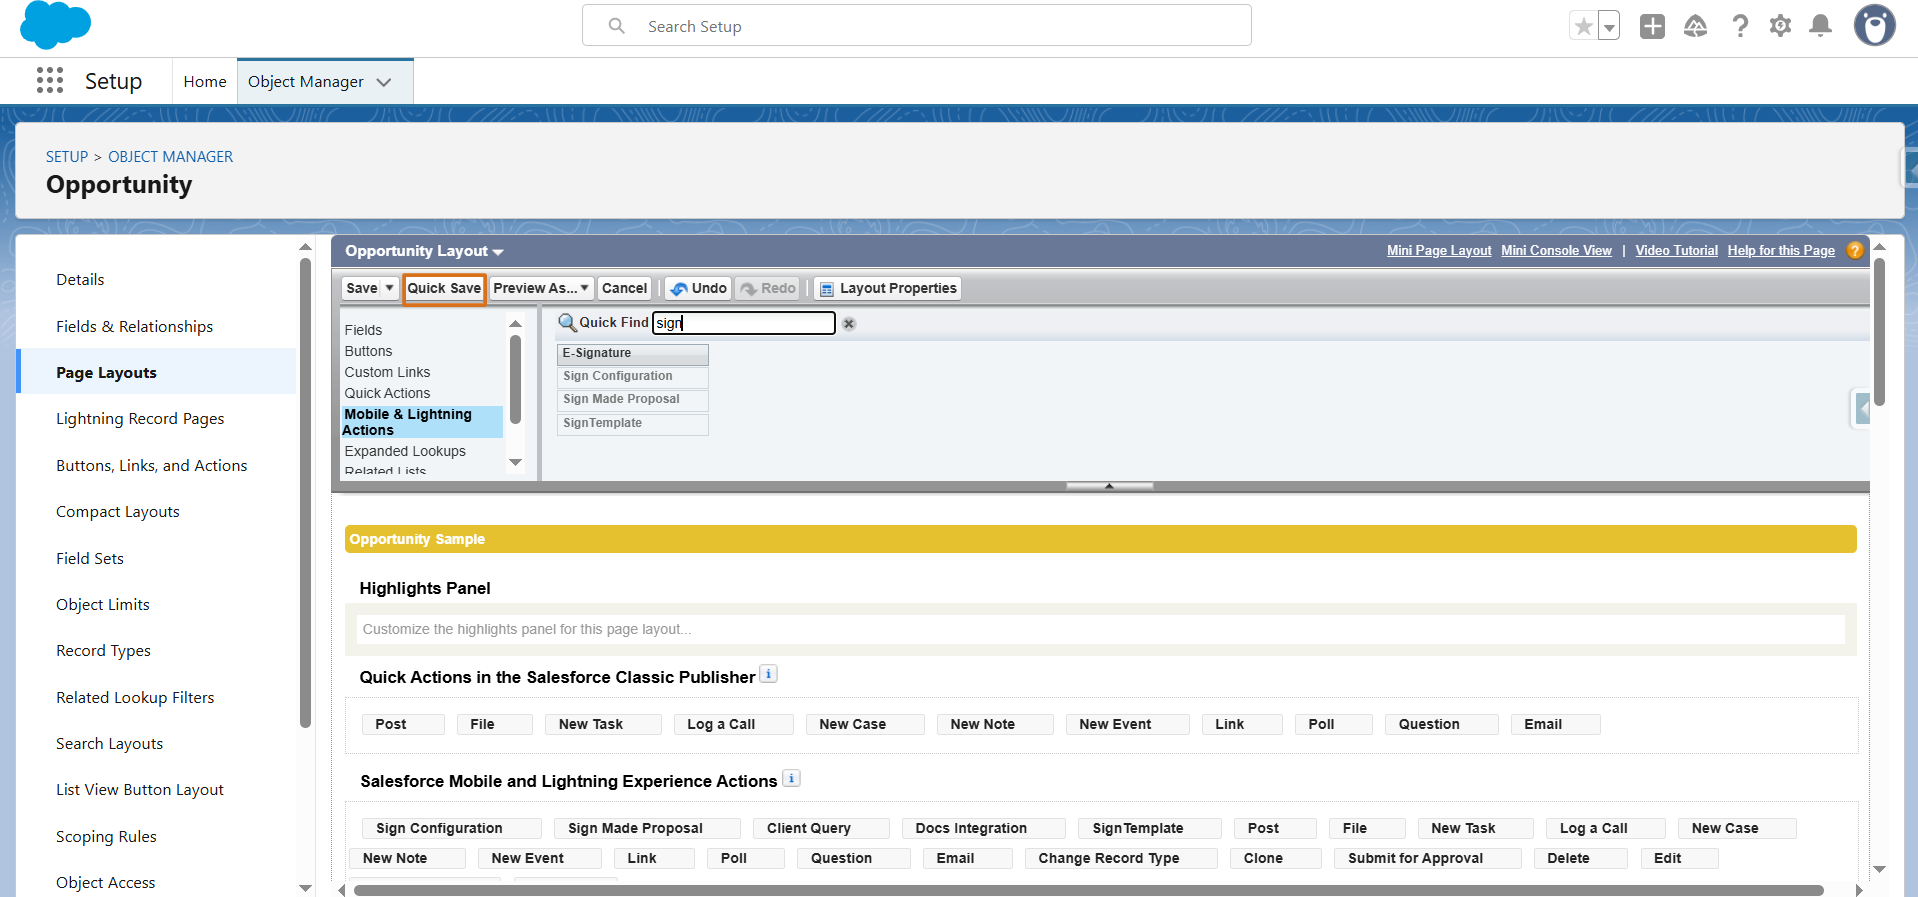
Step 17: Click on Go to Page Layout, open the relevant object layout (for example, Opportunity), and drag the newly created button into Mobile & Lightning Actions. Save the layout.
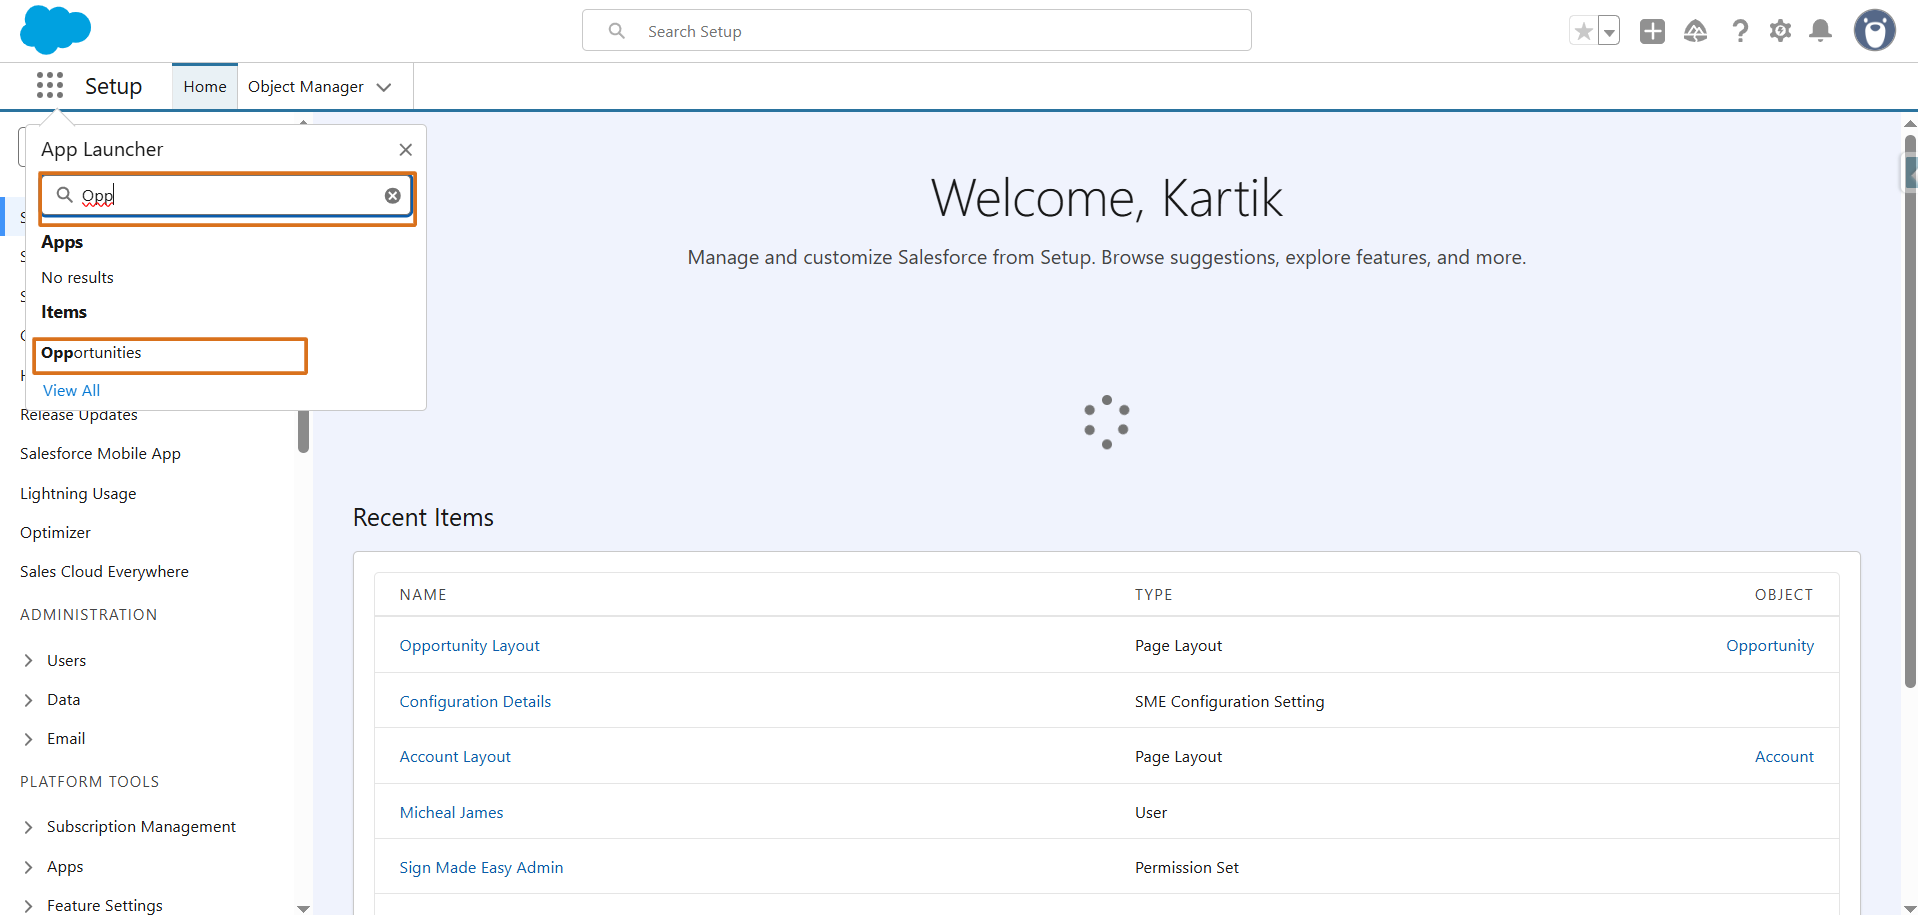
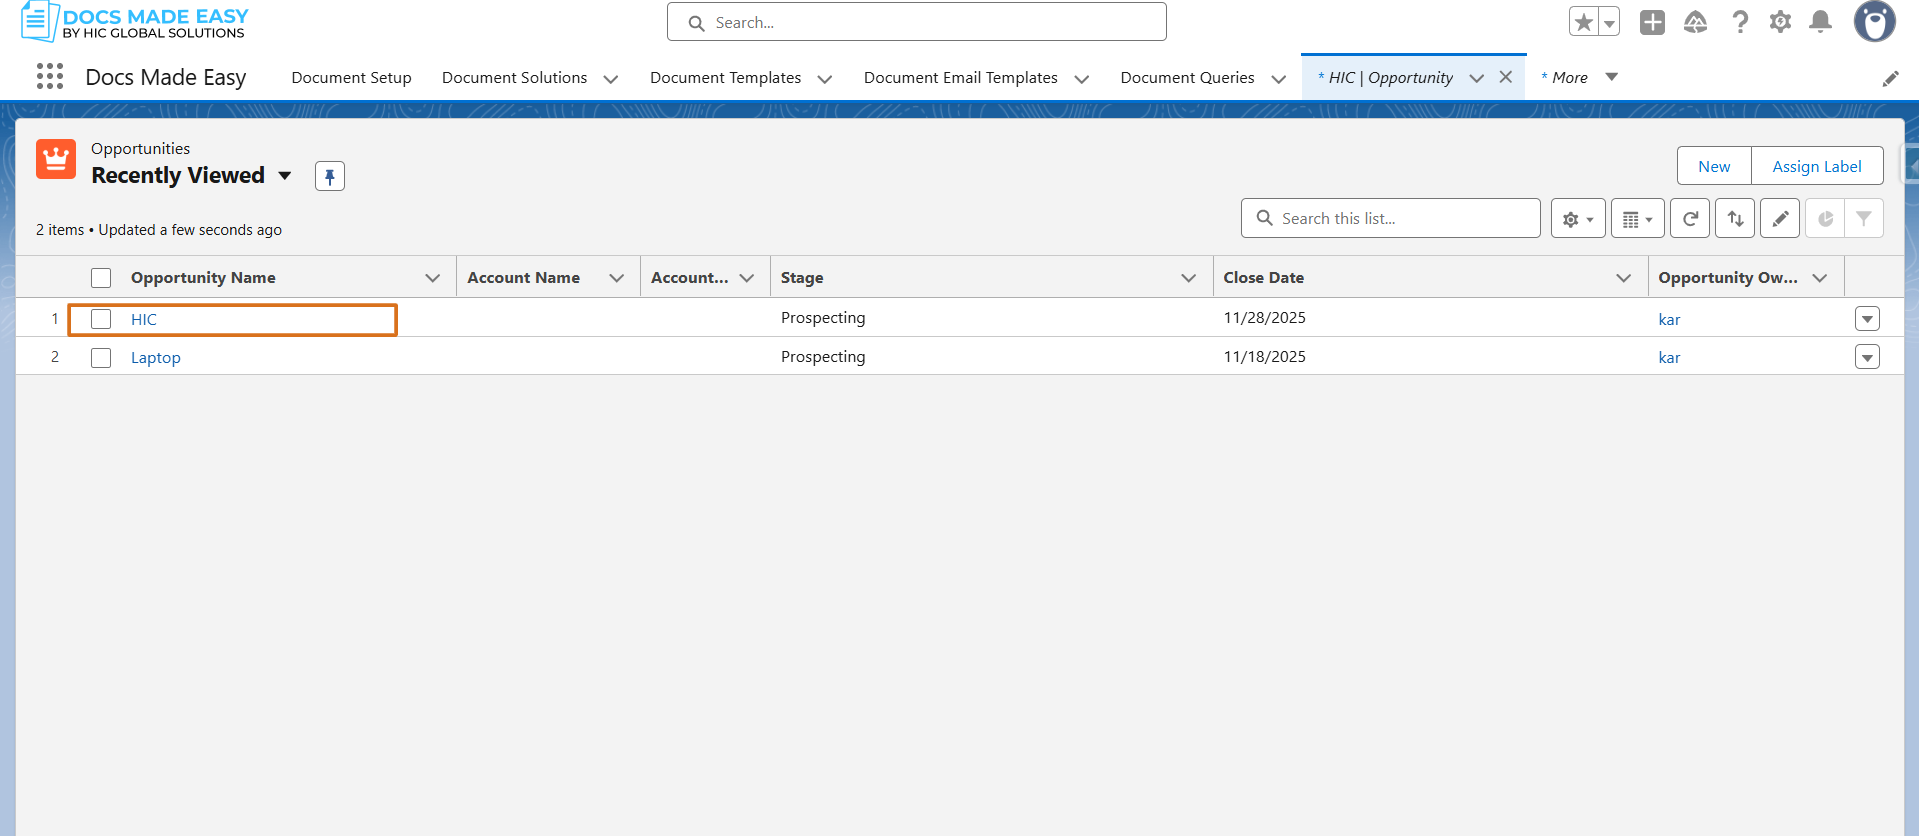
Step 18: Open the App Launcher again and search for the object where you created the template.
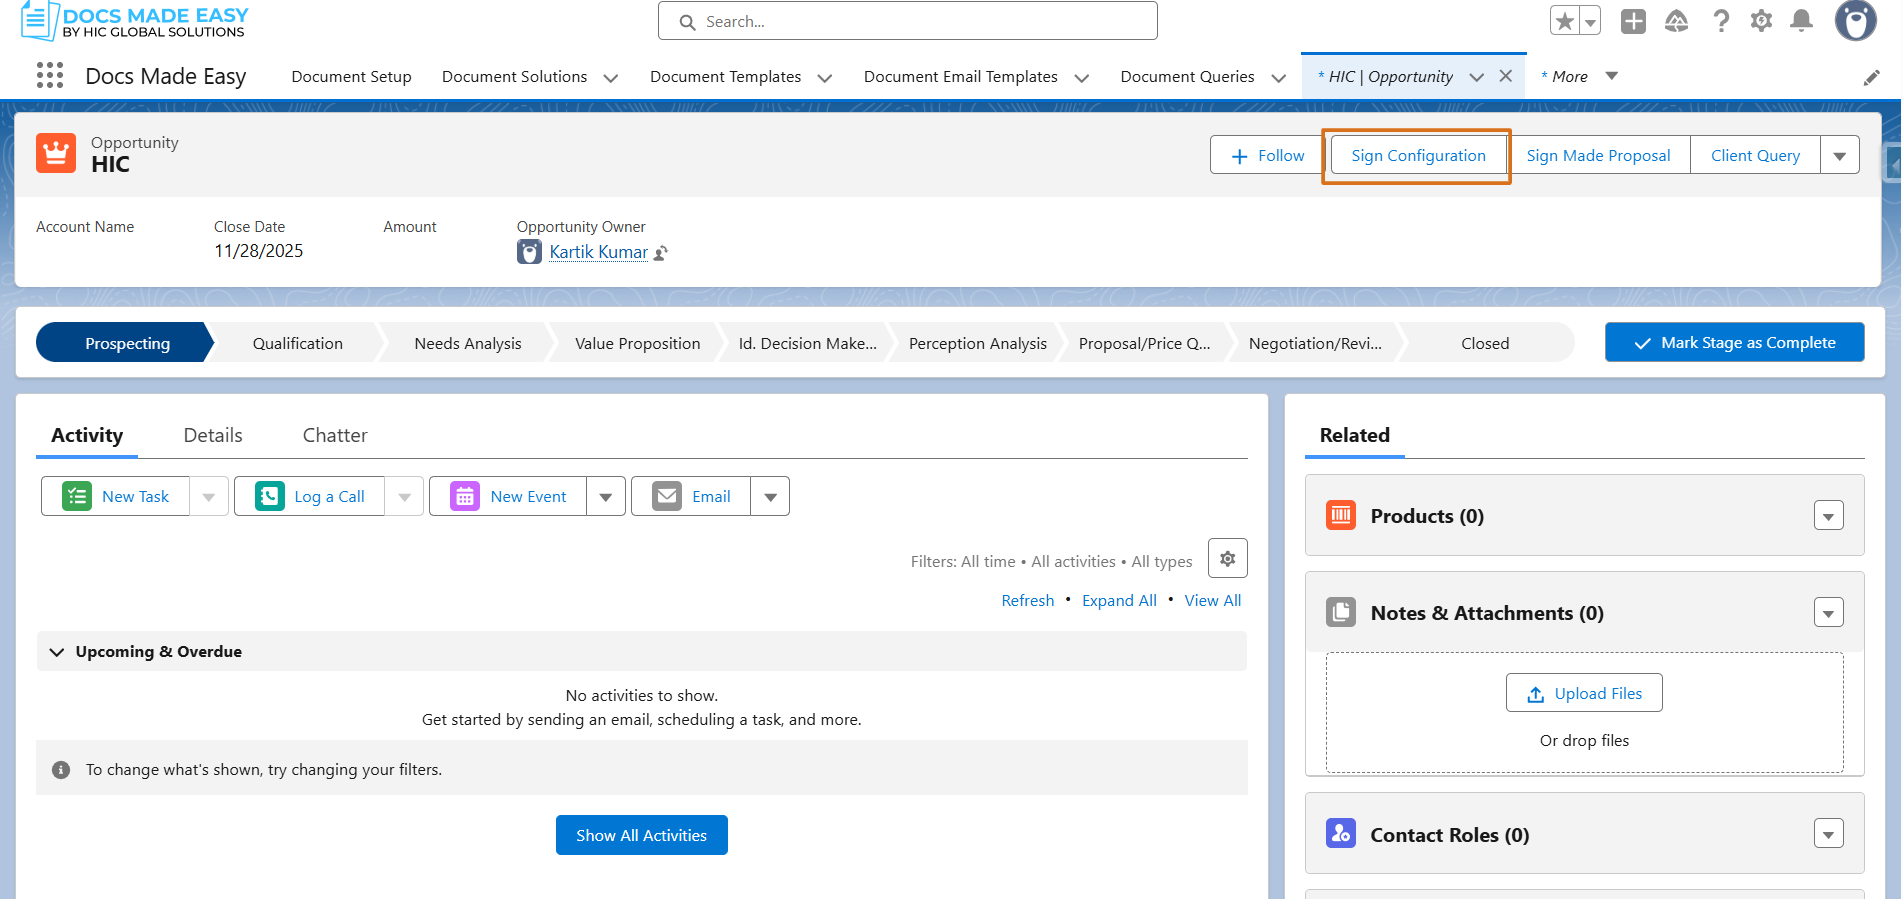
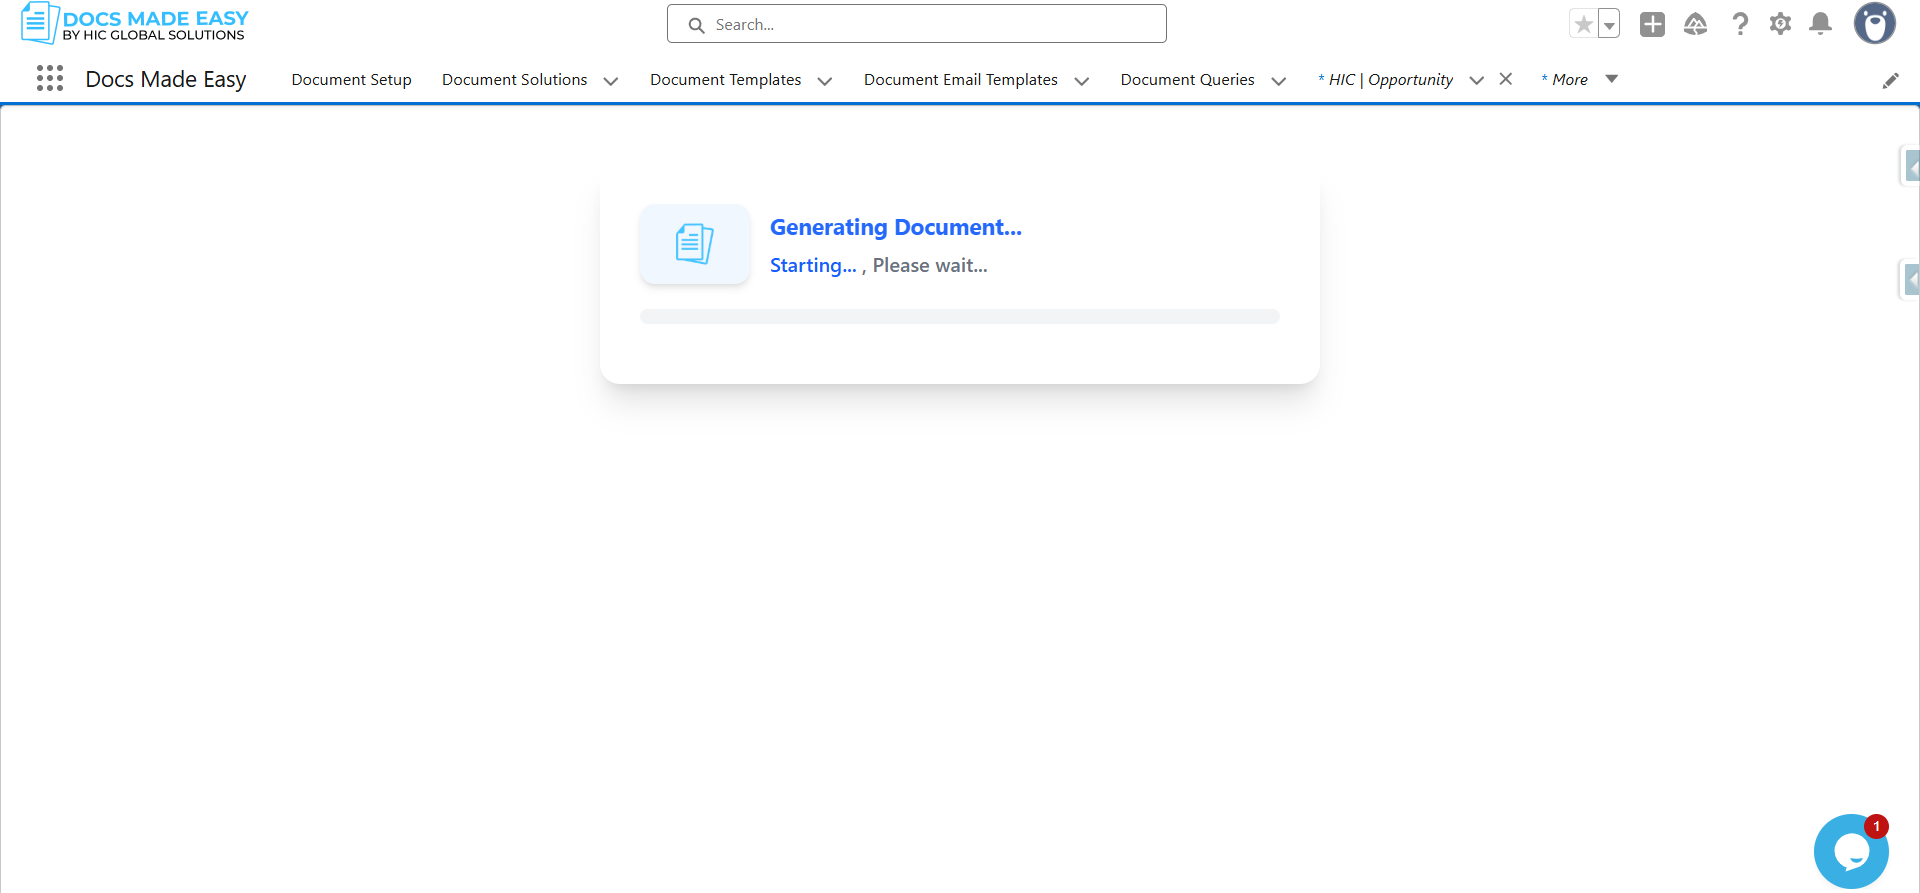
Step 19: Open a record and click on the newly created button to send the transaction for eSignature.
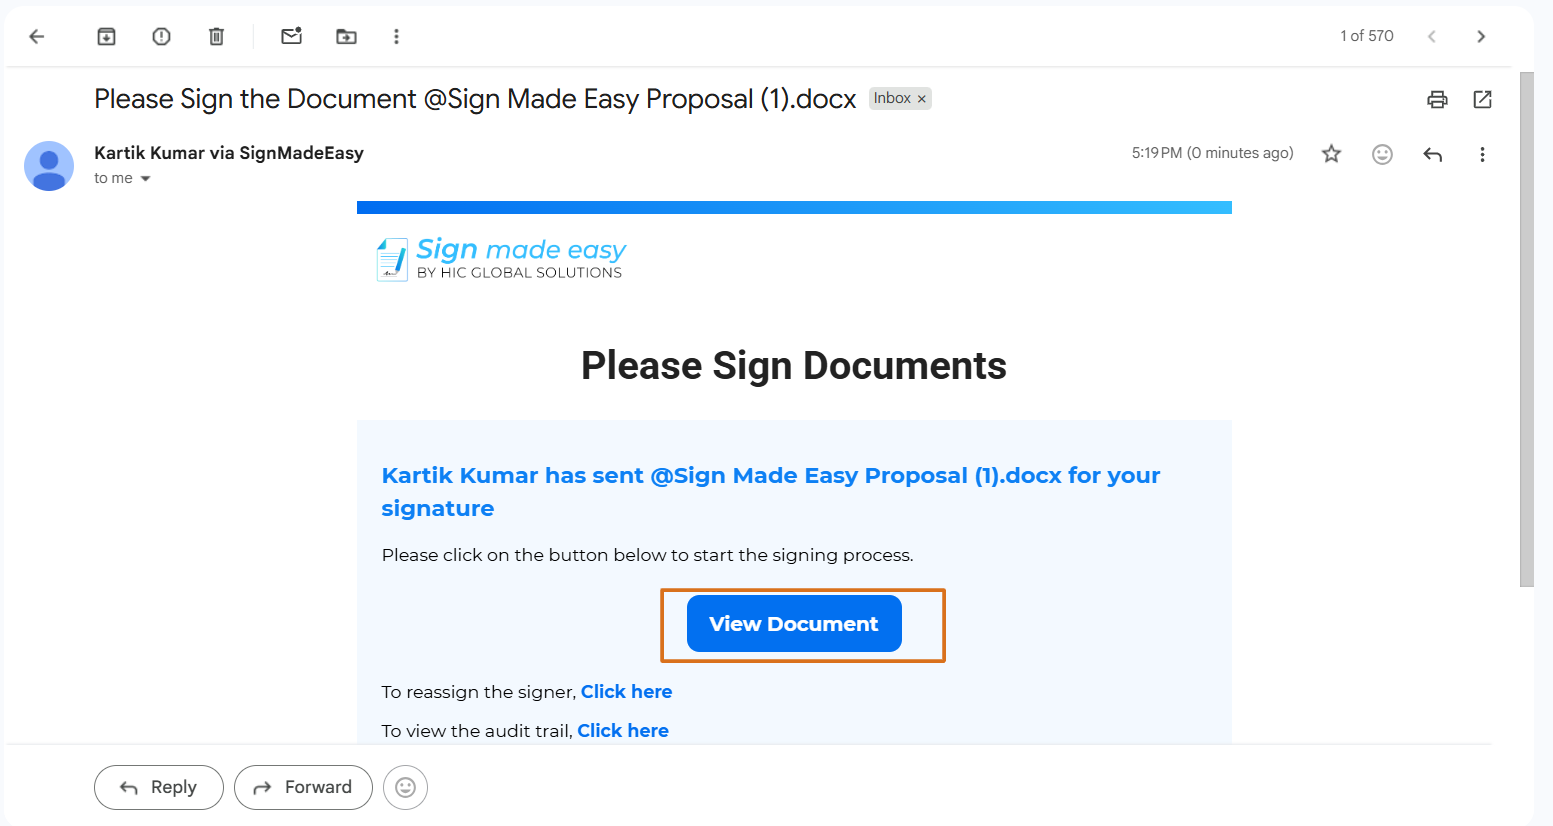
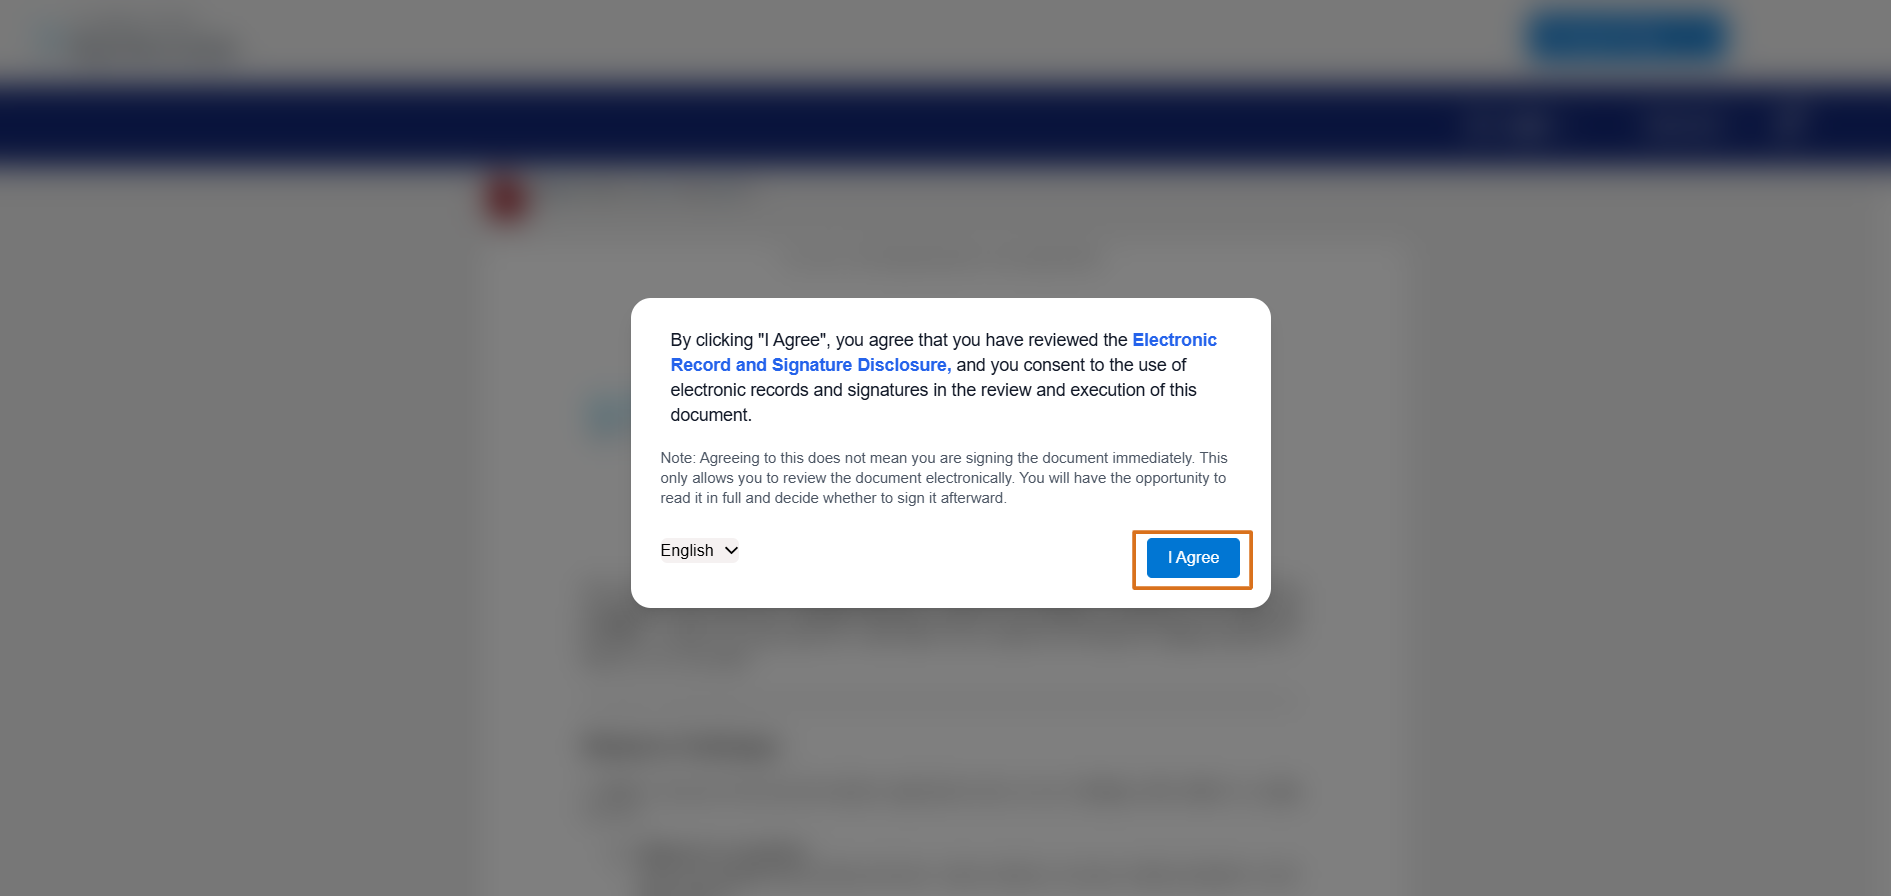
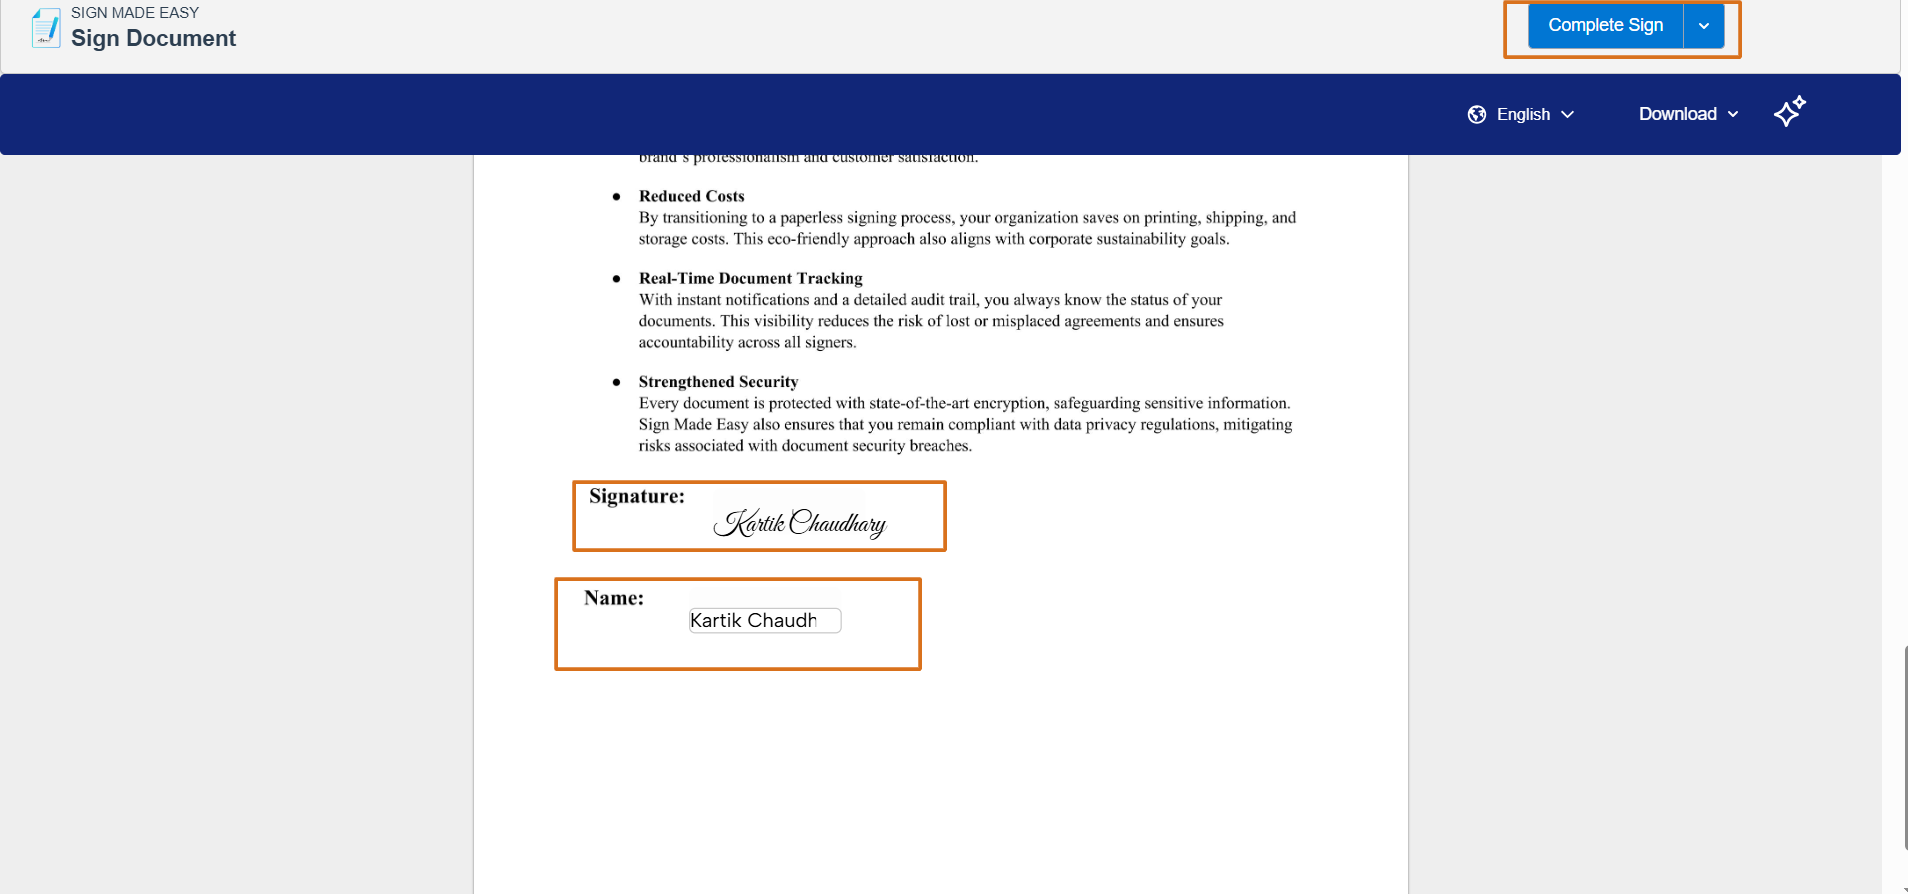
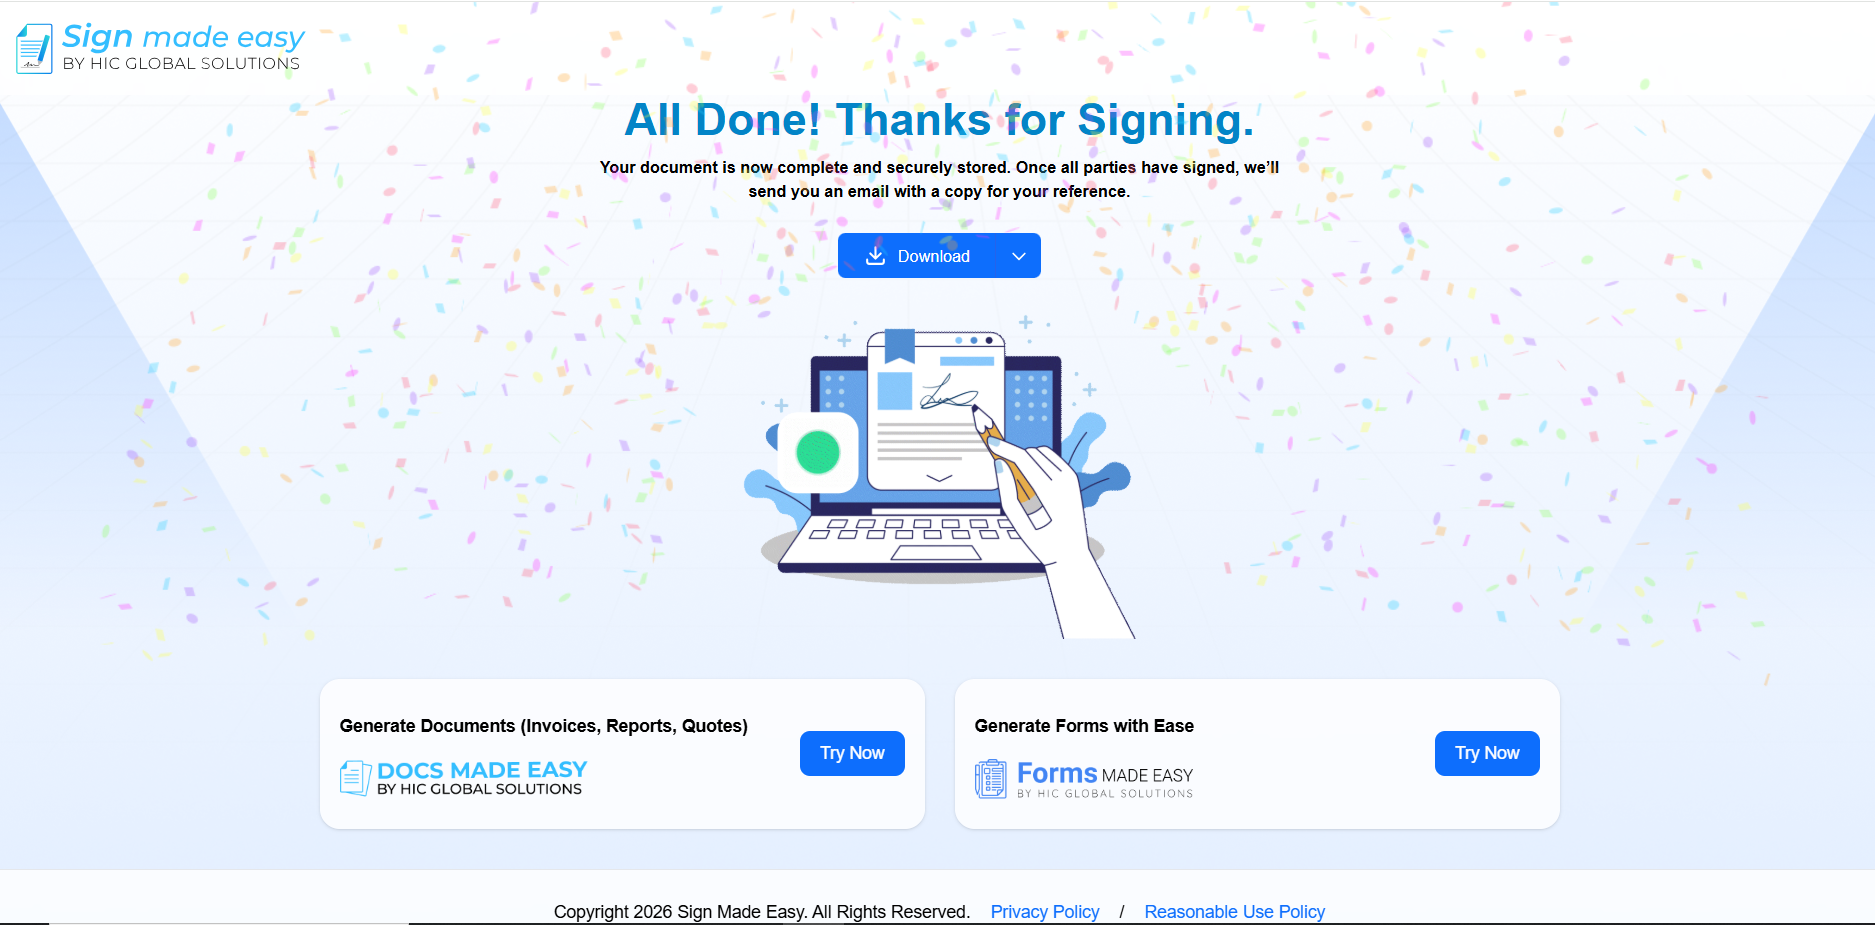
Step 20: The recipient will receive an email. Open the email and click View Document to complete the signature process.
Thank You
Was this article helpful?
That’s Great!
Thank you for your feedback
Sorry! We couldn't be helpful
Thank you for your feedback
Feedback sent
We appreciate your effort and will try to fix the article