Table of Contents
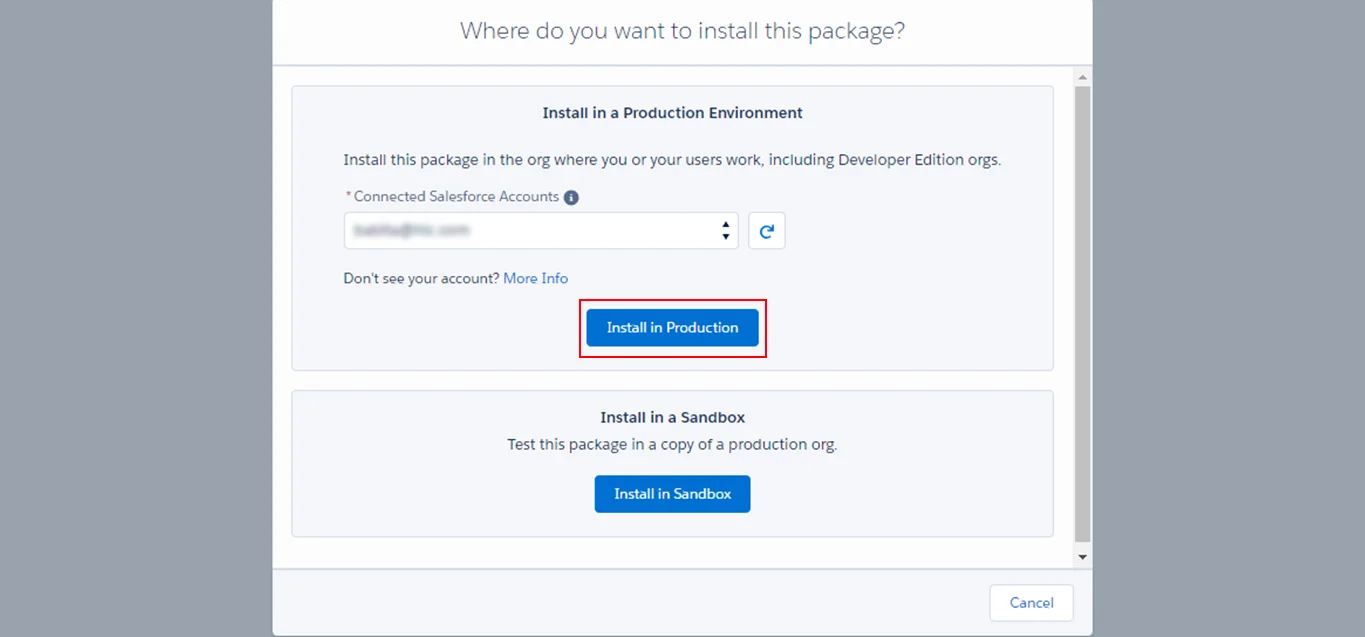
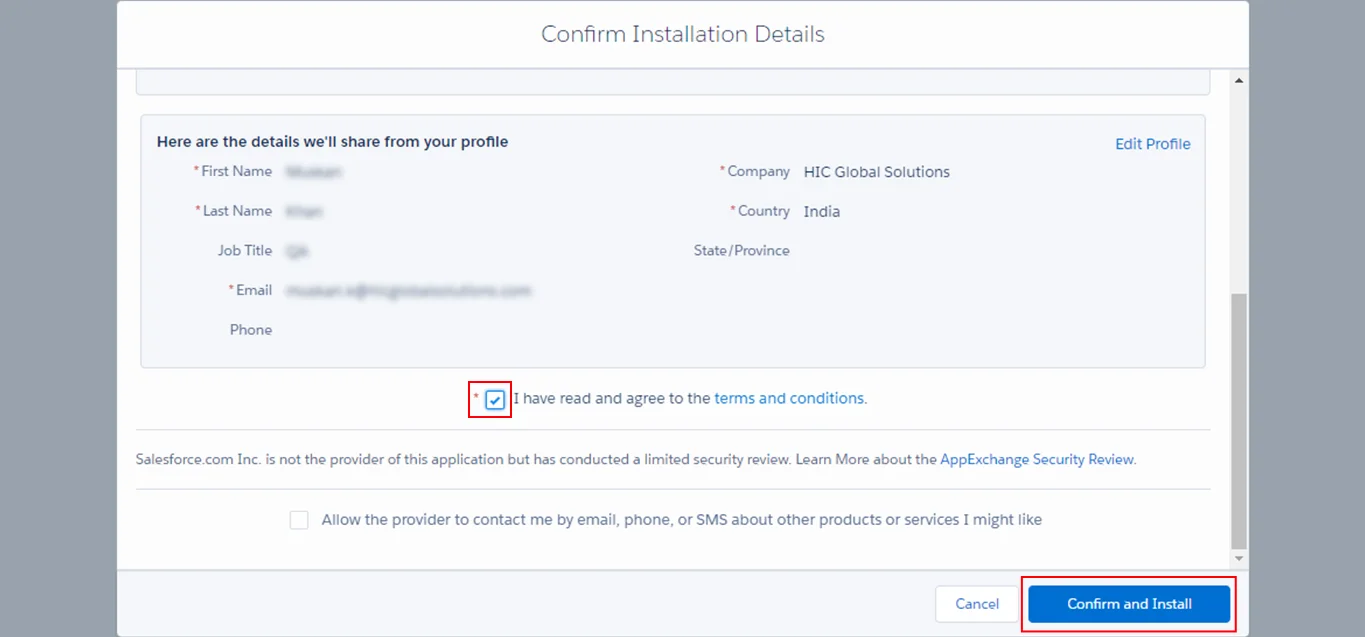
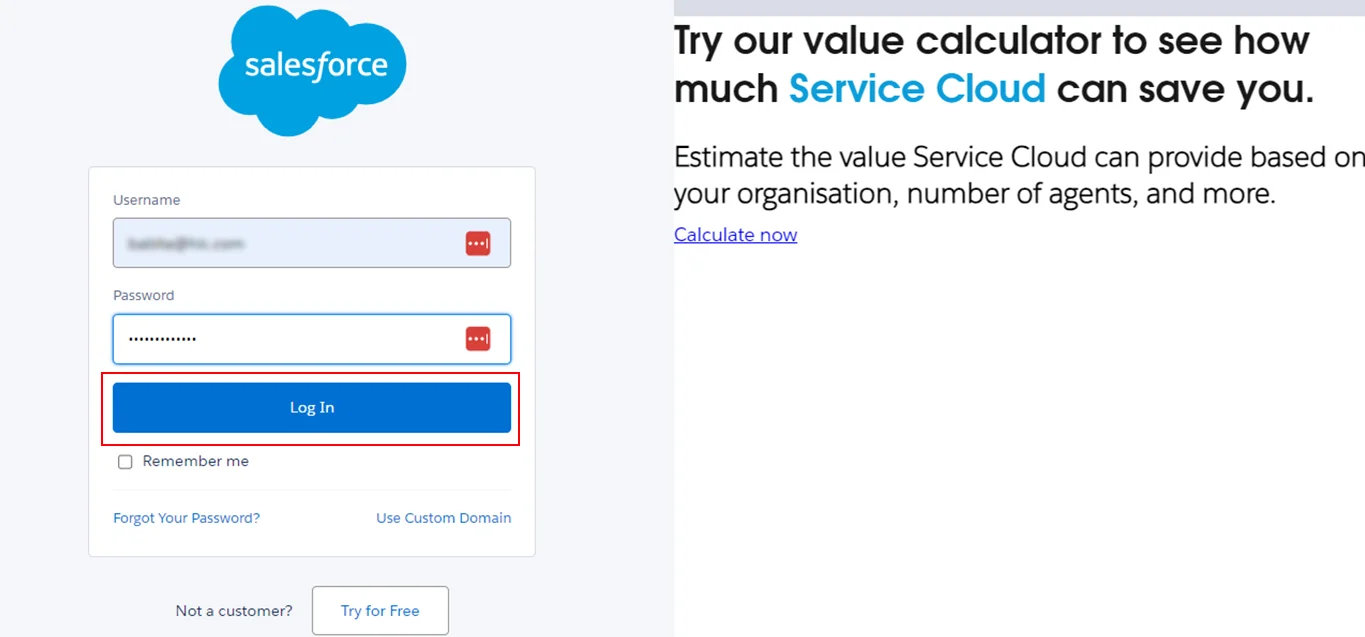
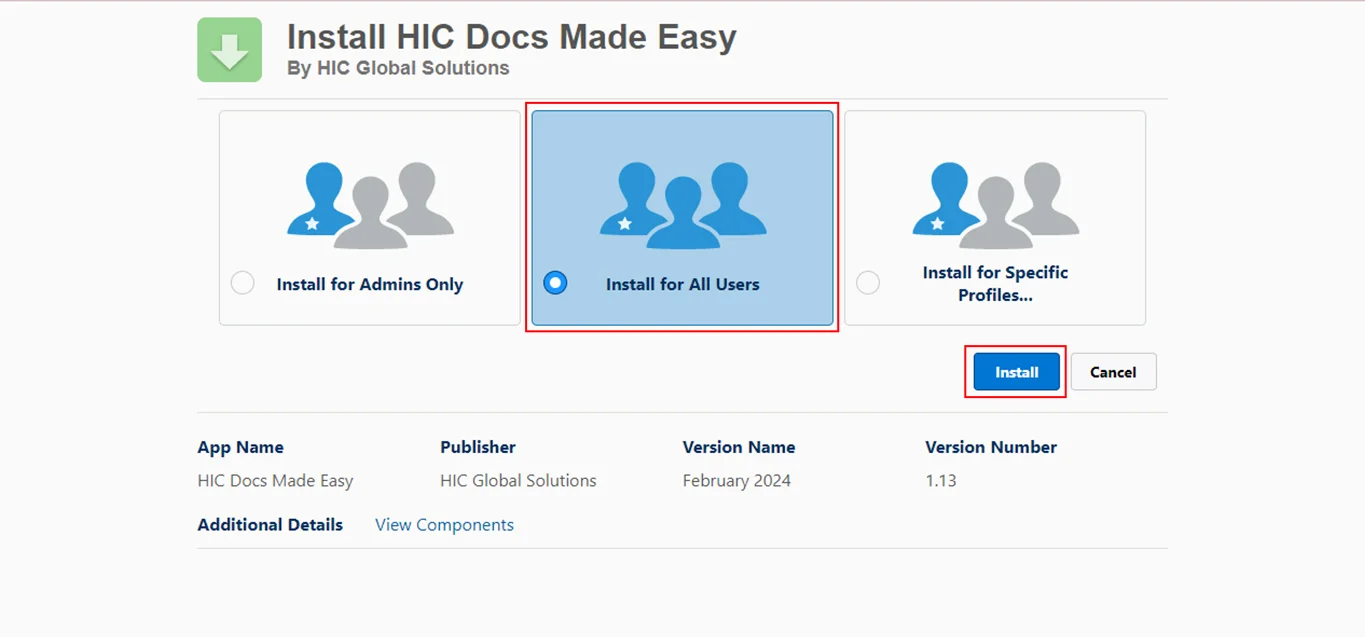
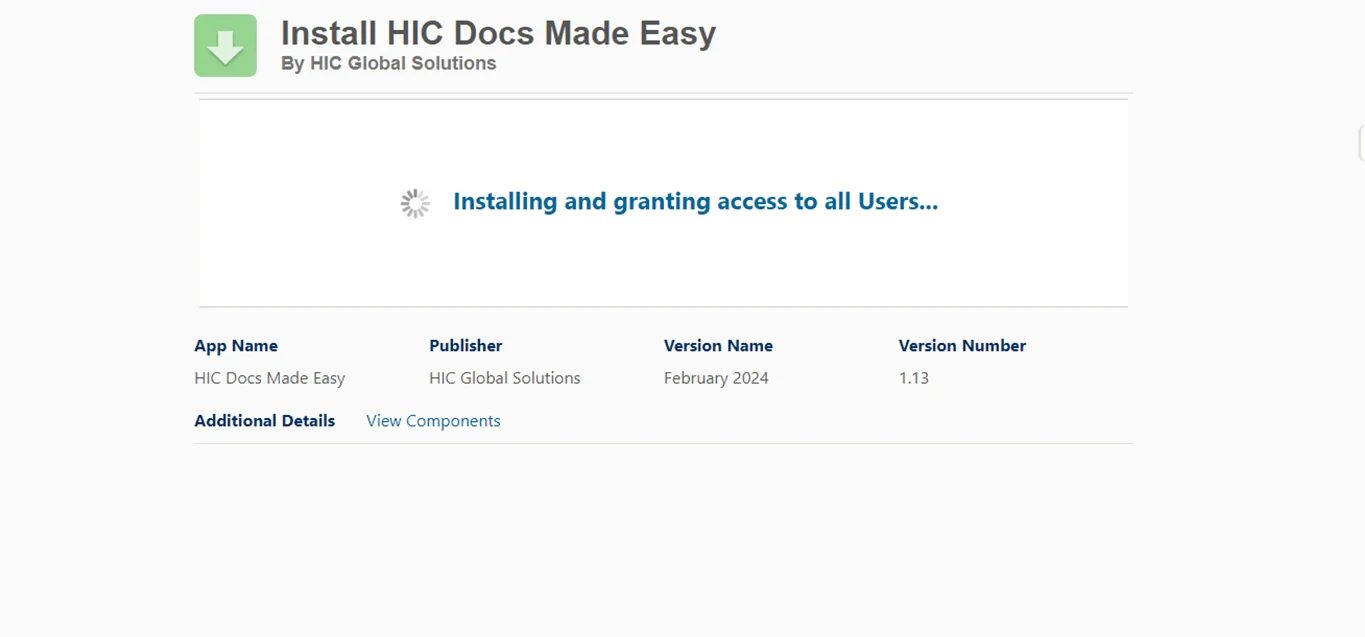
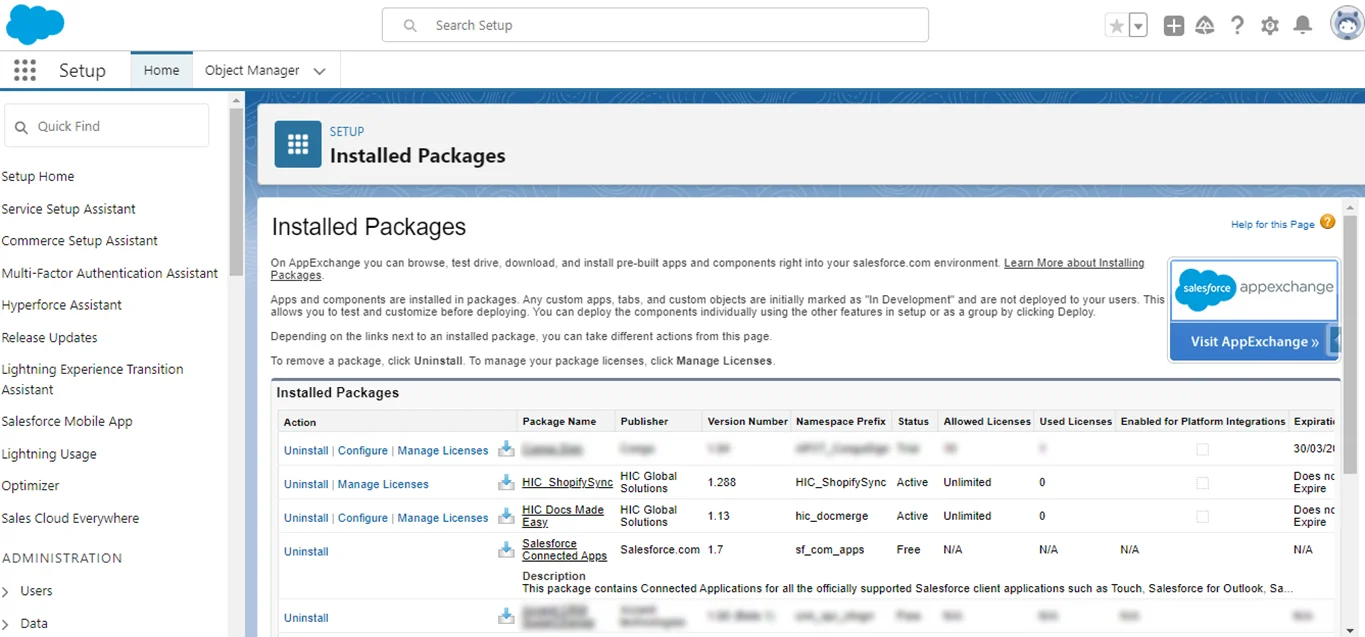
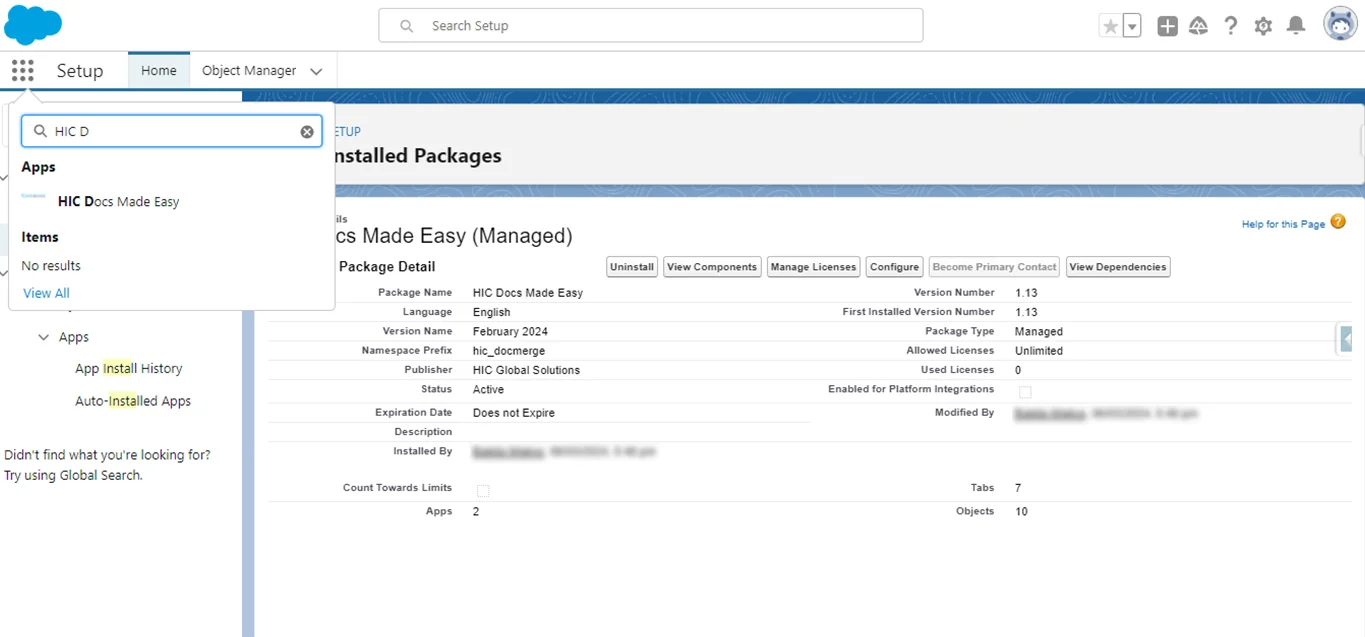
- Installation Steps
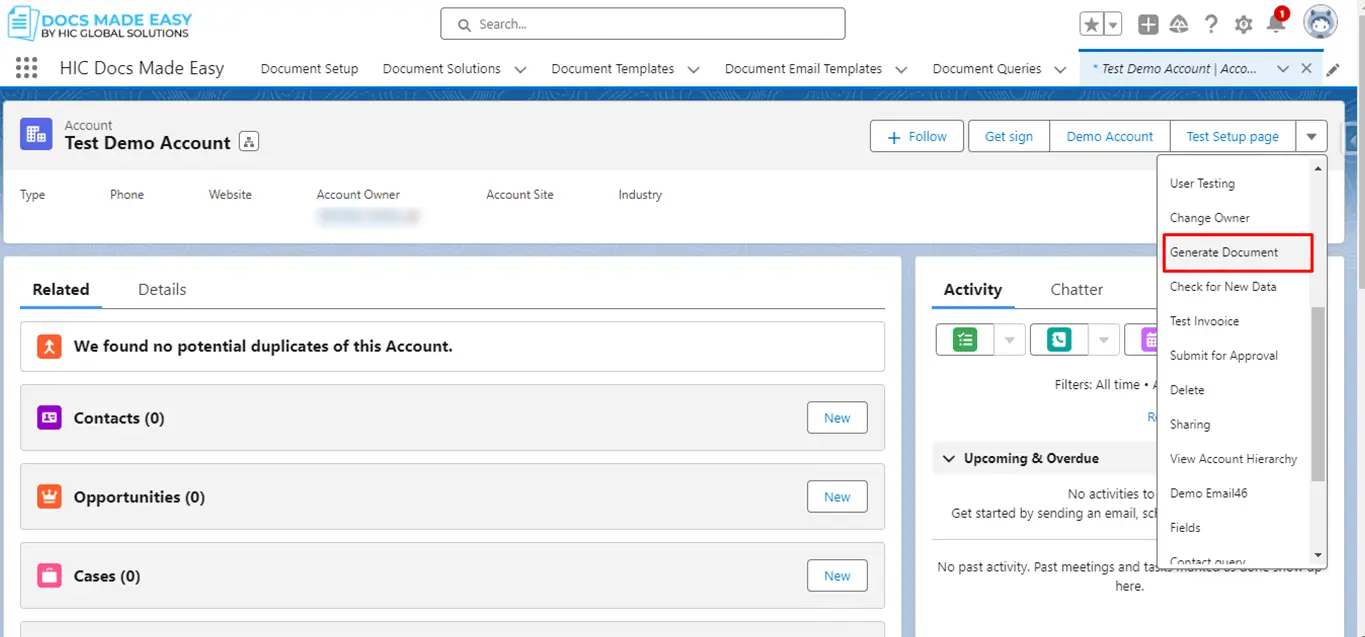
- Generate your first document
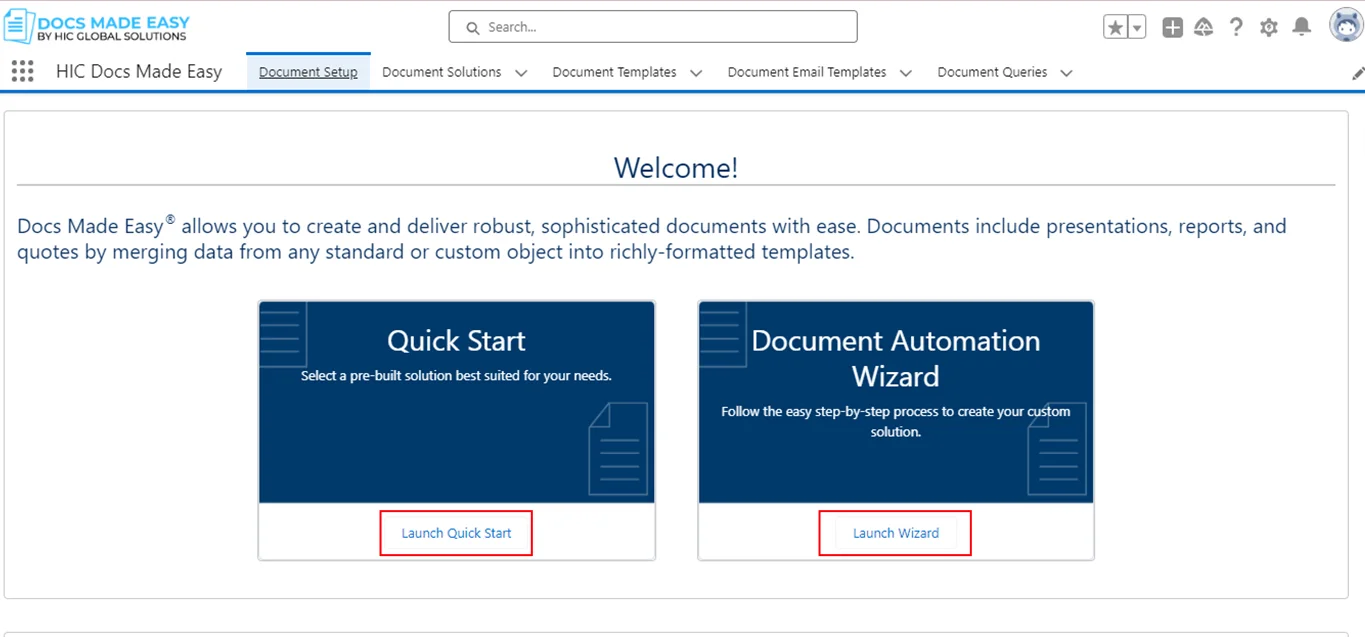
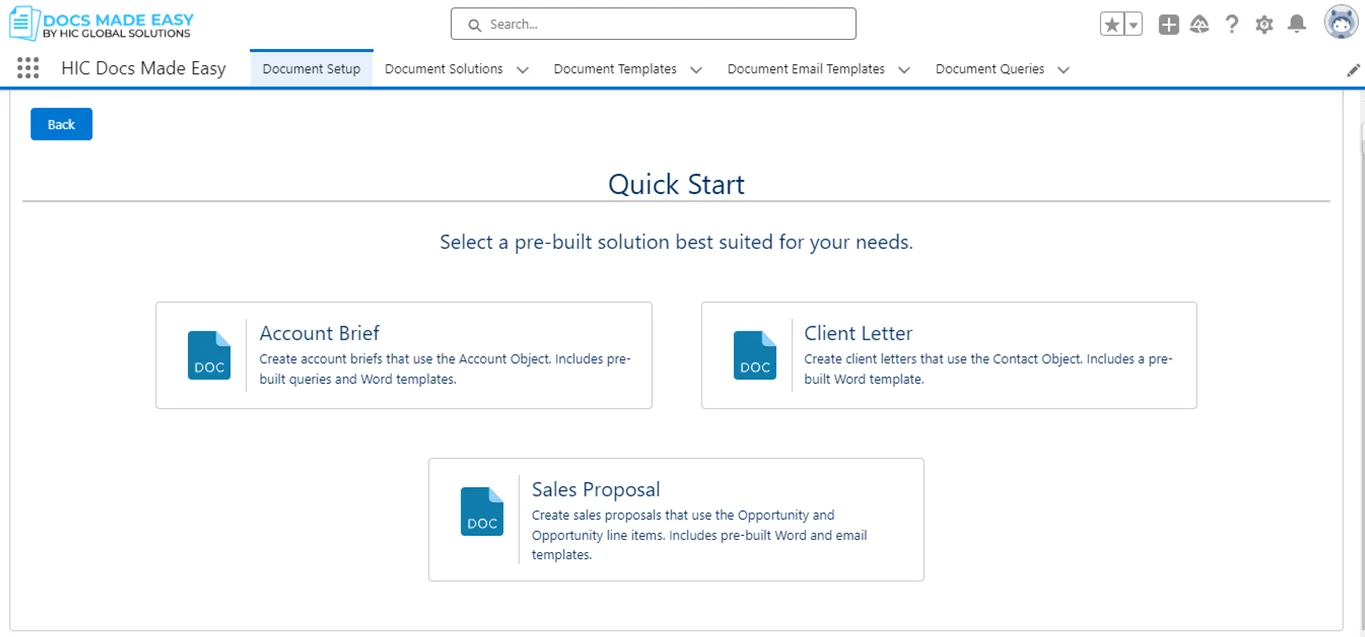
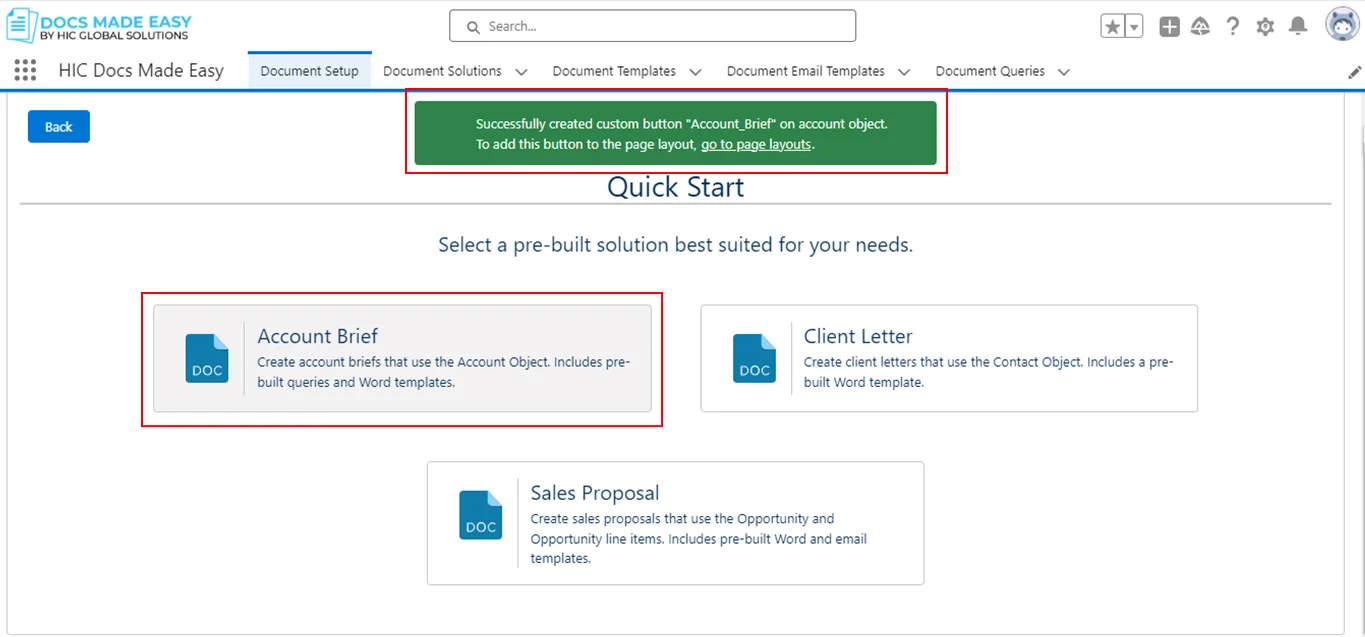
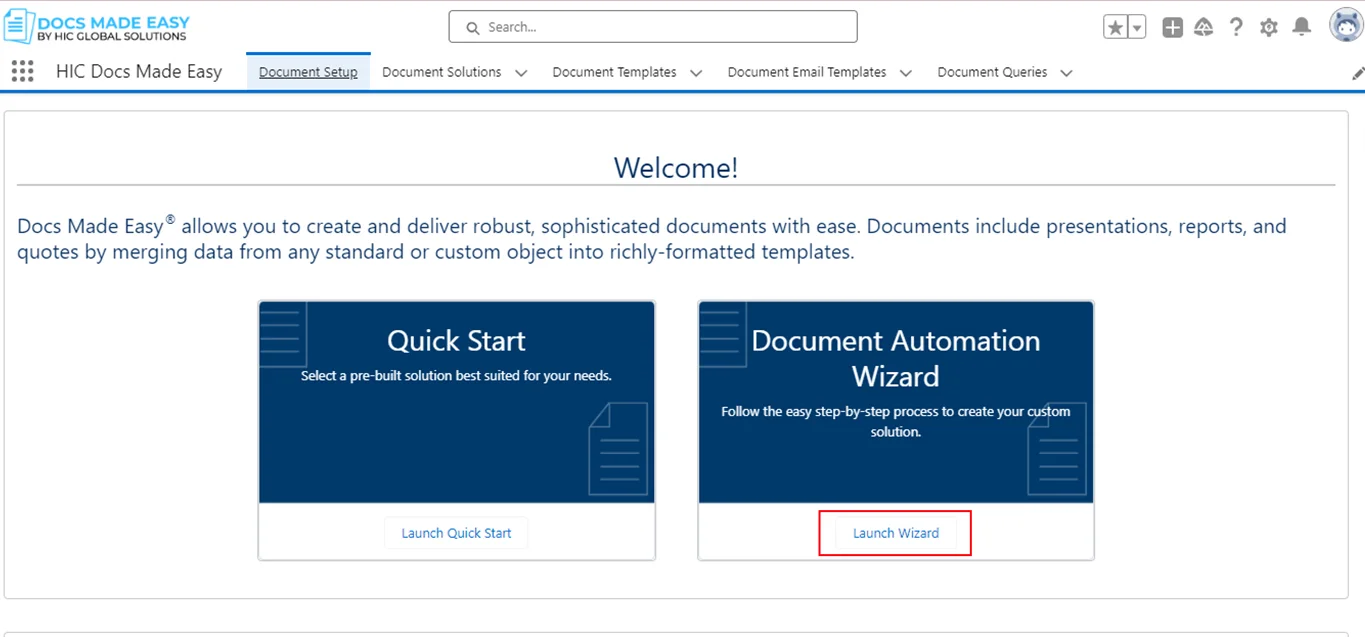
- Getting Started with our pre-built solutions for your documentation
- Creating a Custom Button
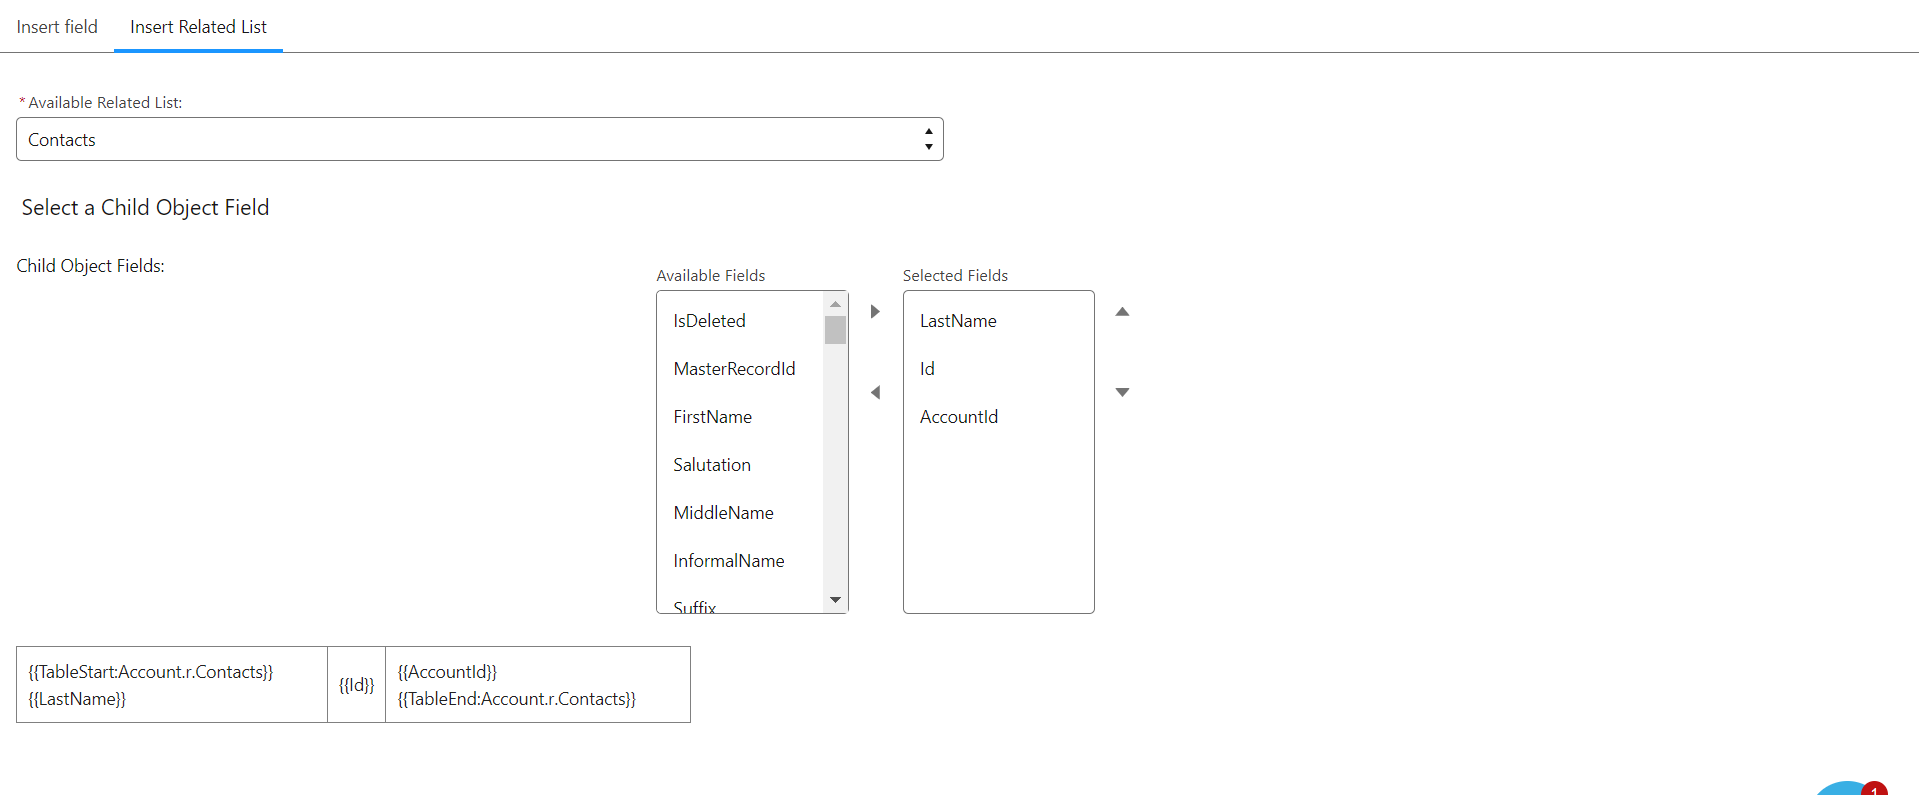
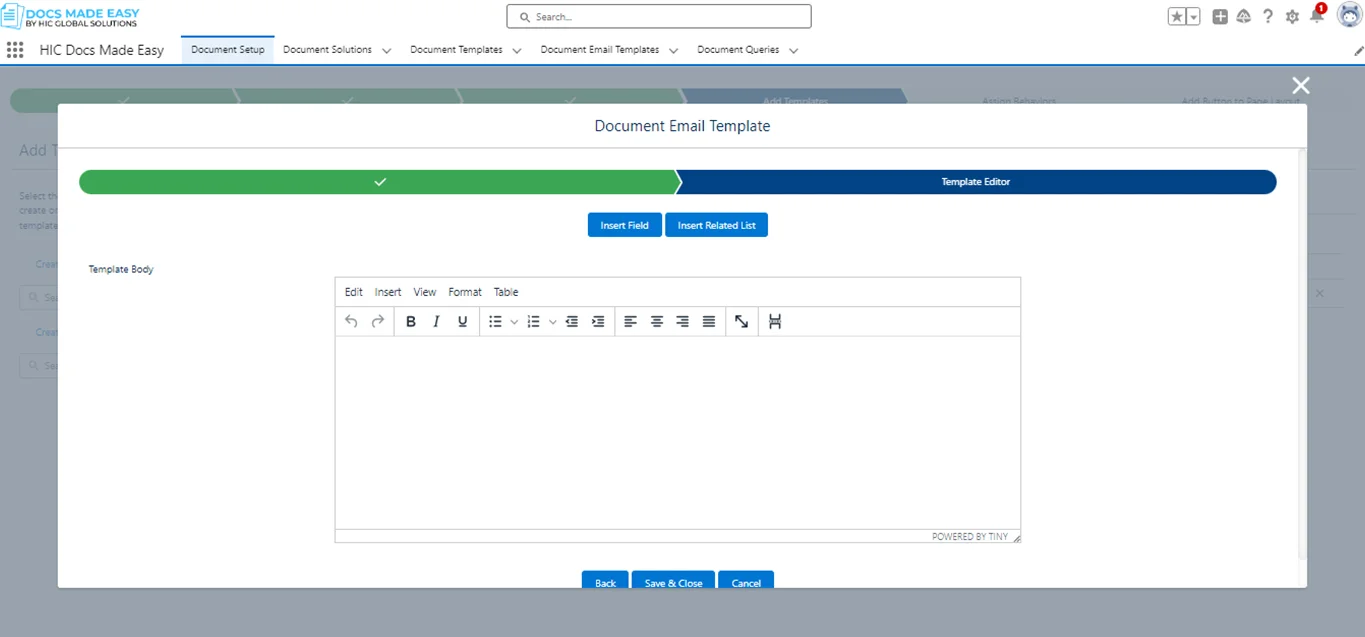
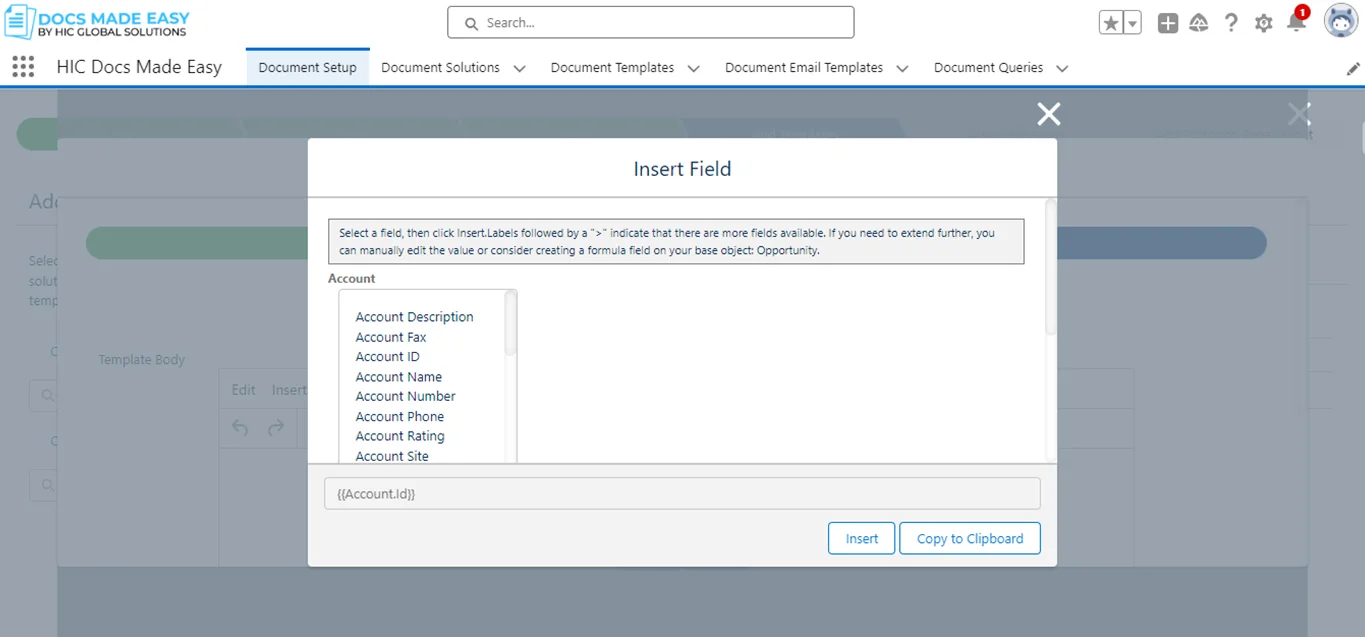
- Creating your own template with Document Automation Wizard
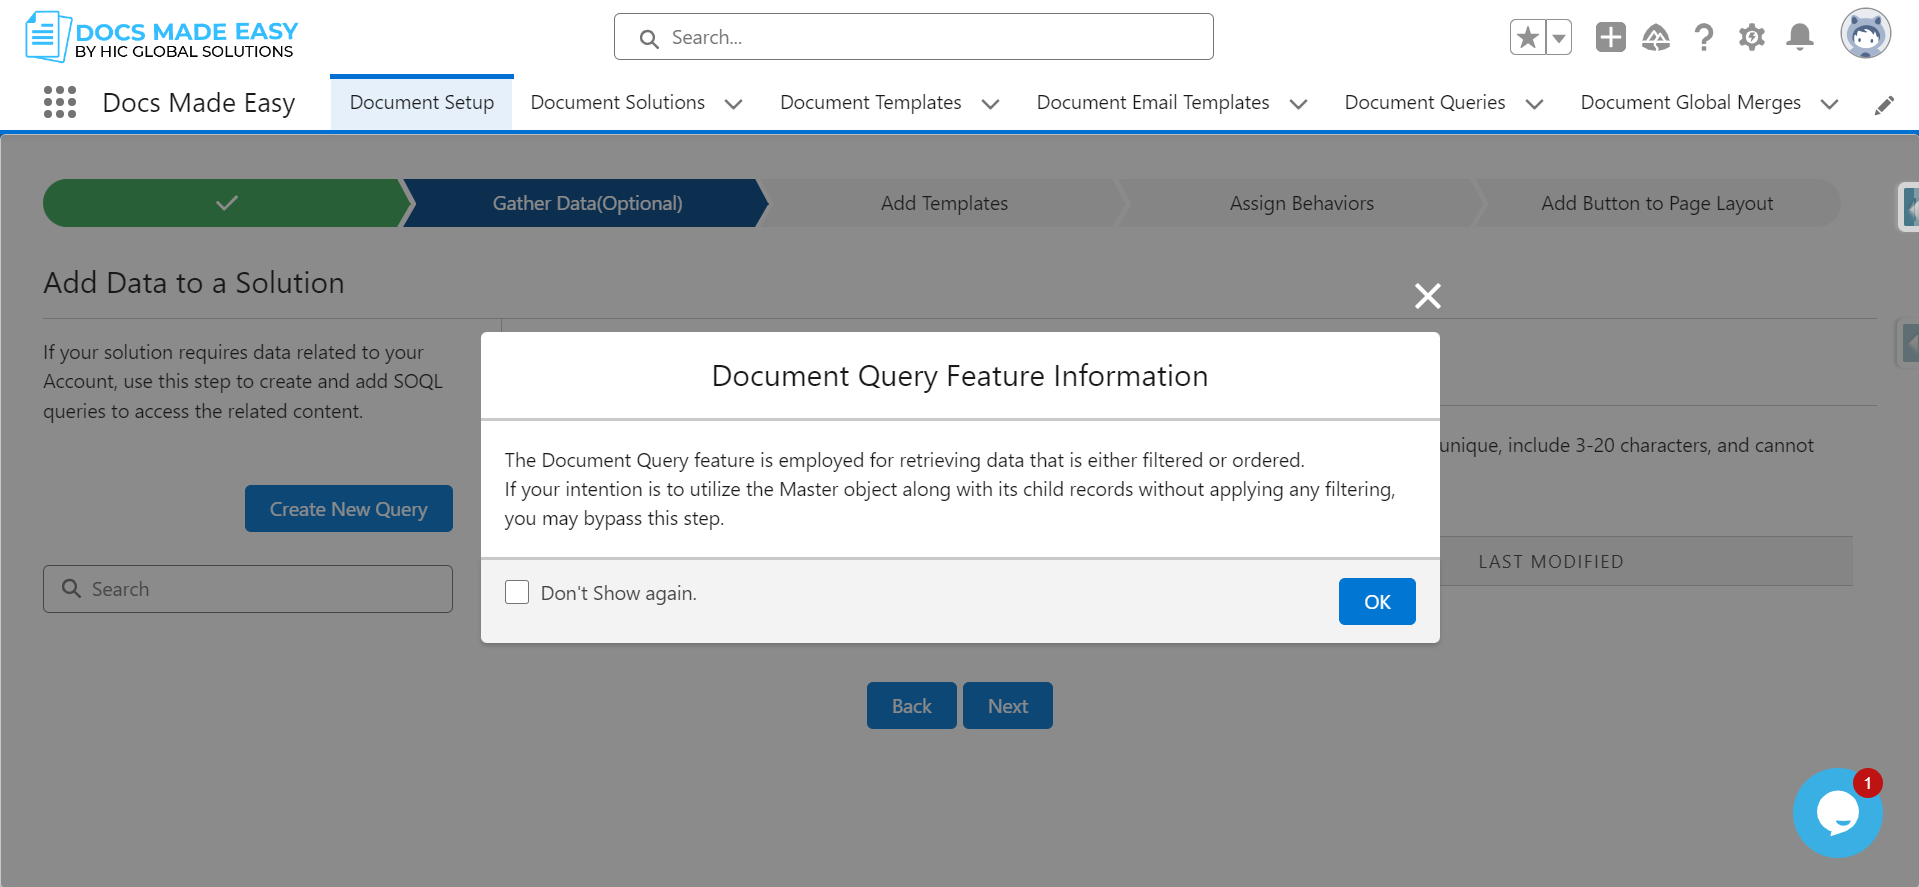
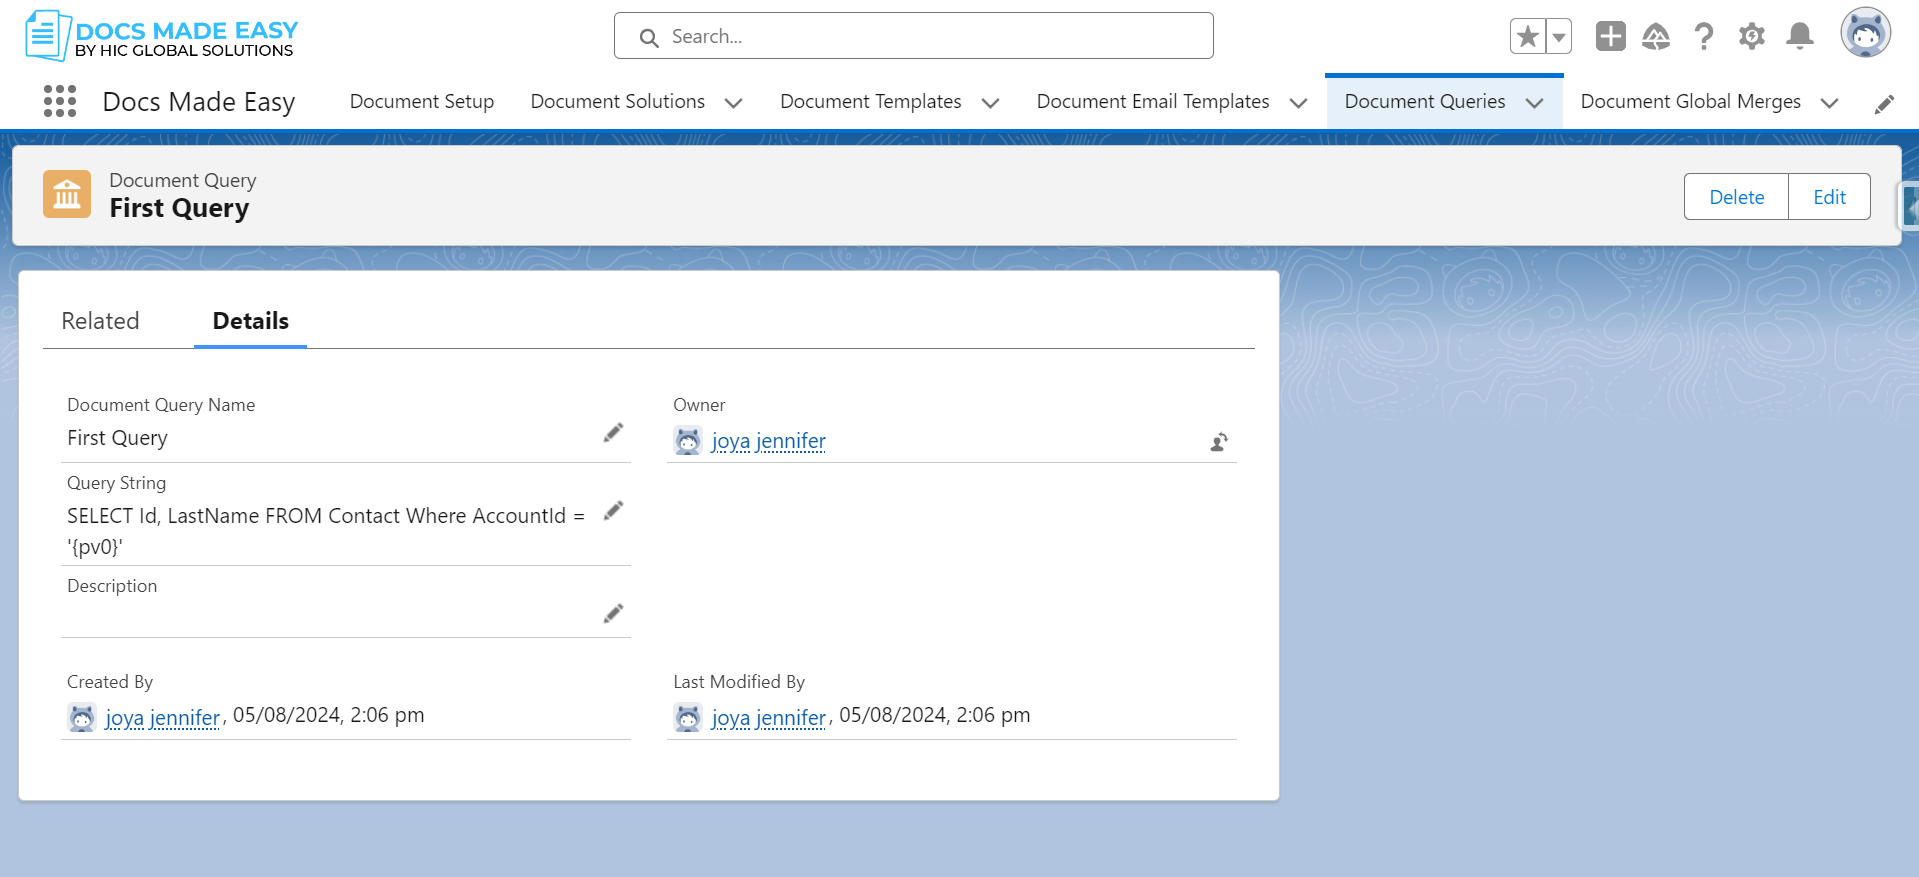
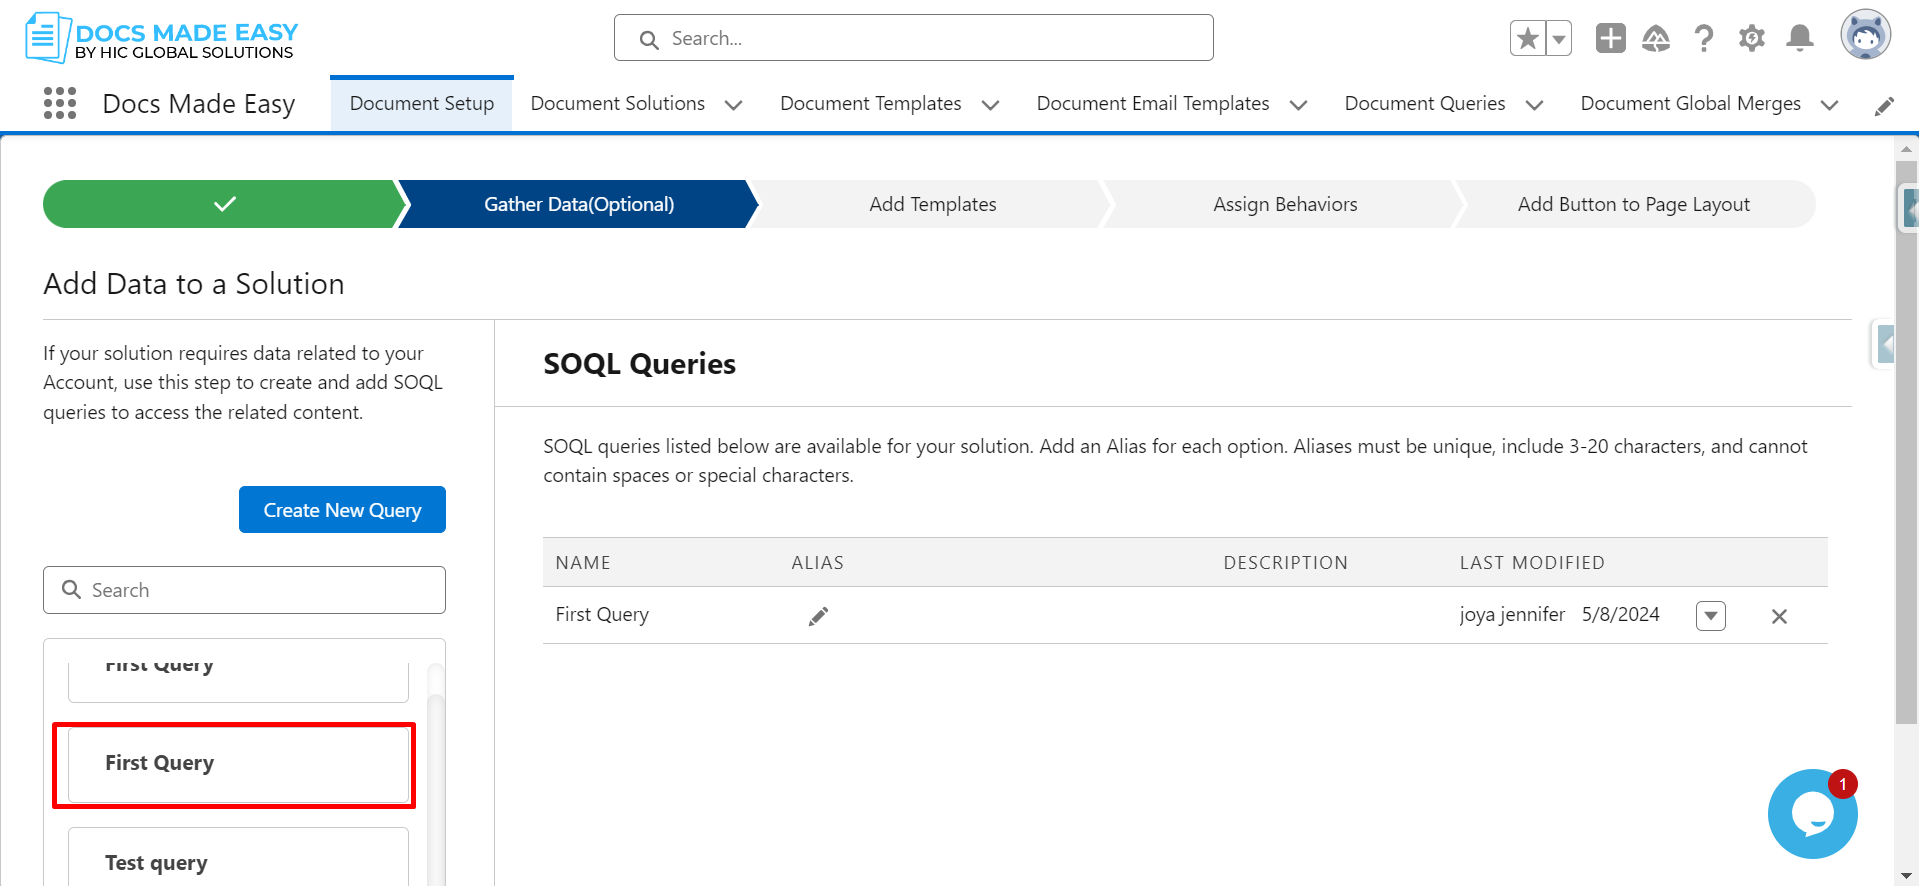
- Create New Query
- Adding SOQL queries
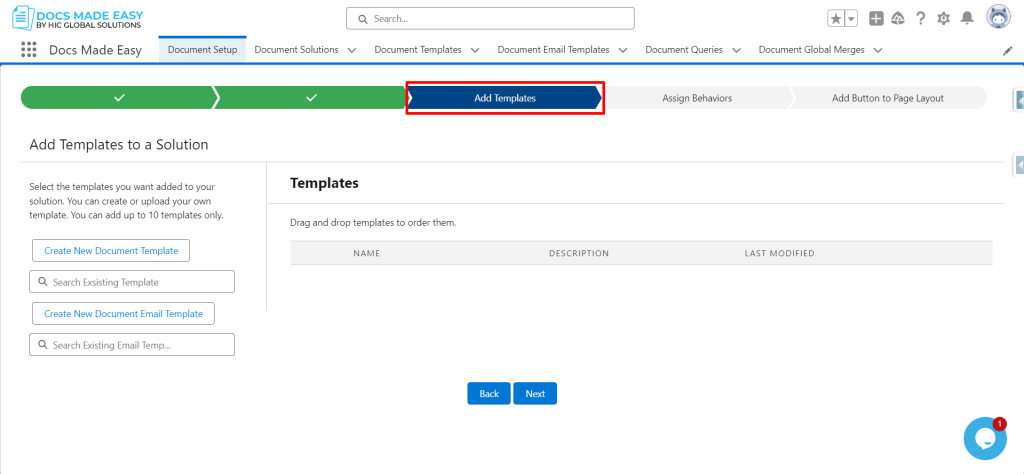
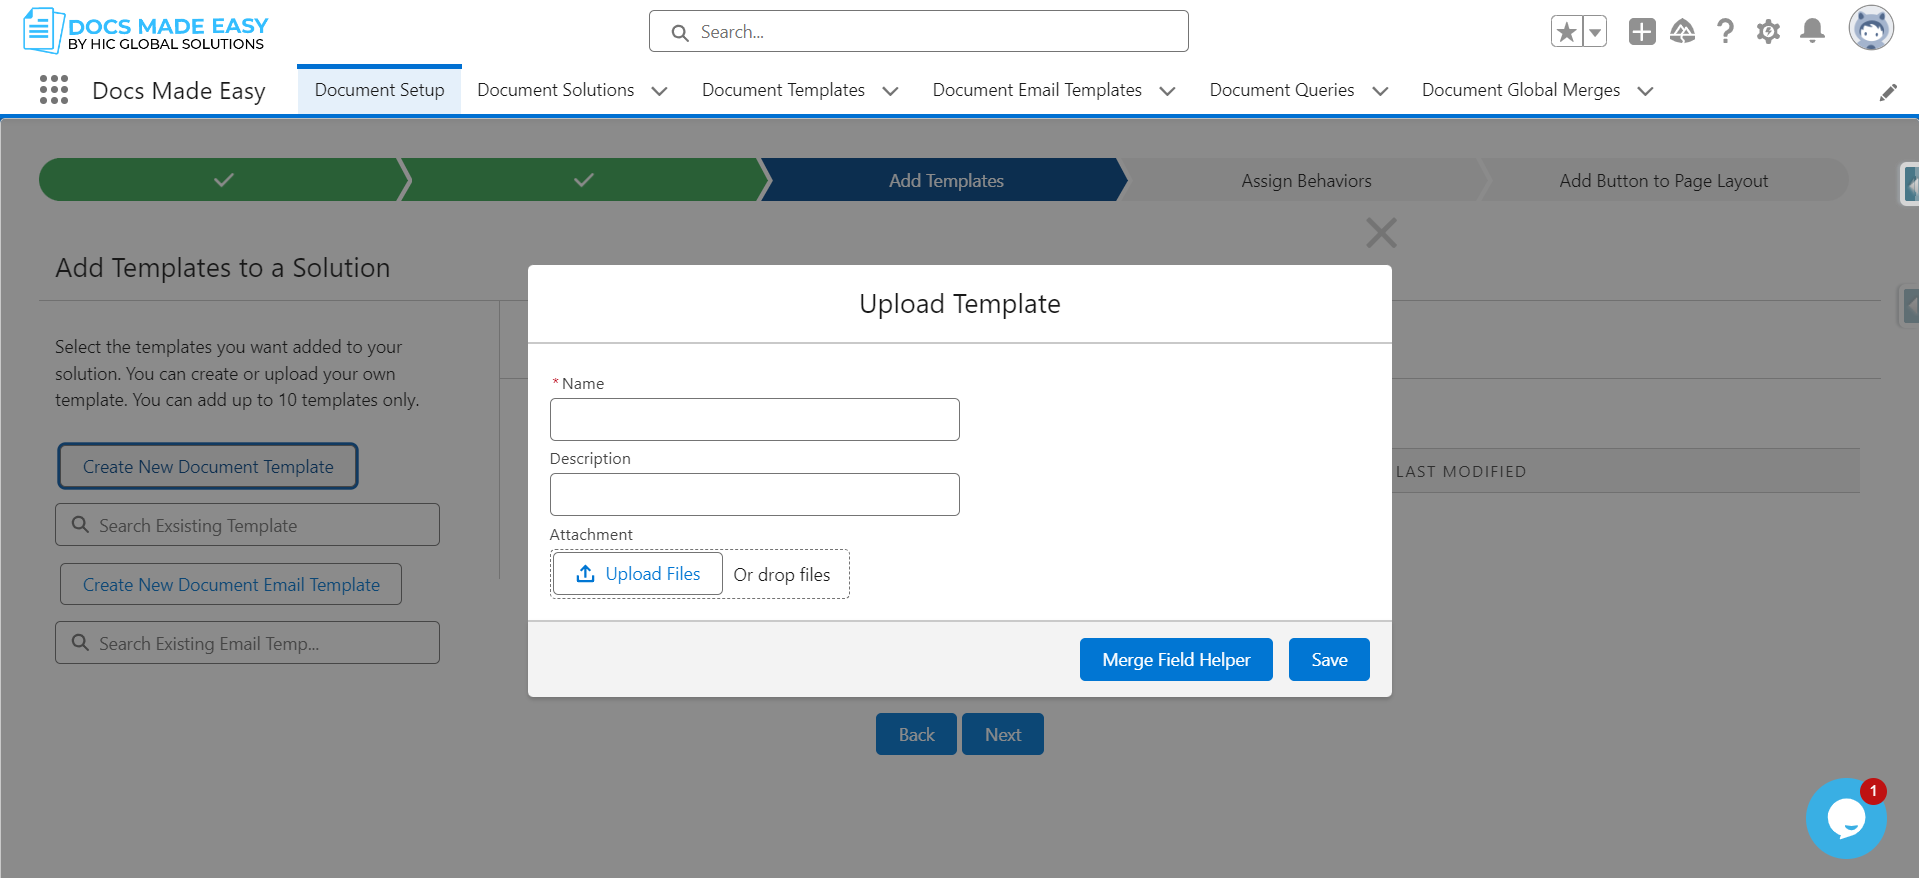
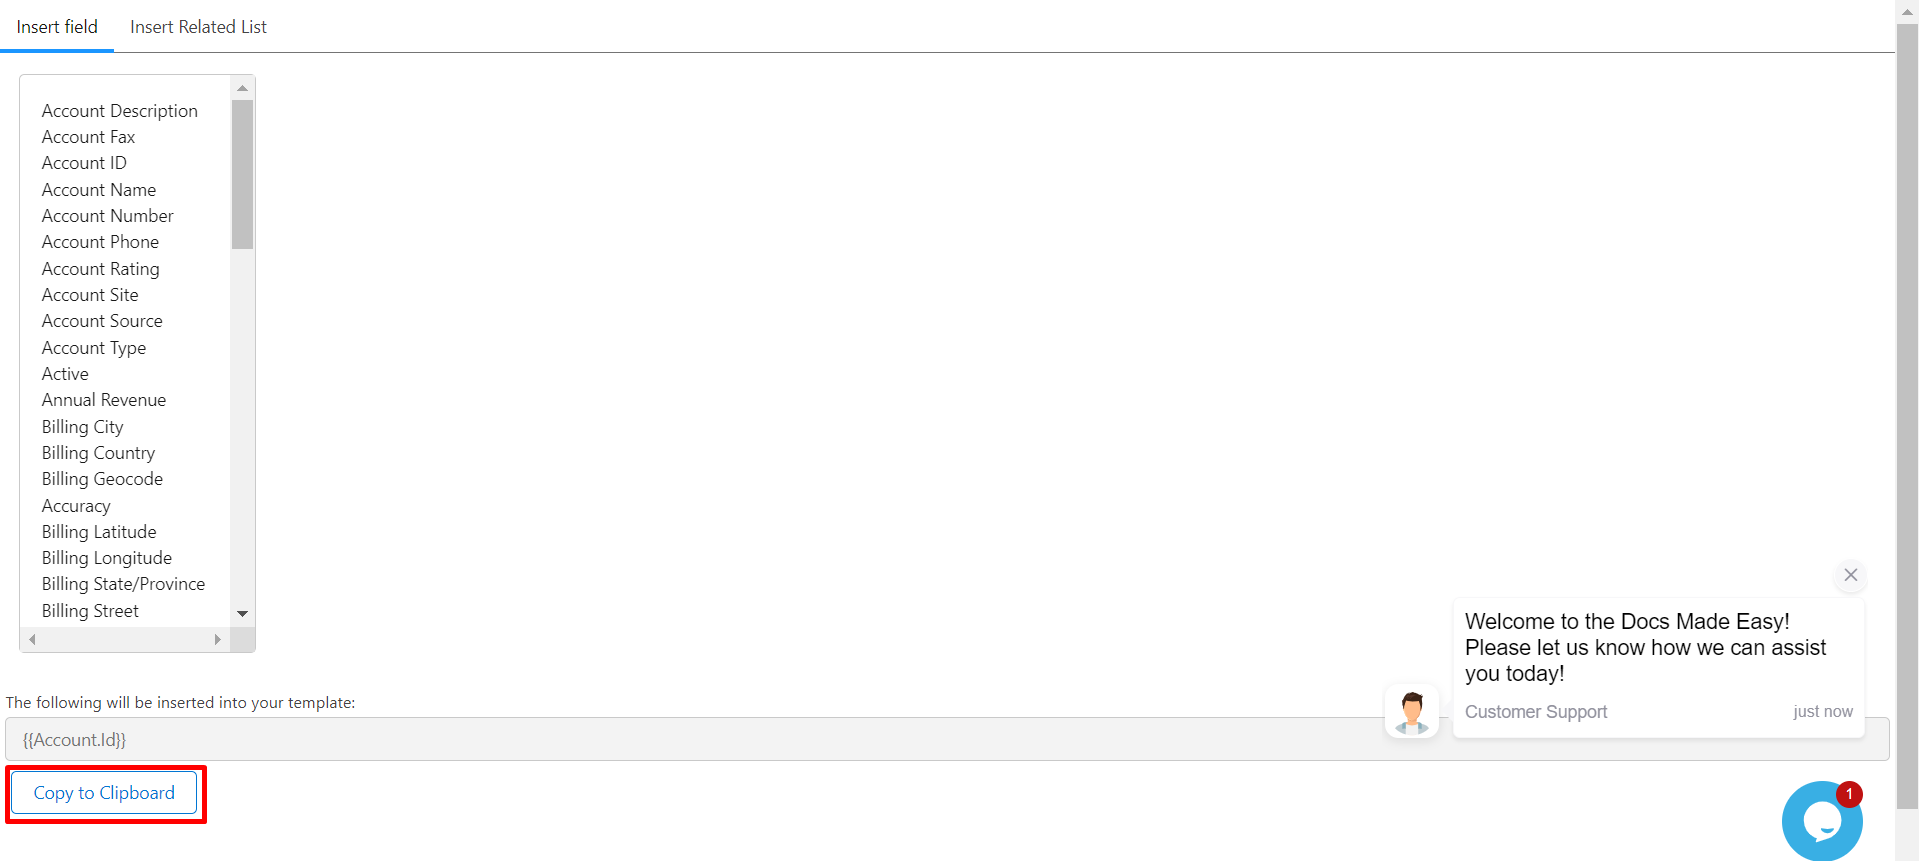
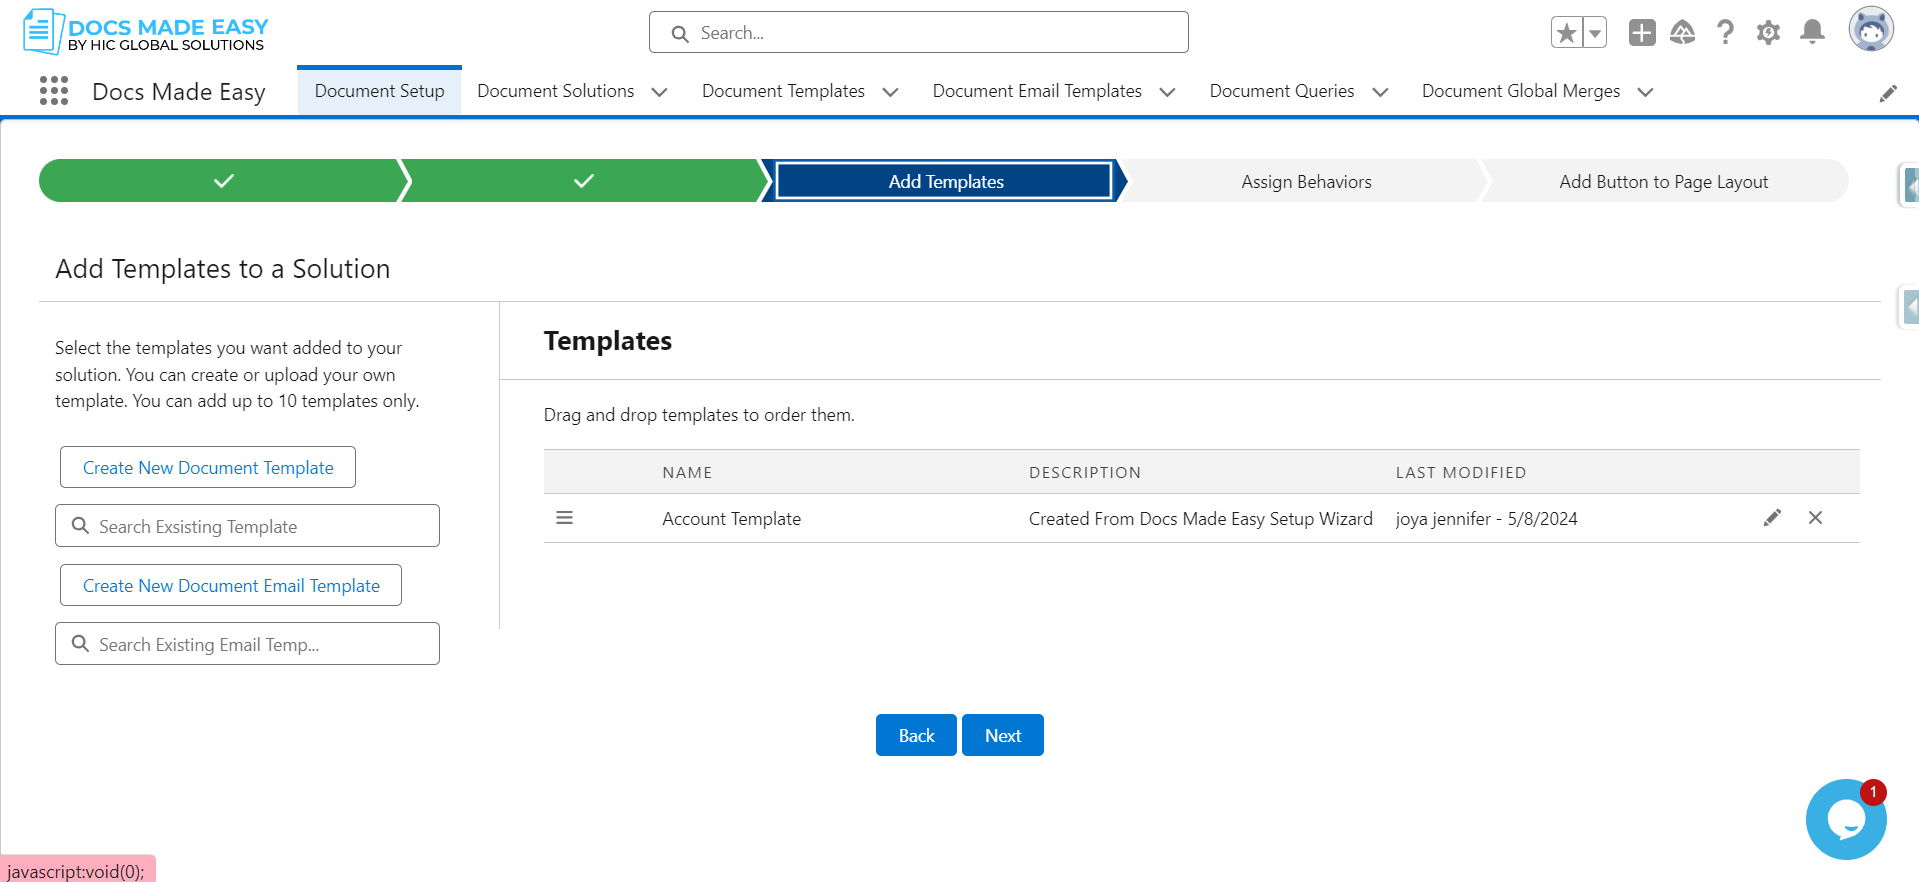
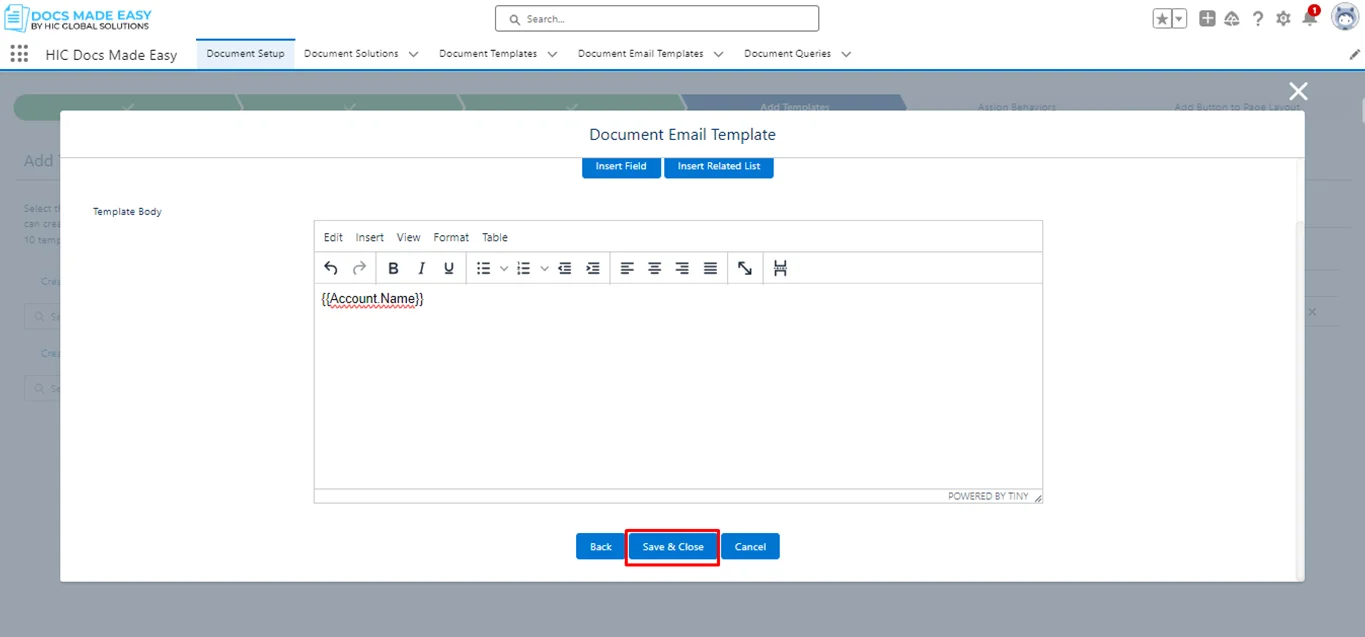
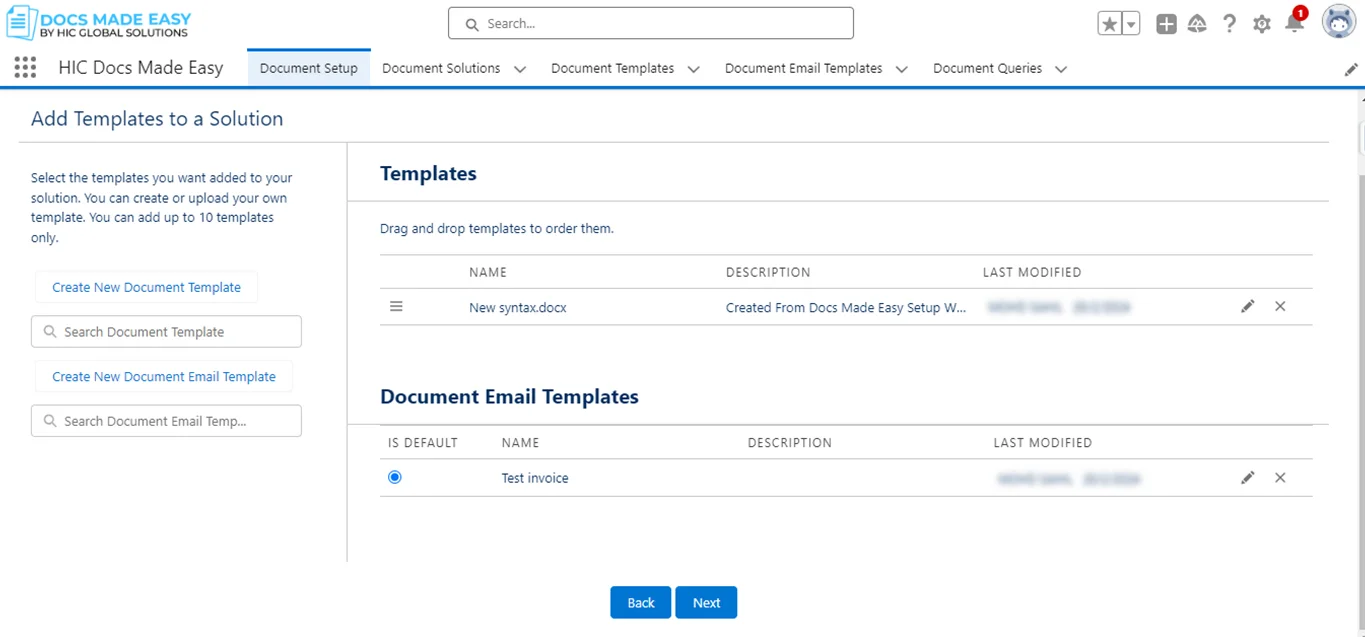
- Add Templates
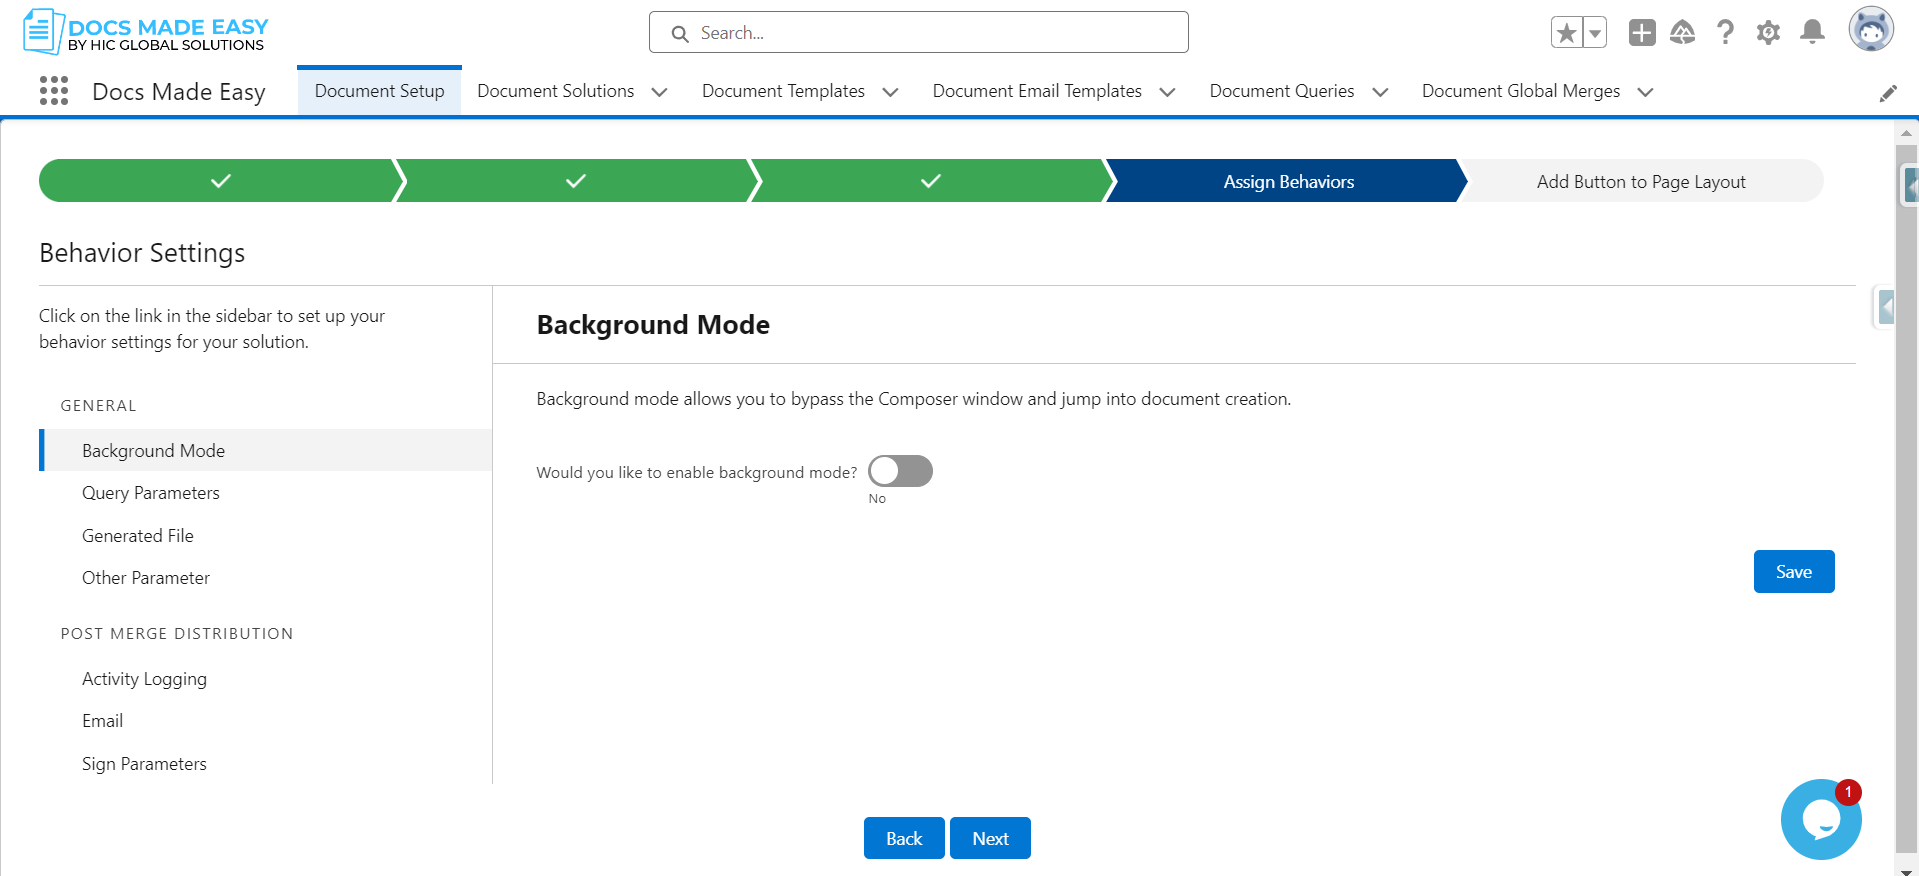
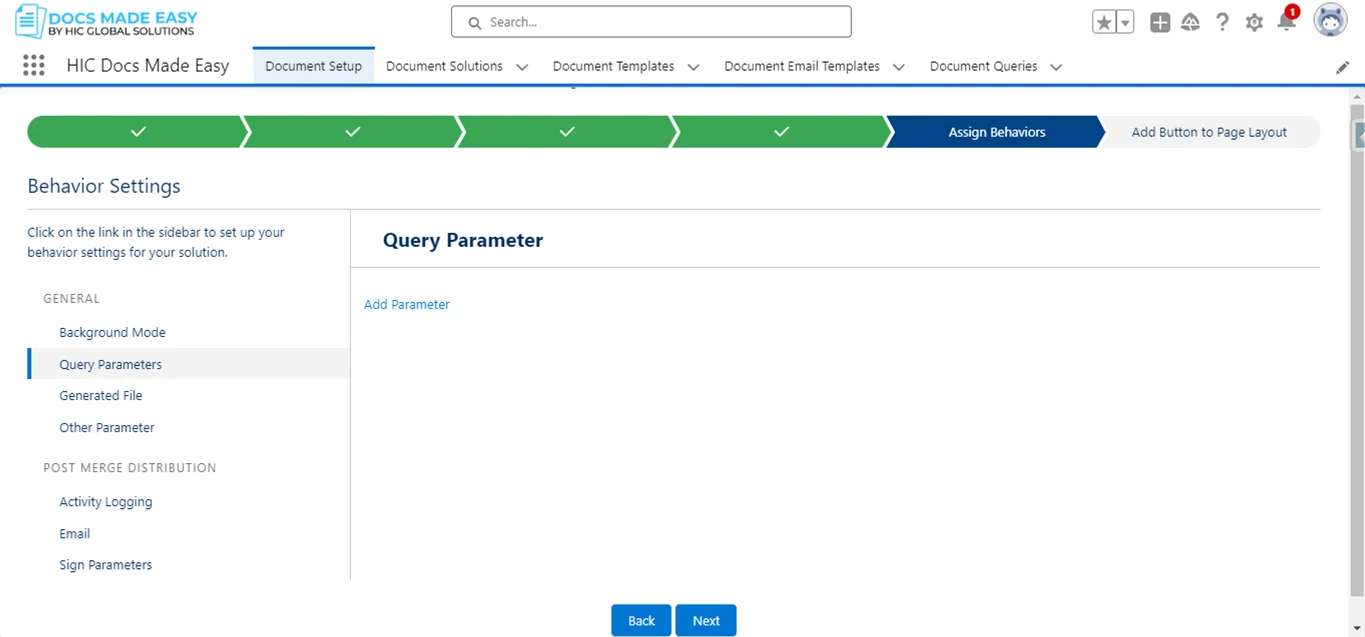
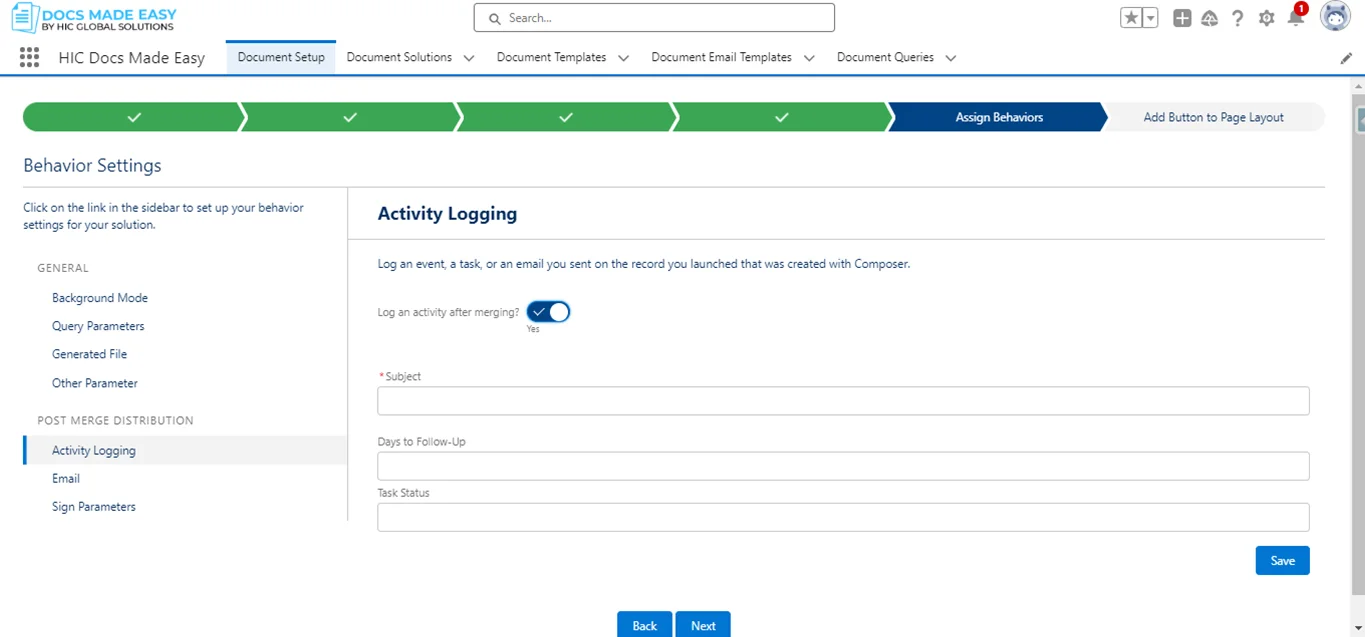
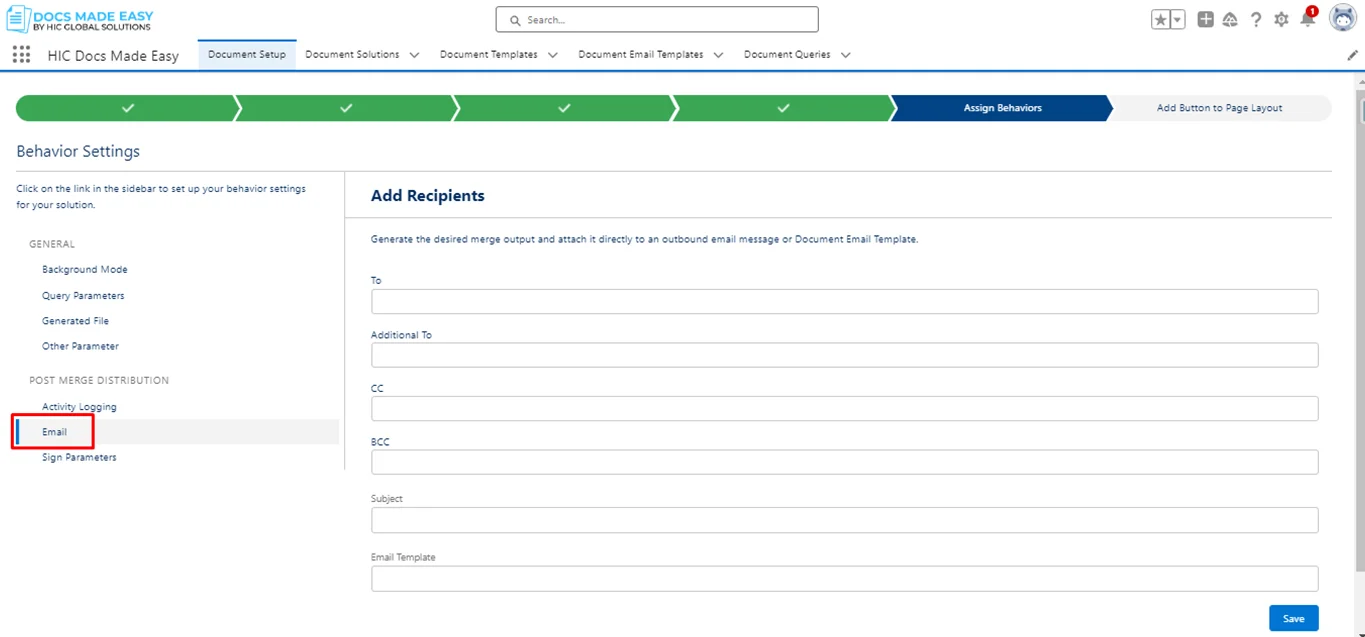
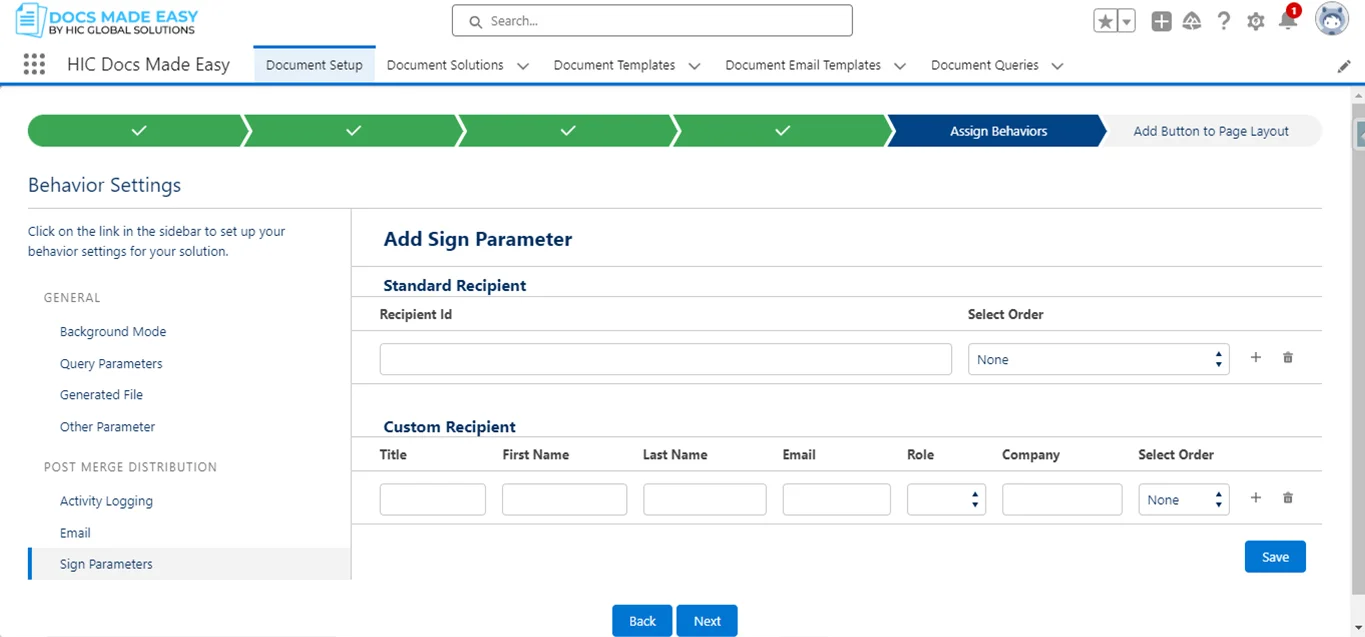
- Assign Behaviors
- Background Mode
- Query Parameter
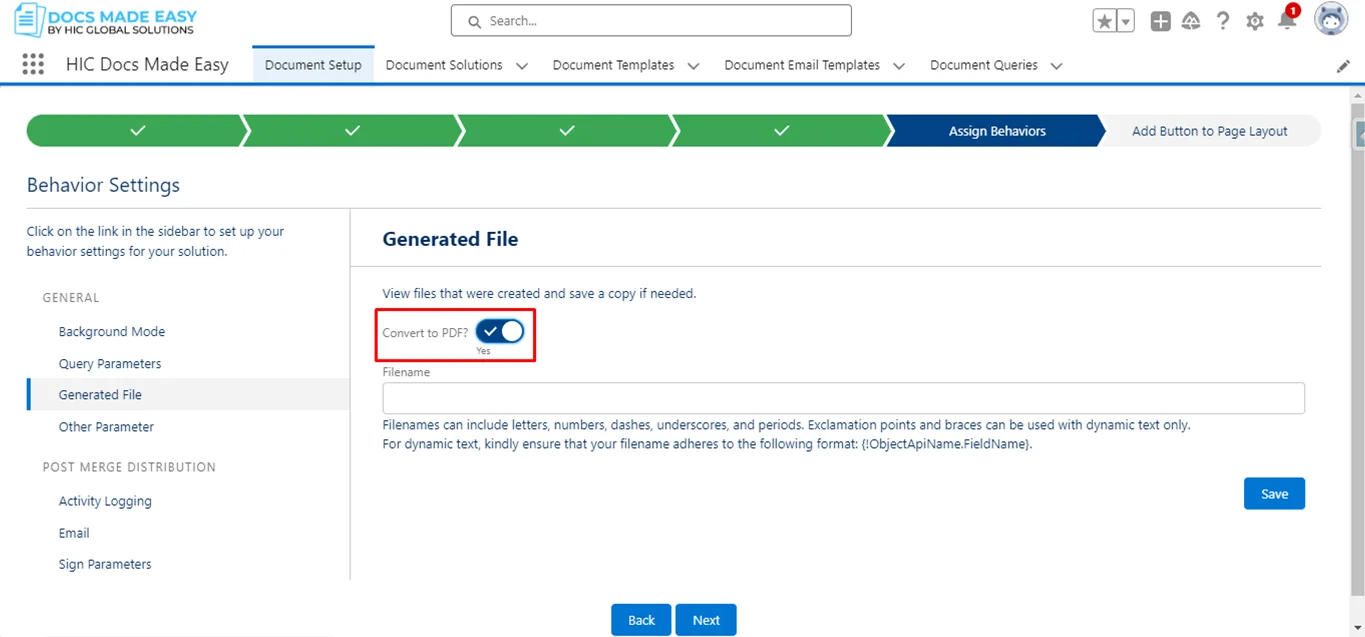
- Generated File
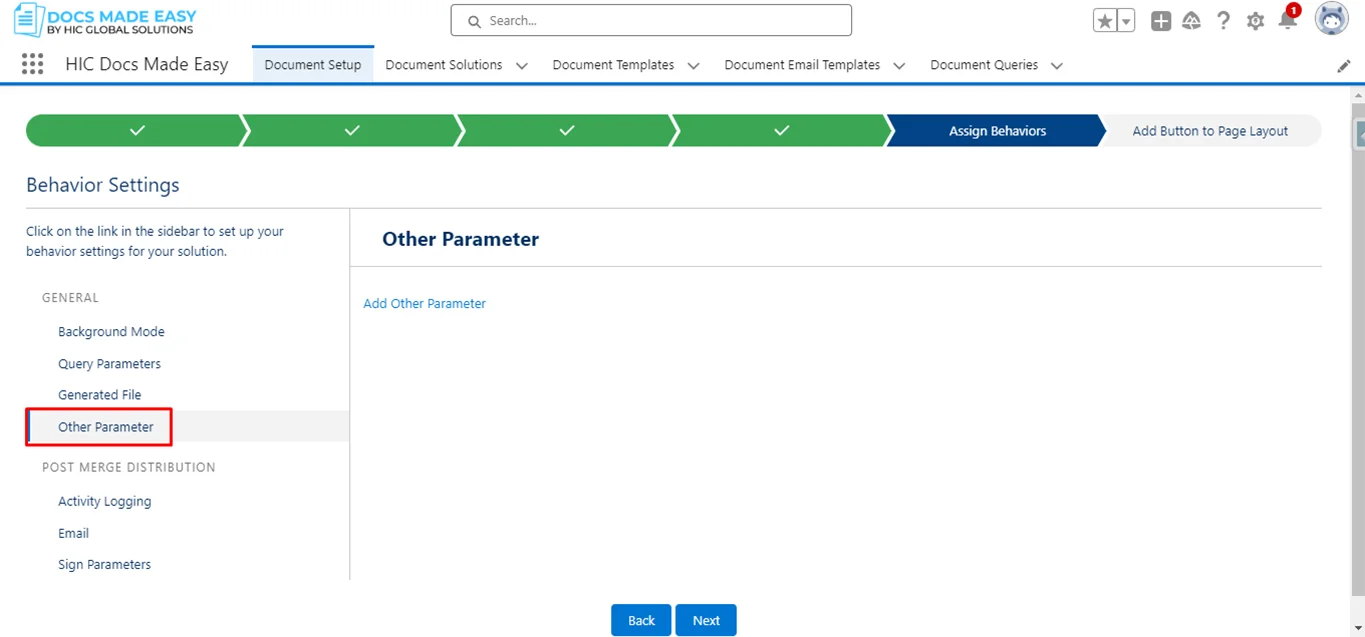
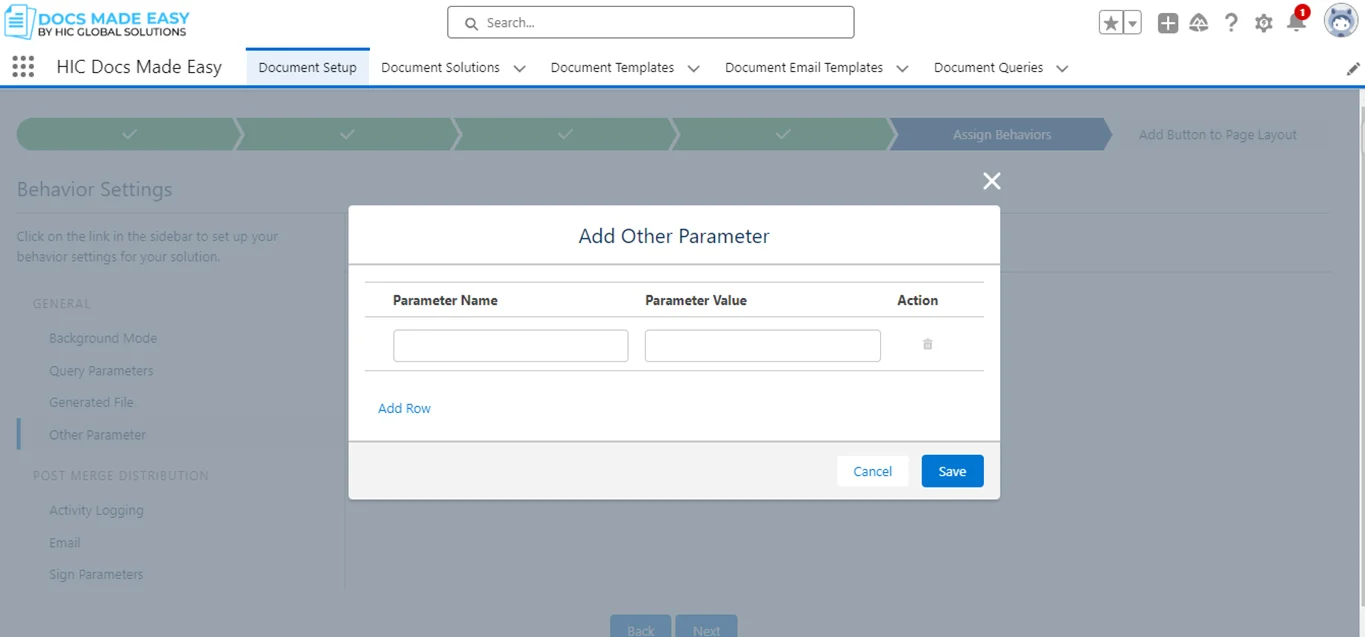
- Other Parameter
- Sign Parameter
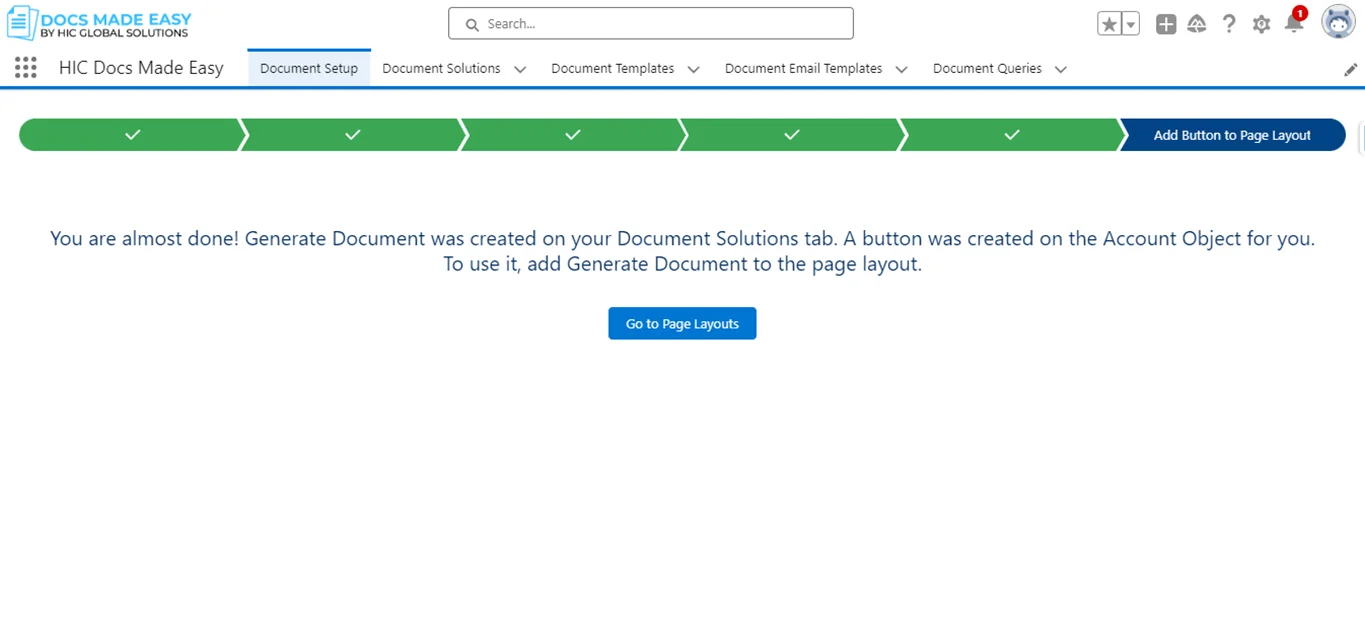
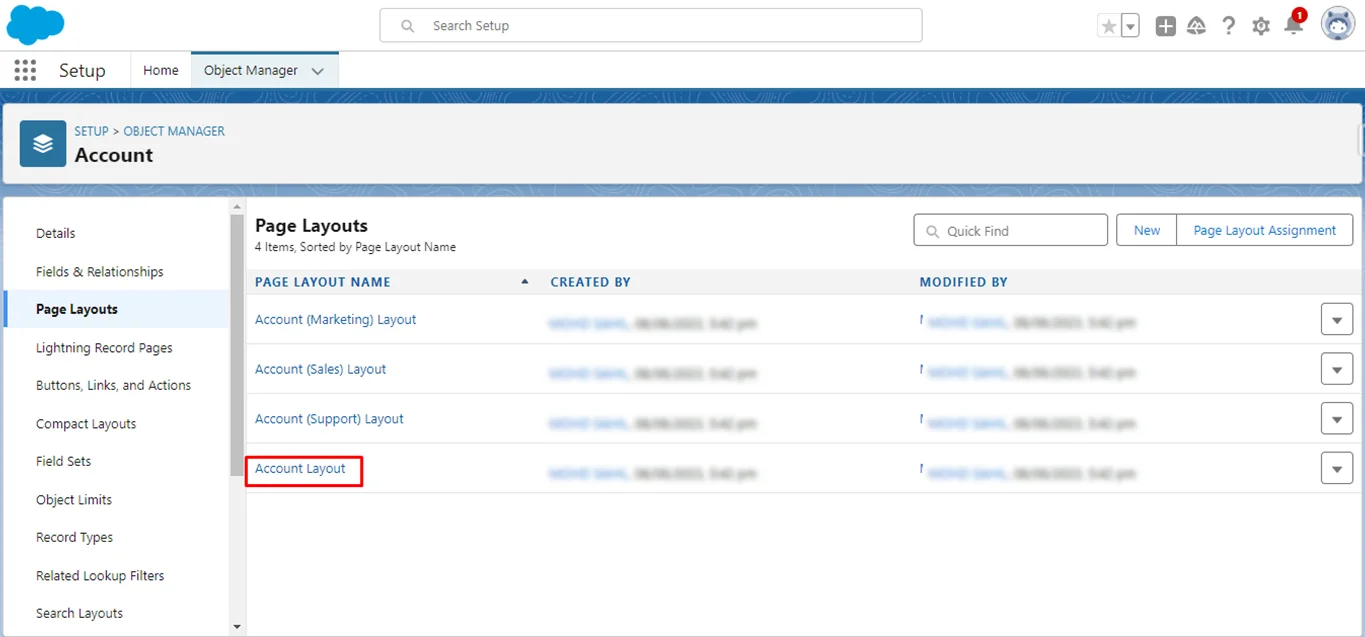
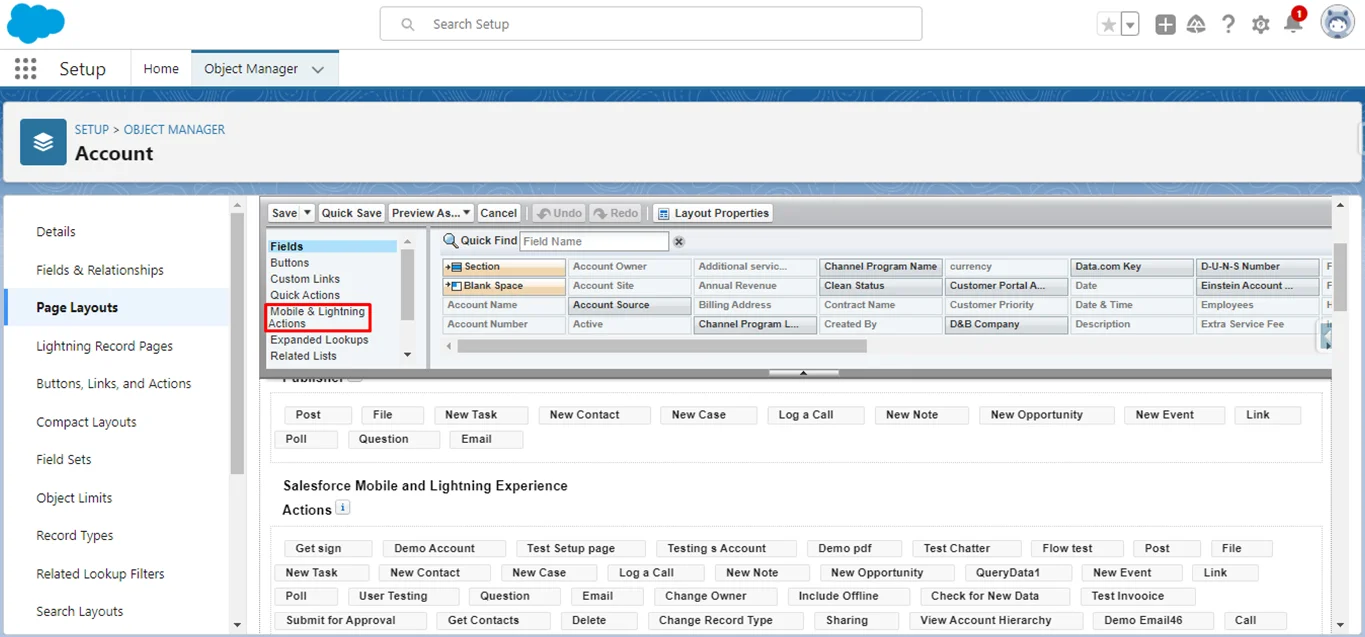
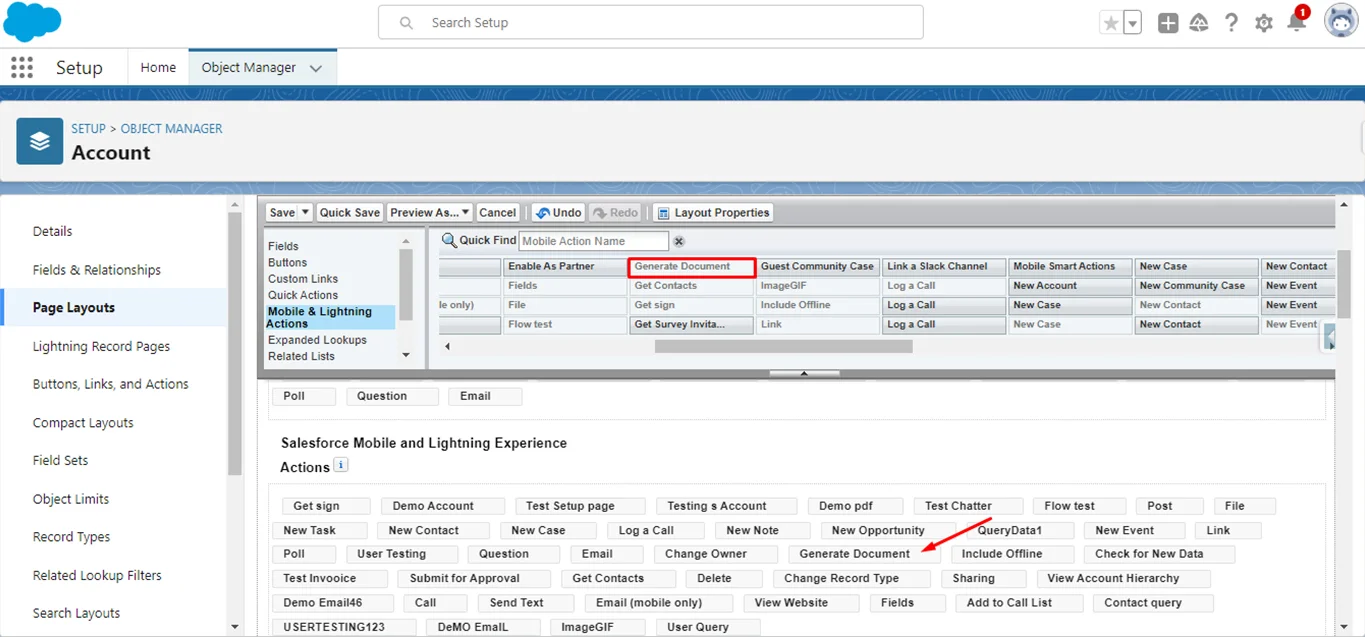
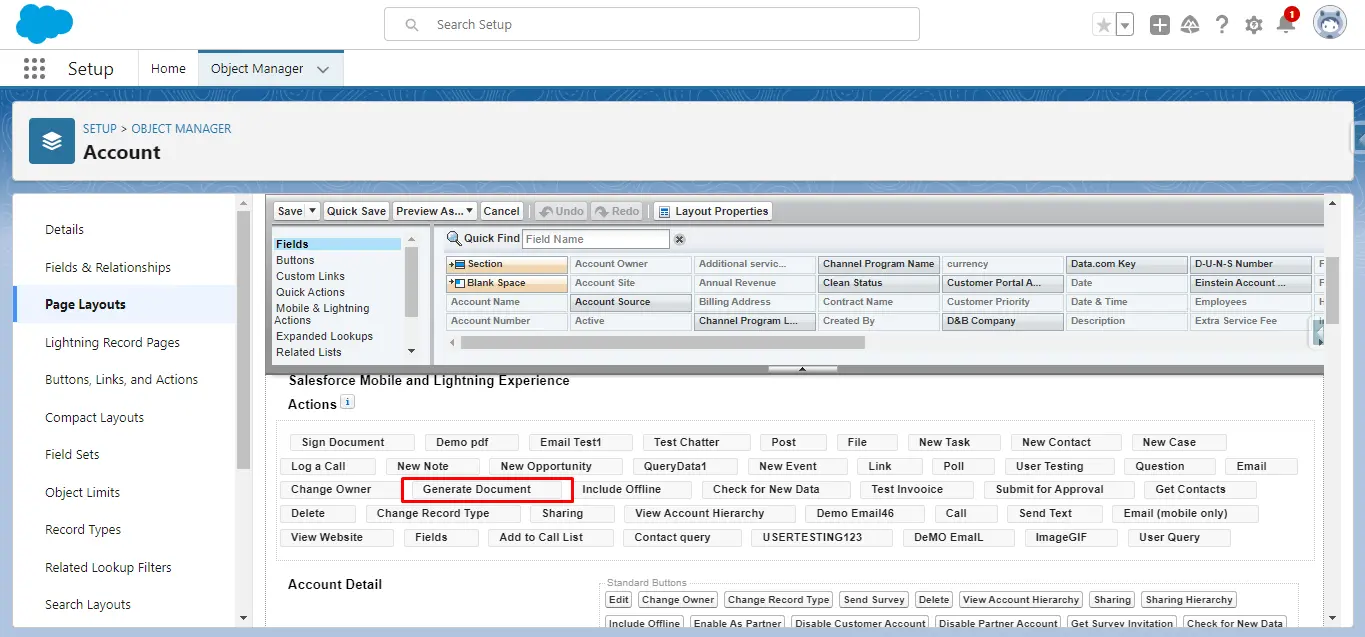
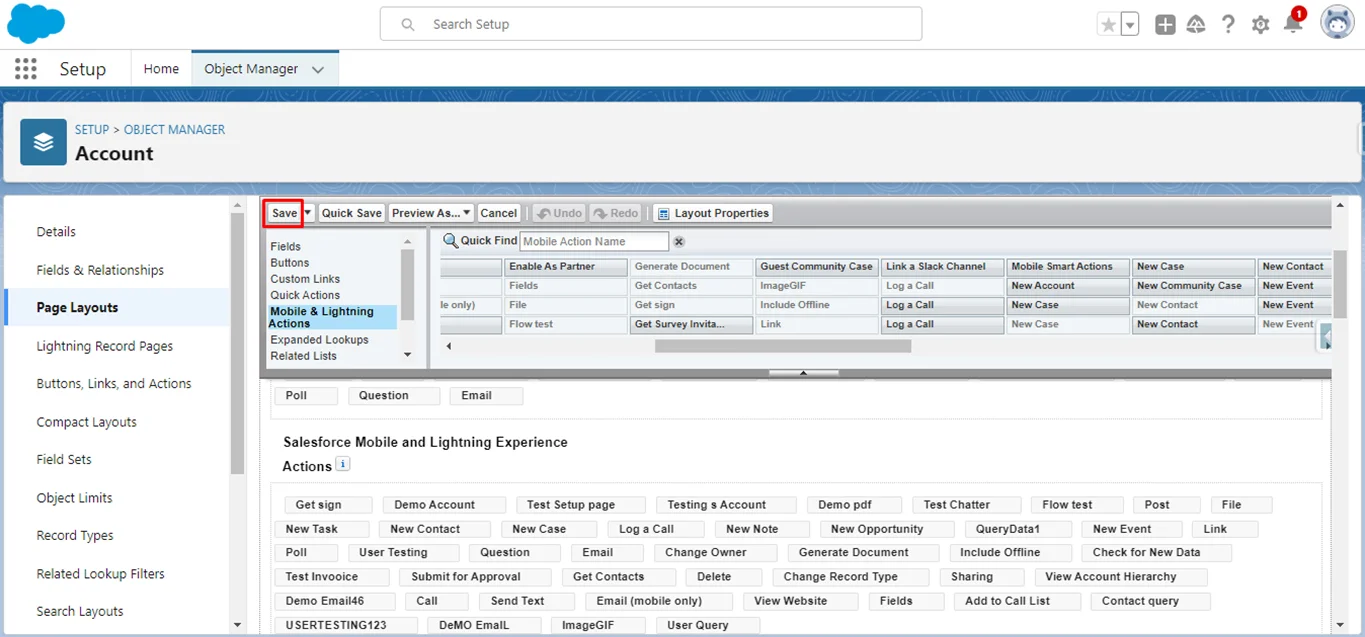
- Add Button to Page Layout