If you are wondering how to use Document queries in your Docs Made Easy, here is the step-by-step walkthrough of the Document Query creation process.
Step 1: Login to Salesforce
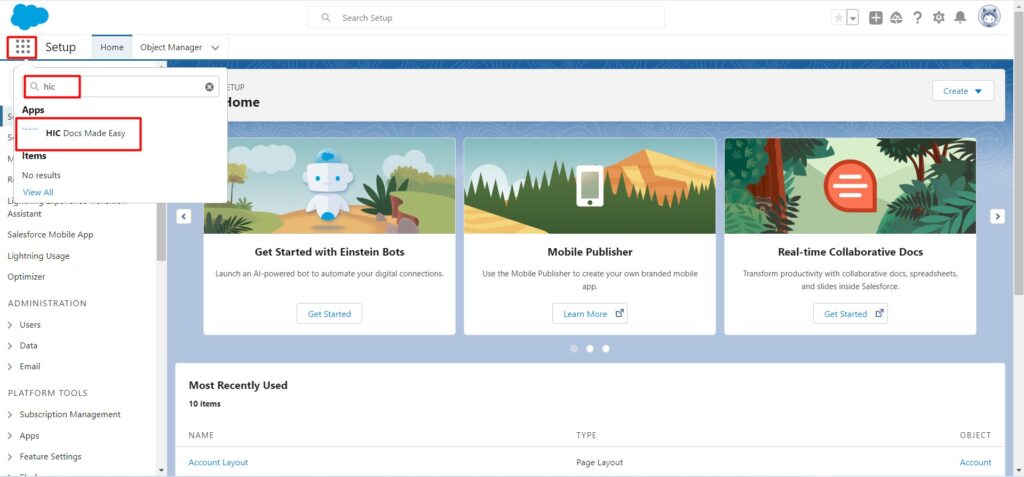
Step 2: Click on App Launcher
Step 3: Now, in the search box, type HIC Docs Made Easy and Click on HIC Docs Made Easy
This will navigate you to the HIC Docs Made Easy app’s home page.
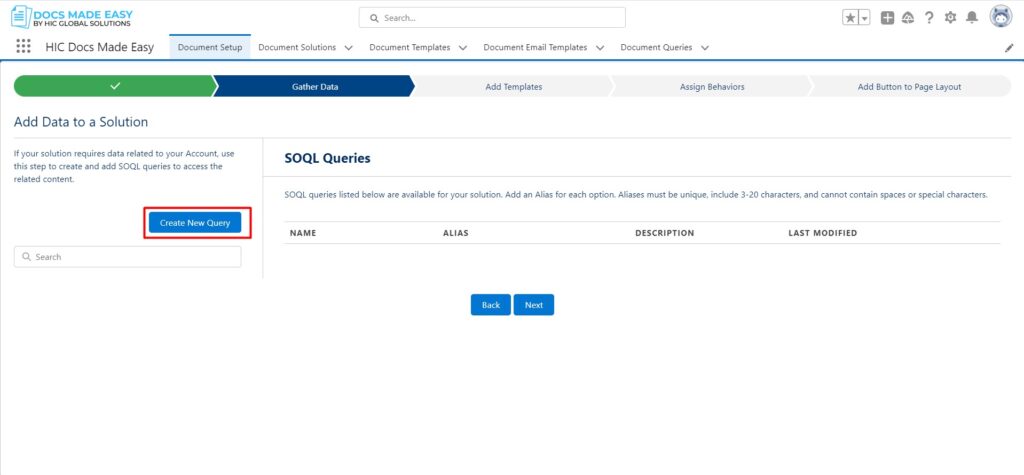
Step 4: Here, click on Document Queries.
Step 5 : Now, click on New.
The query builder page will open at this stage.
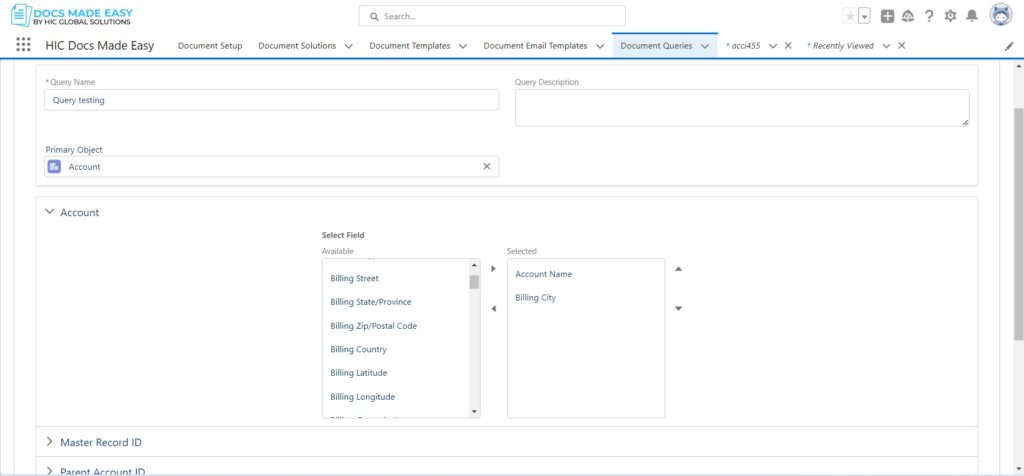
Step 6 : Now, on the query builder page, add the query name and select the object on which you want to build the query.
Step 7 : Next, select the field that you want to query from a multi-select picklist.
Step 8 : Now, click on the Next button.
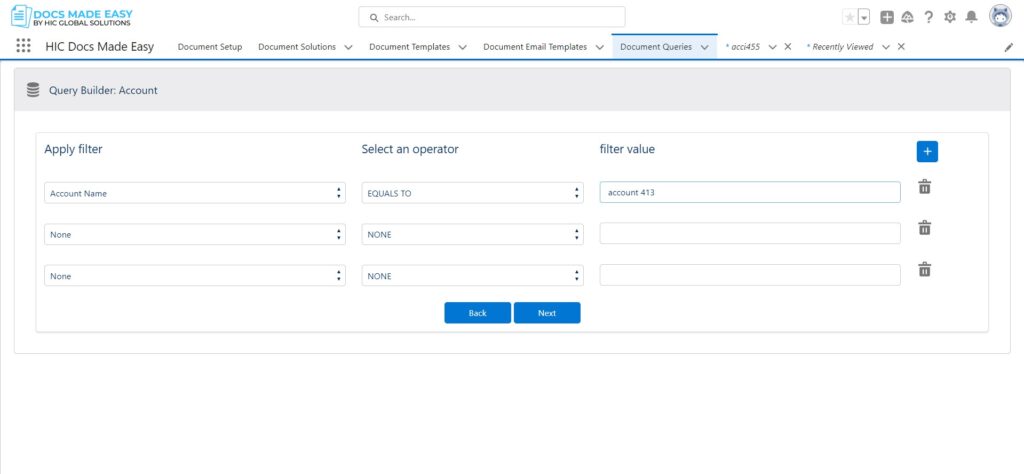
Step 9 : On the next page, add the filter that you want to apply to the query.
Step 10 : Now, click on the Next button.
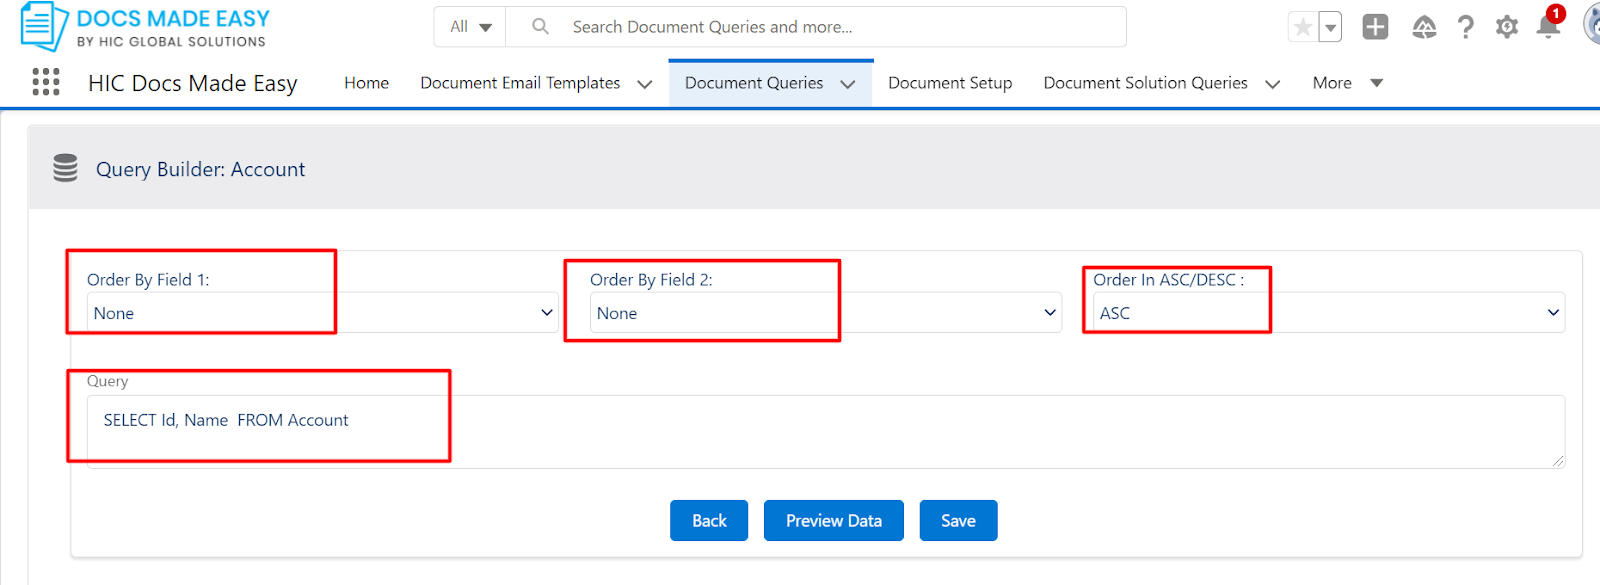
Step 11 : Here, give the order of fields as per requirement and click on Save.
Result : Query is created.
Step 12 : Next, click on the gear icon and click on setup.
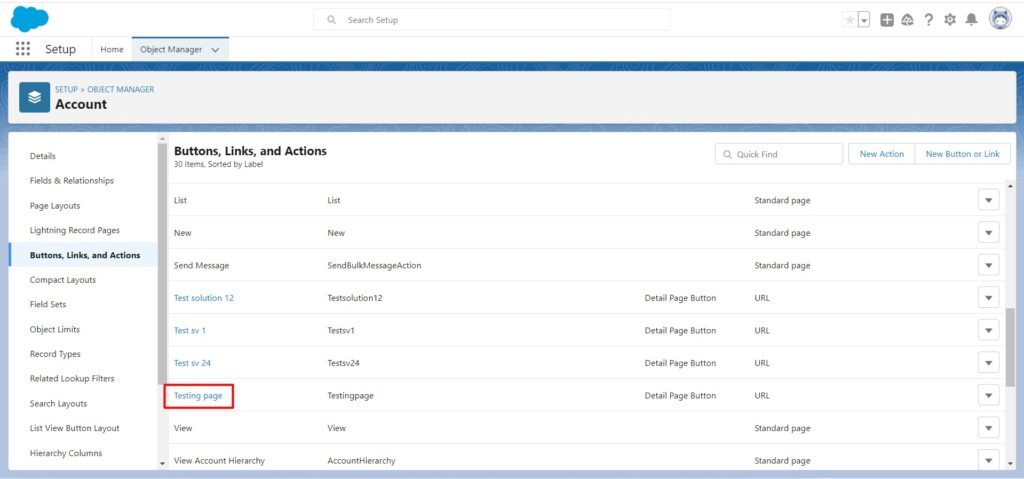
Step 13 : Now, on the setup page, click on object manager.
Step 14 : Select the object ”Account” as the query is created on the account.
Step 15 : Now, click on the button, link, and action.
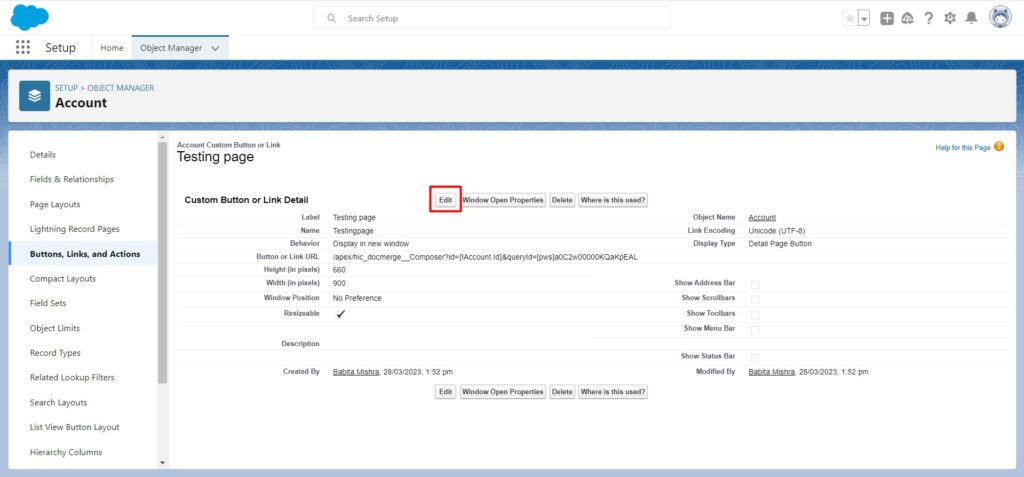
Step 16: Next, click on the button on which you want to add the Document Query.
Step 17 : Now, click on the edit button.
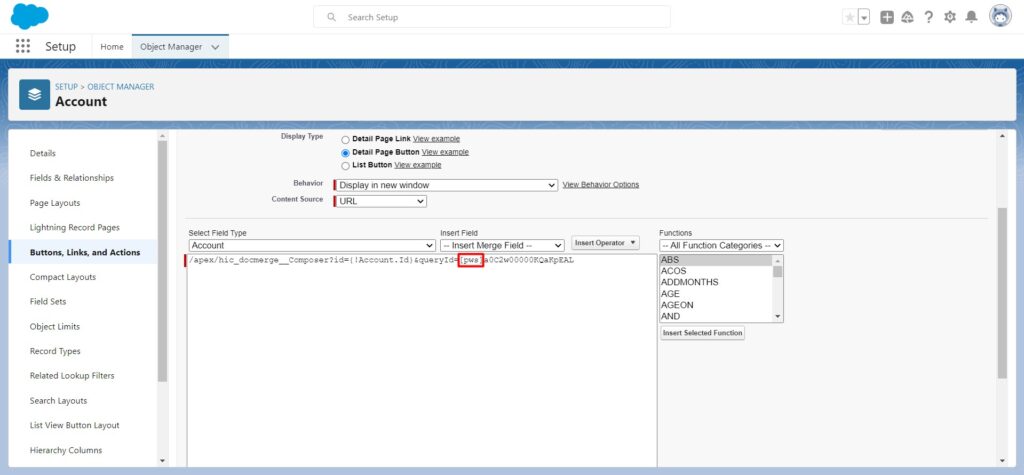
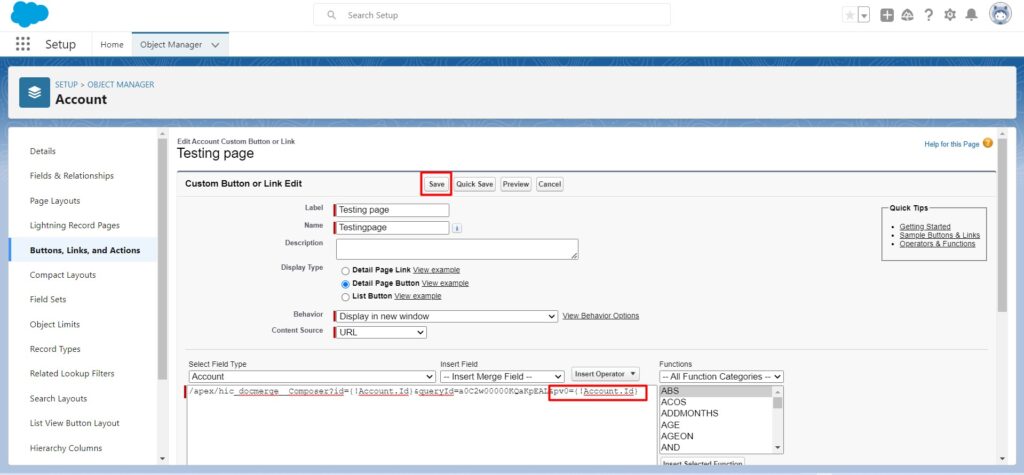
Step 18 : Add the QueryId parameter in the button URL and alias.
Please note that while adding dynamic filters in a query, you must use the pv0 parameter to run the query. In the above example, to add that filter value in button, the Query ID which is referencing pv0 is selected.
Likewise, If there are multiple filters, then parameter values will be referenced as pv1,pv2, and pv3 going upto N numbers.
Step 19 : Now, click on the Save button.
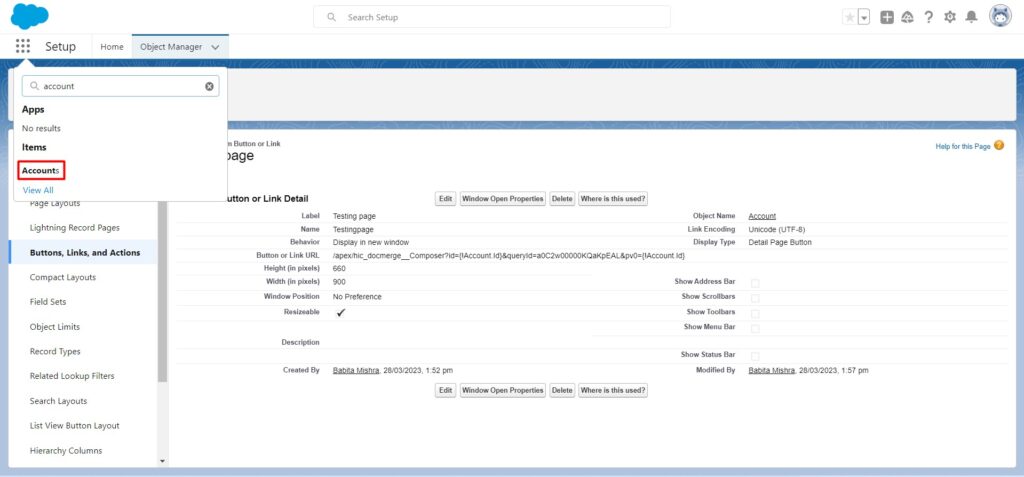
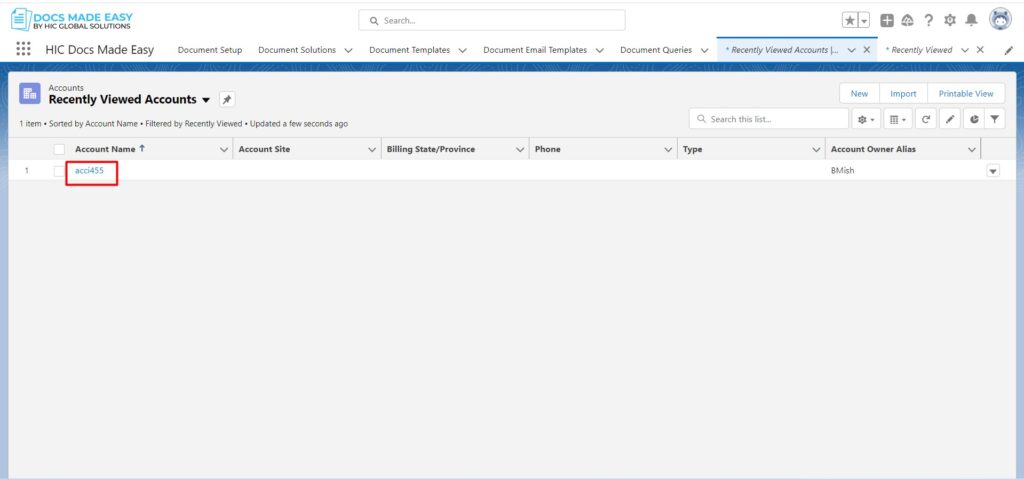
Step 20 : Next, open the Account Object and click on the record.
Step 21 : Click on the button on which we updated the parameter.
Result: The composer page is opened.
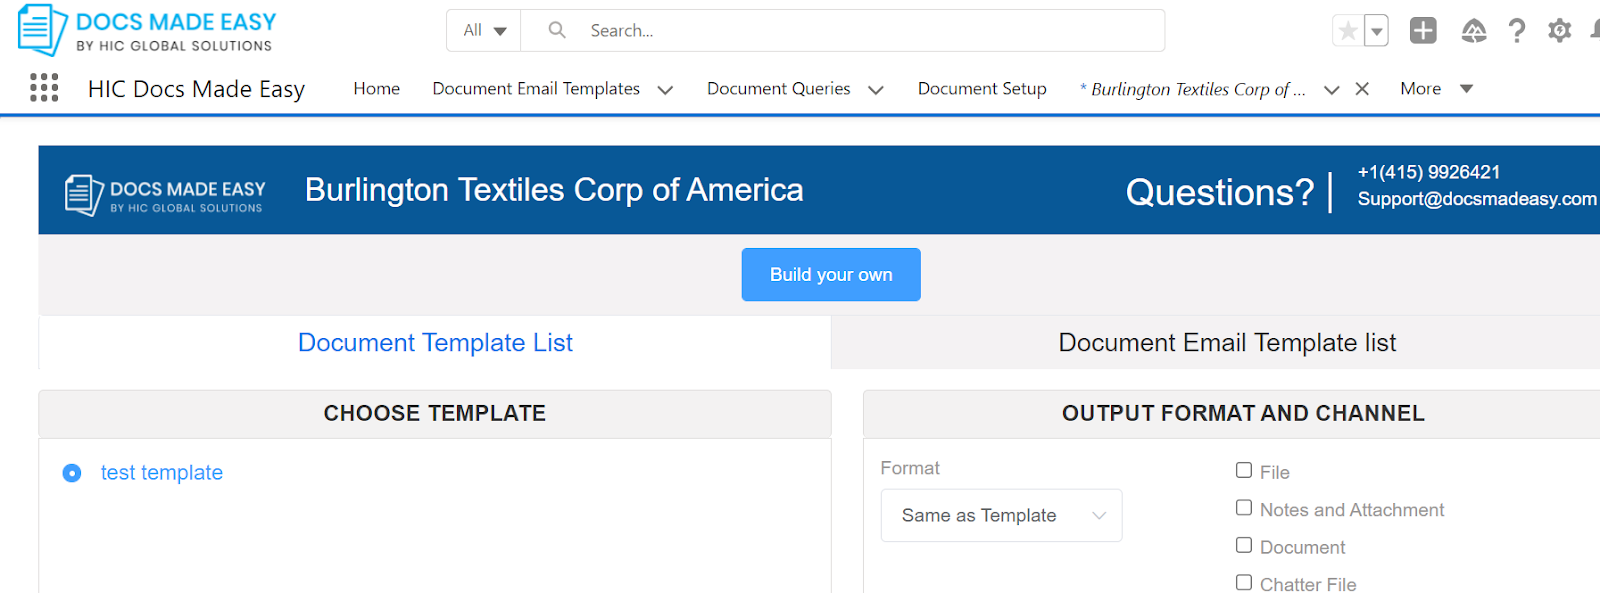
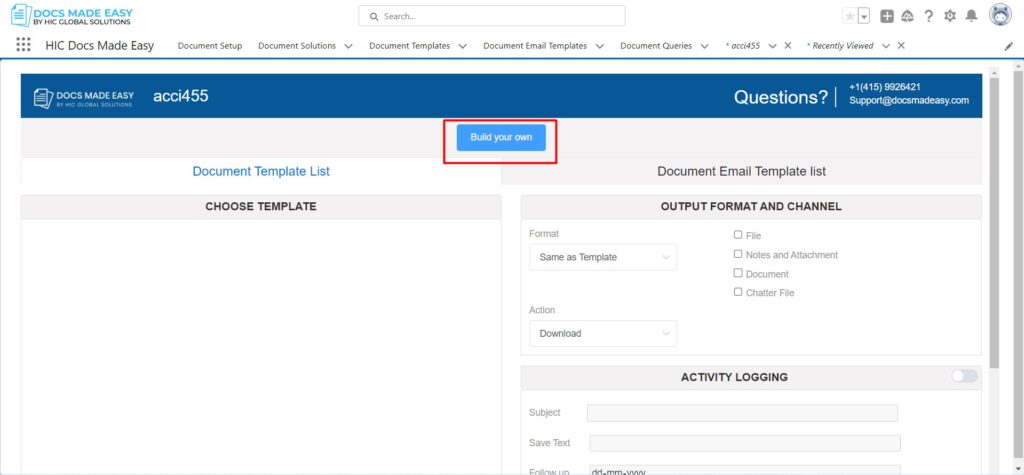
Step 22 : Click on the “Build your own” button.
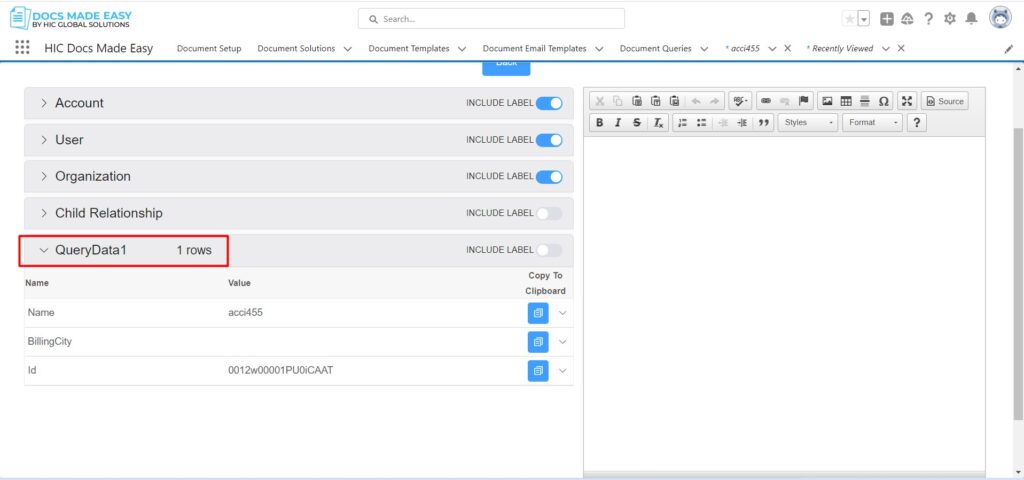
Result: On the builder Page, a Query is available with its alias name.
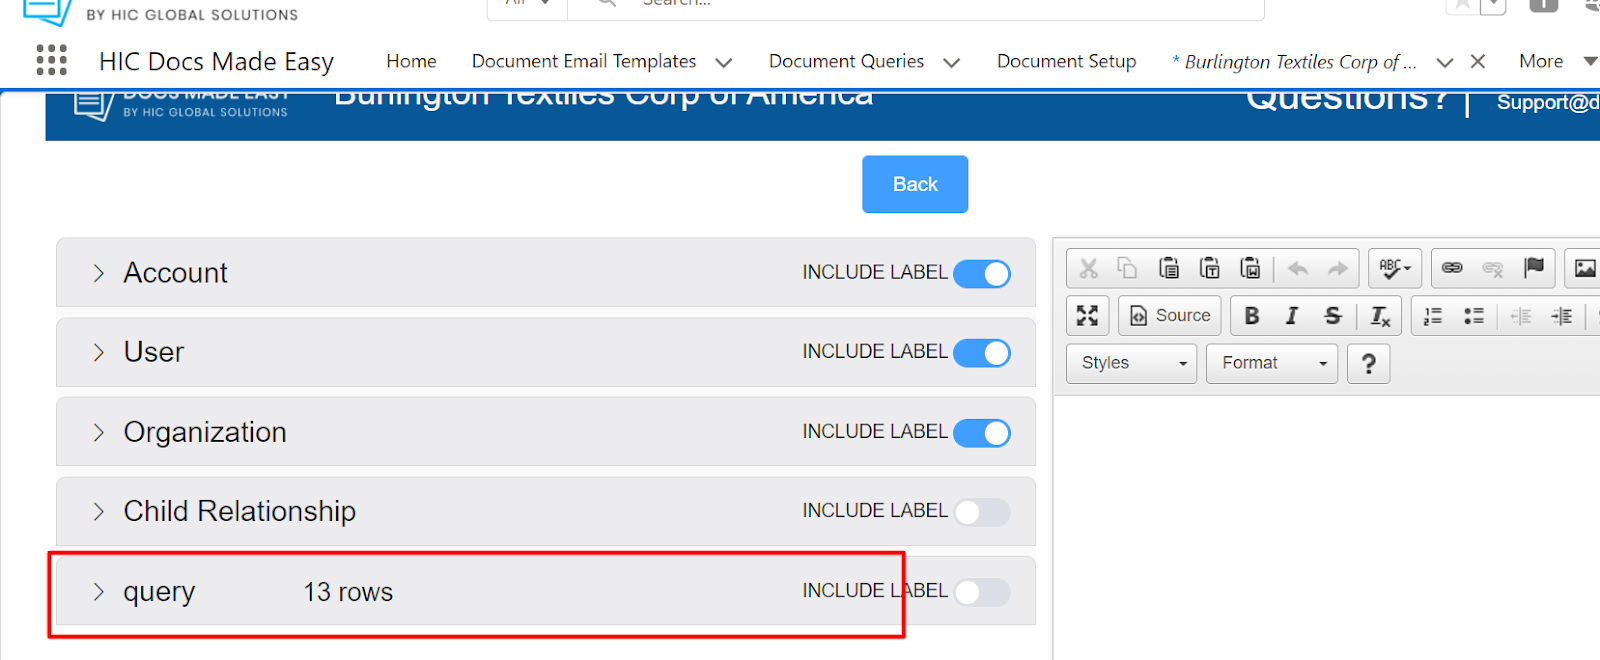
Step 23 : Now, if you want to execute the query and access the data from the query, use the query on the builder page.
Step 24: Then, click on the preview to check the output.