Here are the steps to migrate your Document Solution from Sandbox to Production.
Step 1: First, log in to your Salesforce org and open “Setup”.
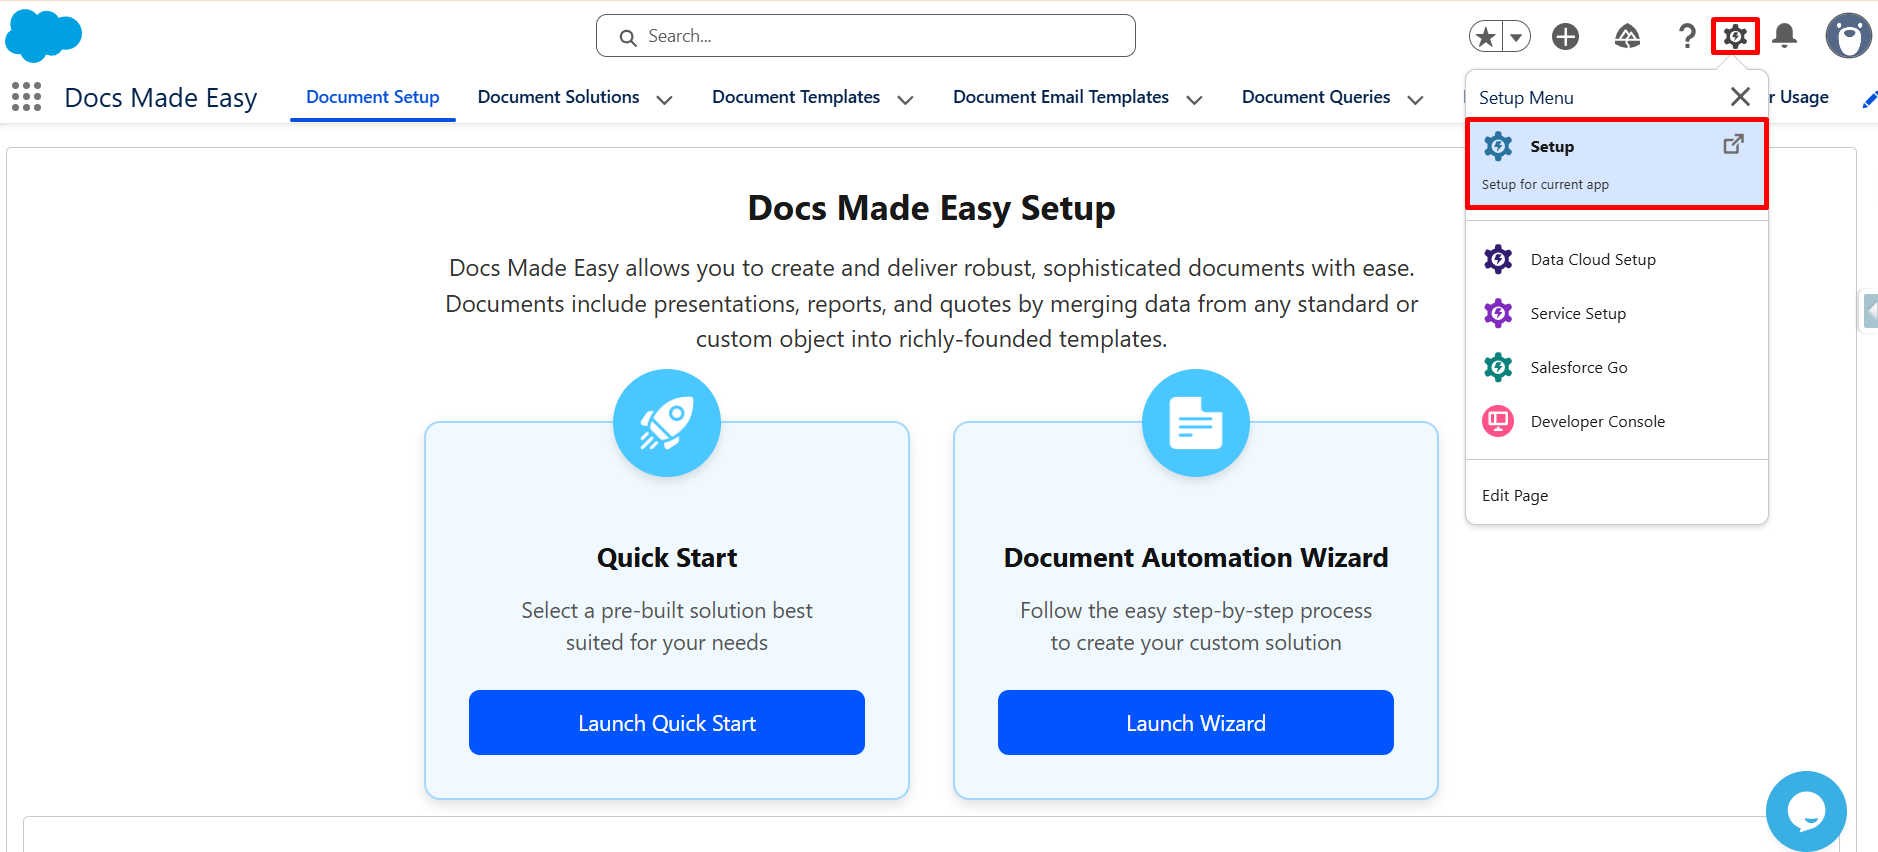
Step 2: Now search for the Document Solutions object in Setup so you can access its configuration.
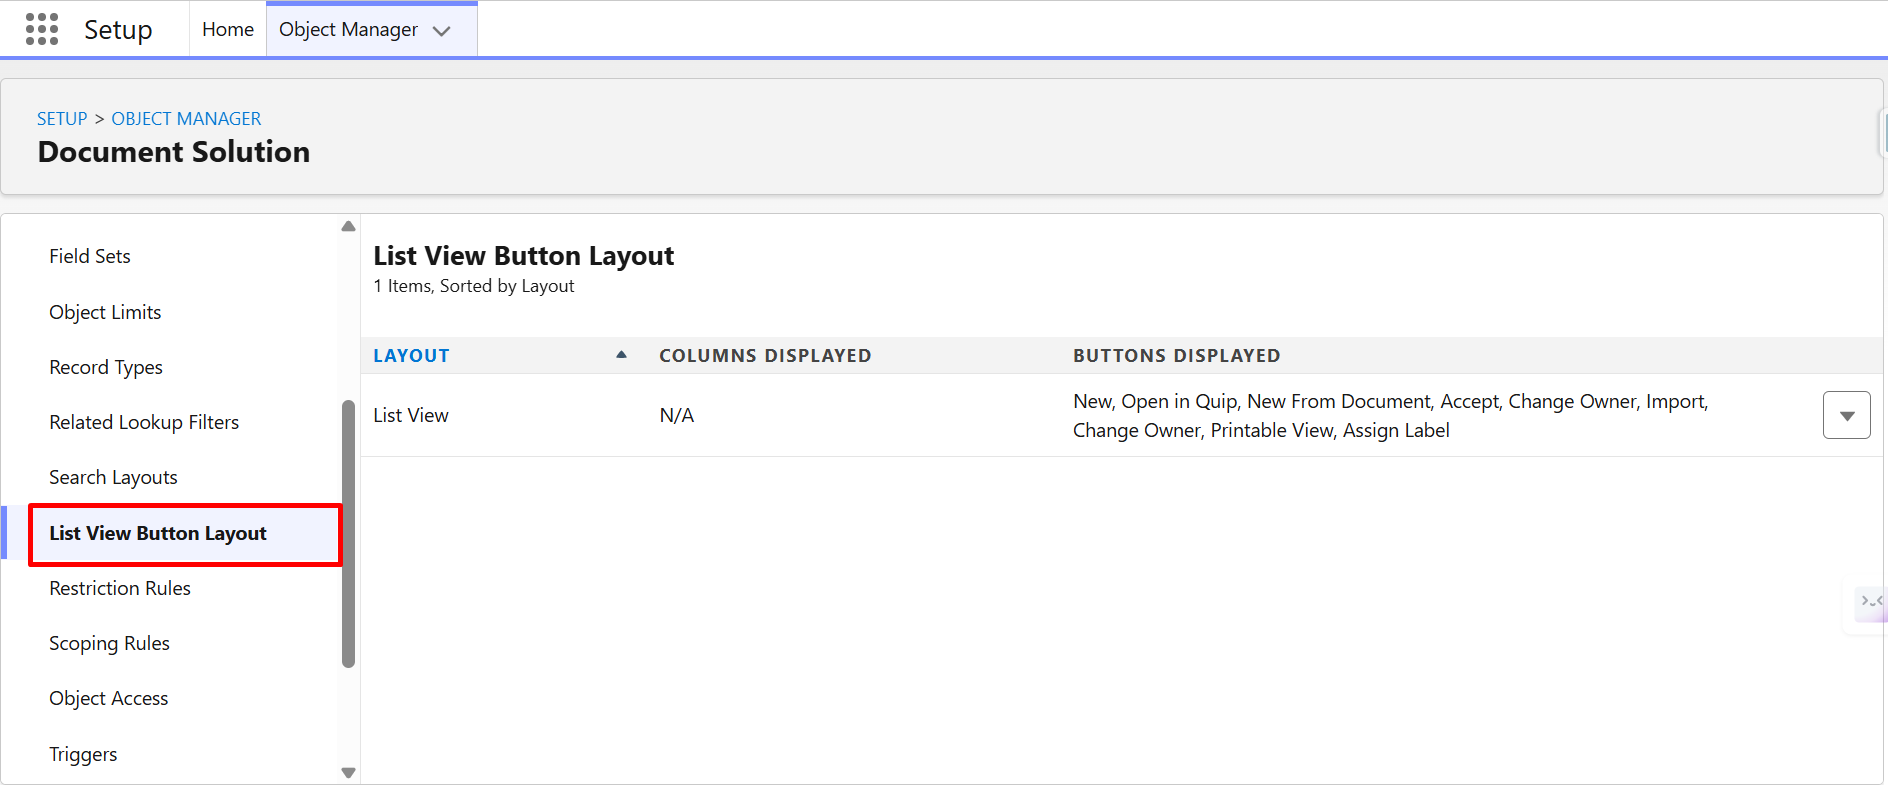
Step 3: Next, from the left panel, click on “List View Button Layout”.
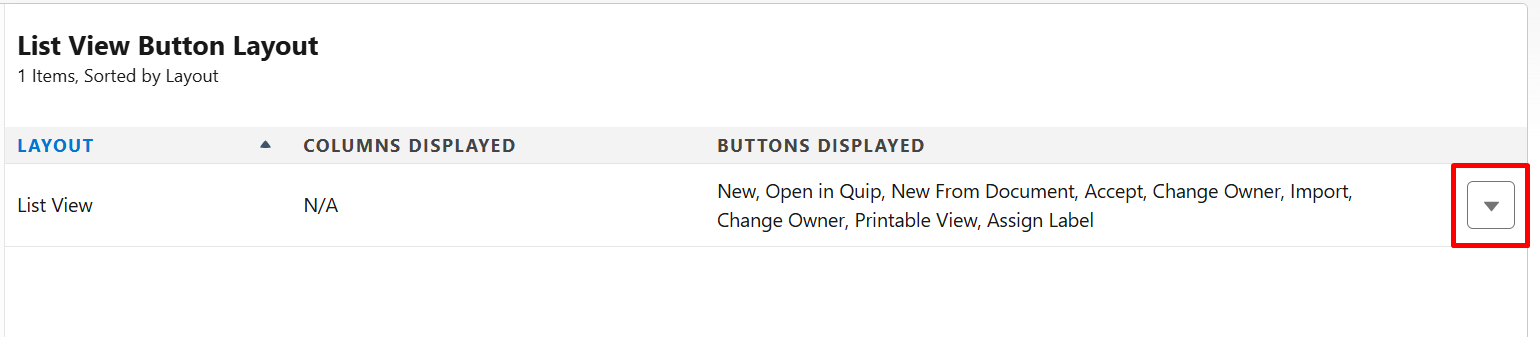
Step 4: After that, click on the “Dropdown Icon” to see the available options.
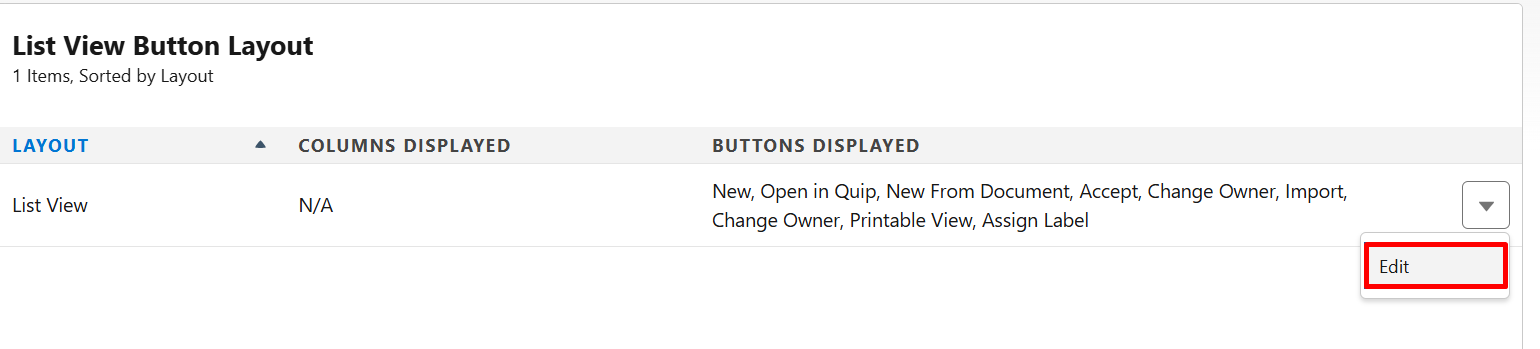
Step 5: Then click on “Edit” to modify the button layout.
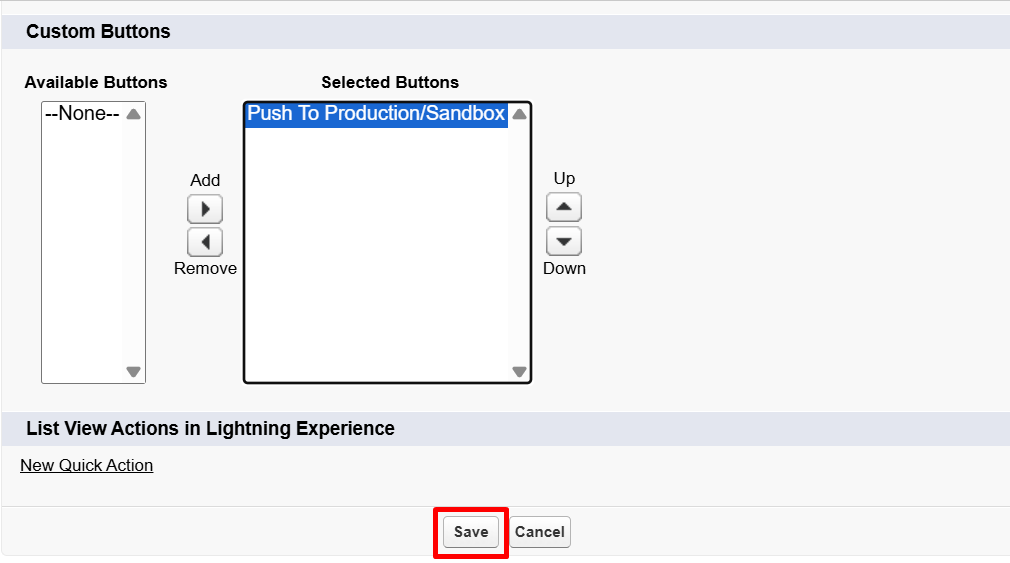
Step 6: Proceed further by selecting “Push to Production/Sandbox” from Custom Buttons and move it to the Selected Buttons section so it becomes visible in the list view.
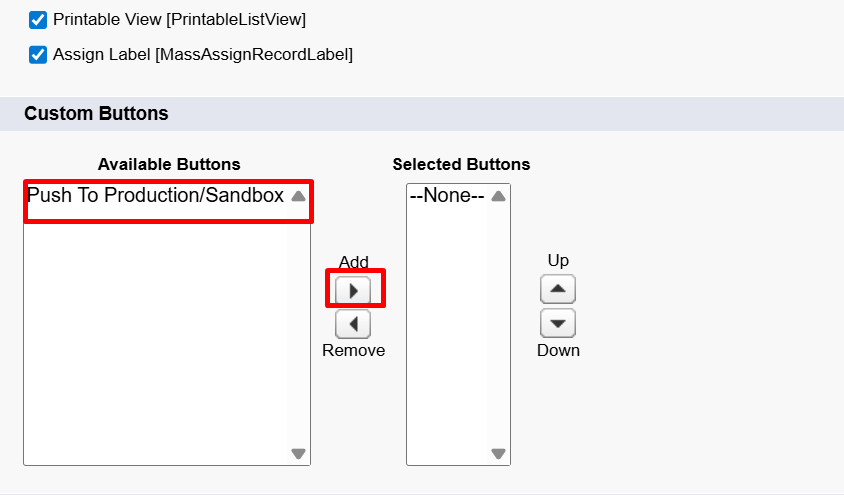
Step 7: Once done, click “Save” to apply the changes.
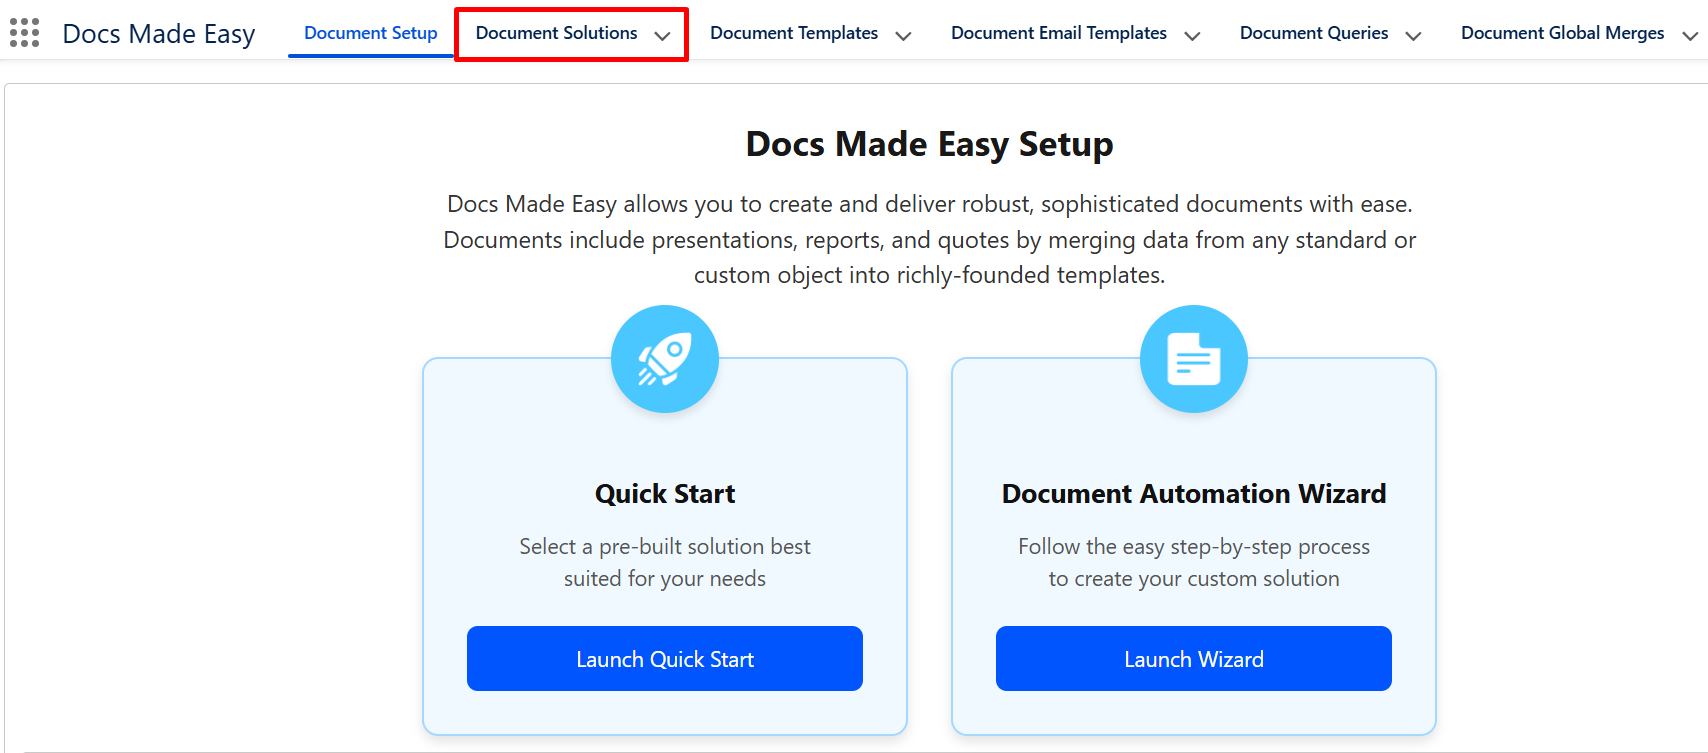
Step 8: Now move back to the “Document Solution” object, either from the Docs Made Easy app or through the App Launcher.
Step 9: Next, select the document solutions that you want to migrate from the list view.

Step 10: After selecting the records, click on the “Push to Production/Sandbox” button available at the top-right corner.

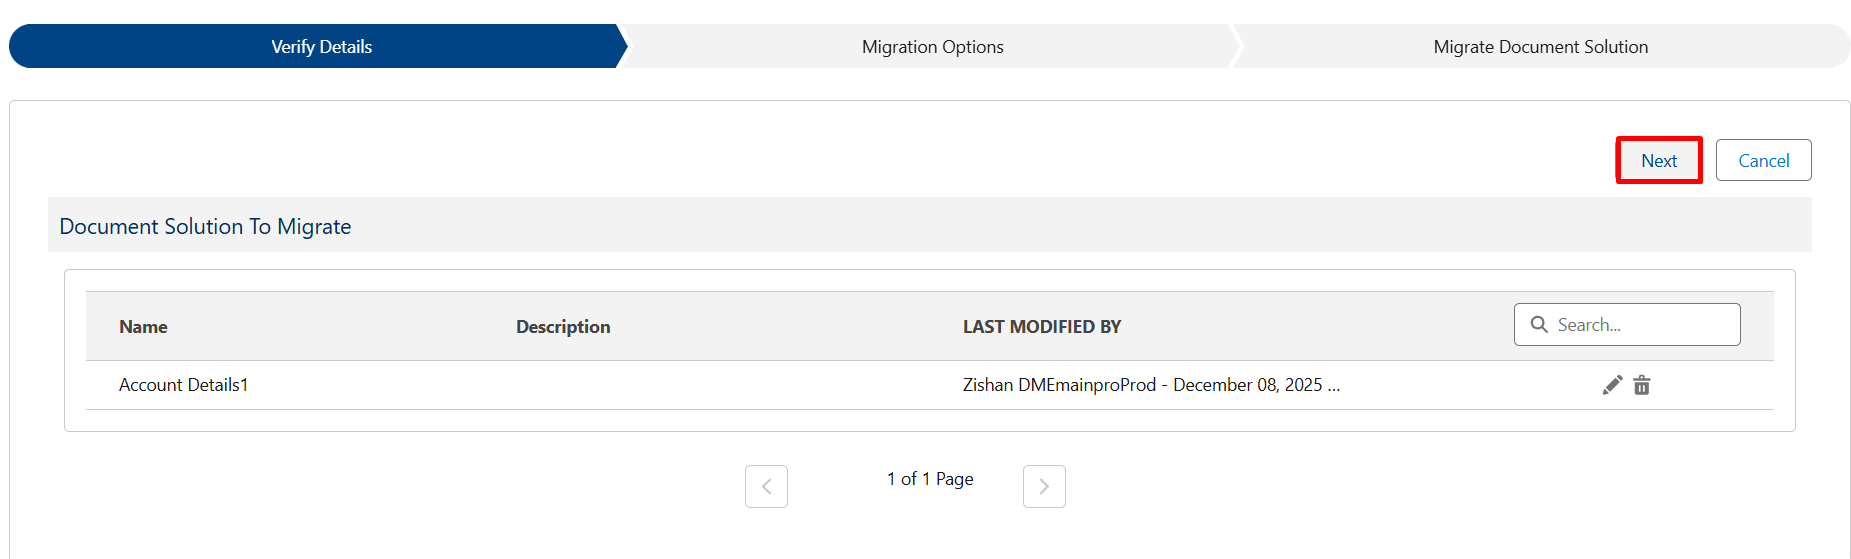
Step 11: On the Verify Details page, review the selected document solutions carefully and click “Next” to continue.
Step 12: Now, in the Final Setup section, choose the “Environment” where you want to migrate your document solution. Furthermore, enter the “Username” of the target org where the migration should take place.
Additionally, if you want to receive a confirmation, enter your “Email” address (this step is optional).
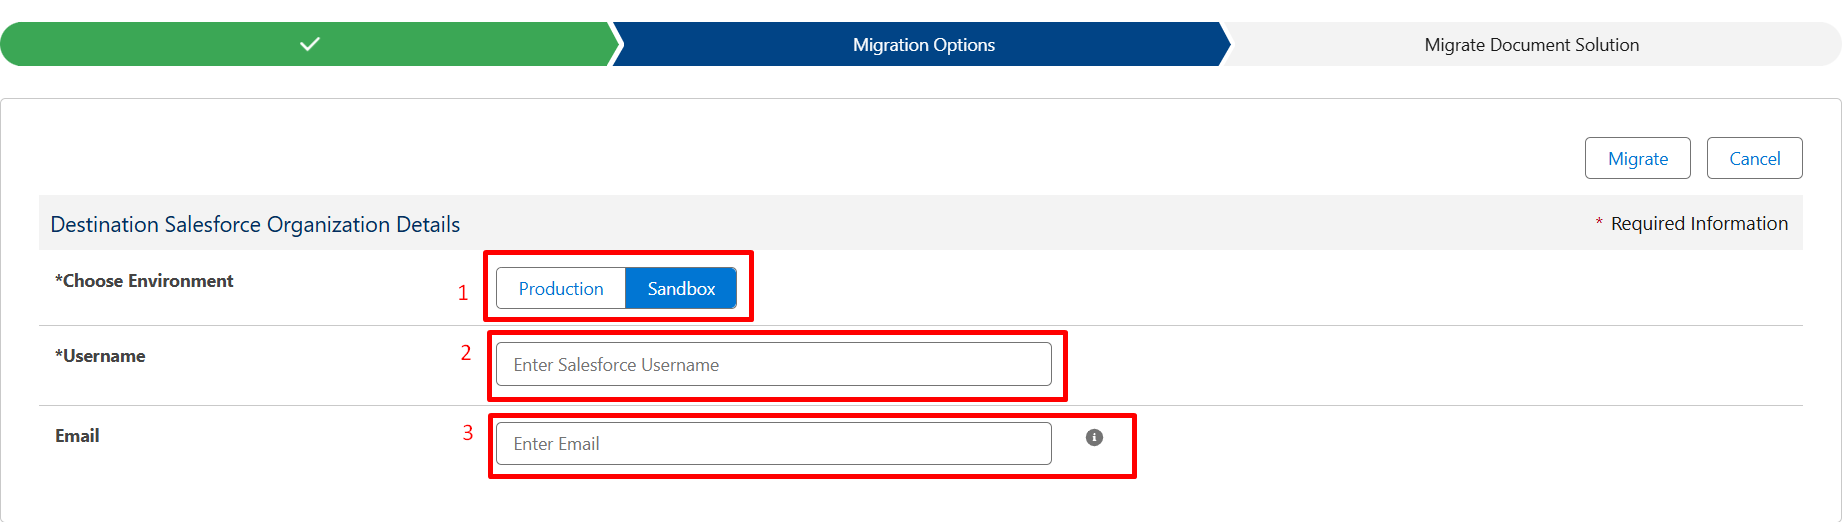
Step 13: Once everything is confirmed, the migration process will start automatically.
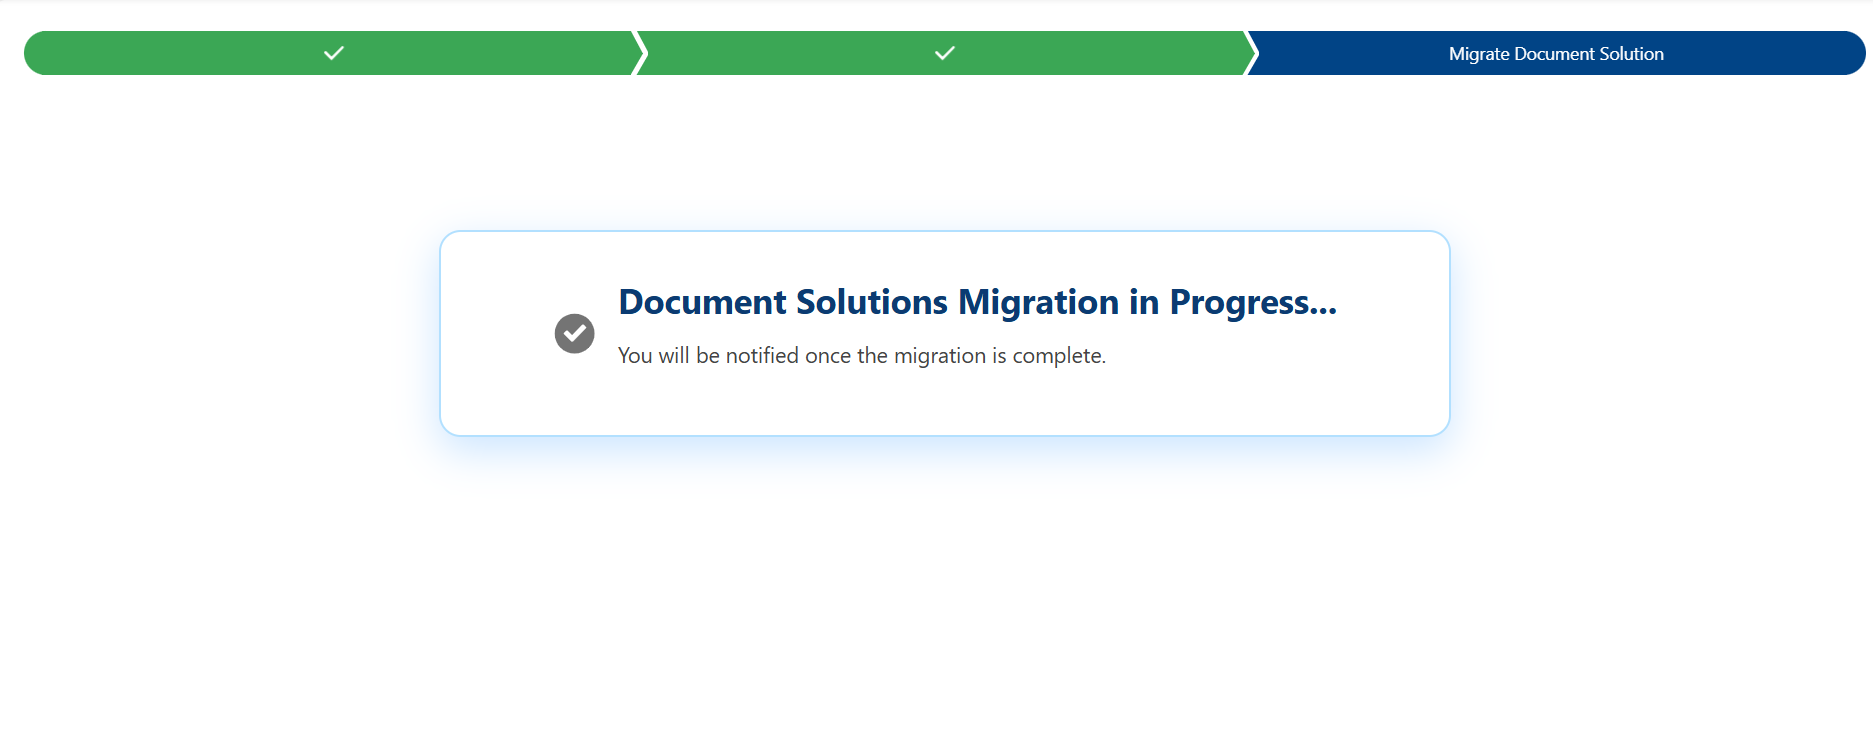
Step 14: Finally, you will receive an email notification once the migration is successfully completed.
Note:
To use the Migration feature, Docs Made Easy Pro must be installed in both orgs.
Thank You
Was this article helpful?
That’s Great!
Thank you for your feedback
Sorry! We couldn't be helpful
Thank you for your feedback
Feedback sent
We appreciate your effort and will try to fix the article