Let’s jump directly to the steps and see how you can configure Salesforce document automation.
Step 1: First, log in to your Salesforce org so you can begin the setup process.
Step 2: Open Docs Made Easy from the App Launcher.
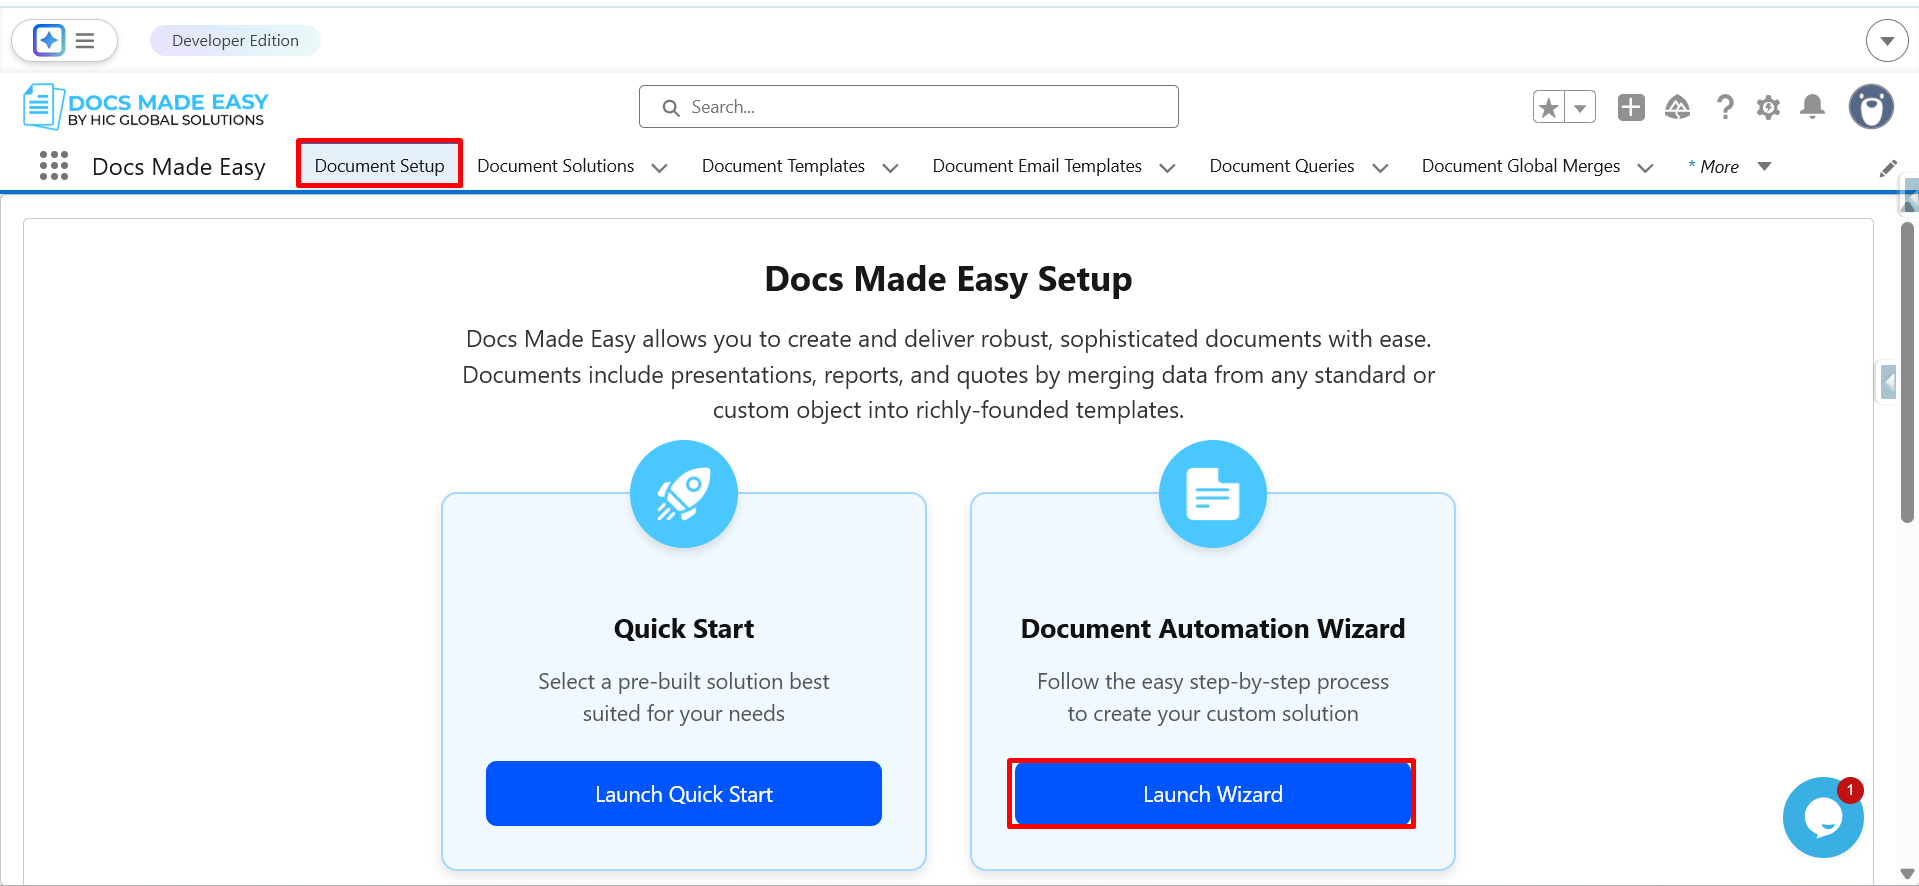
Step 3: Go to Document Setup and click on Launch Wizard.
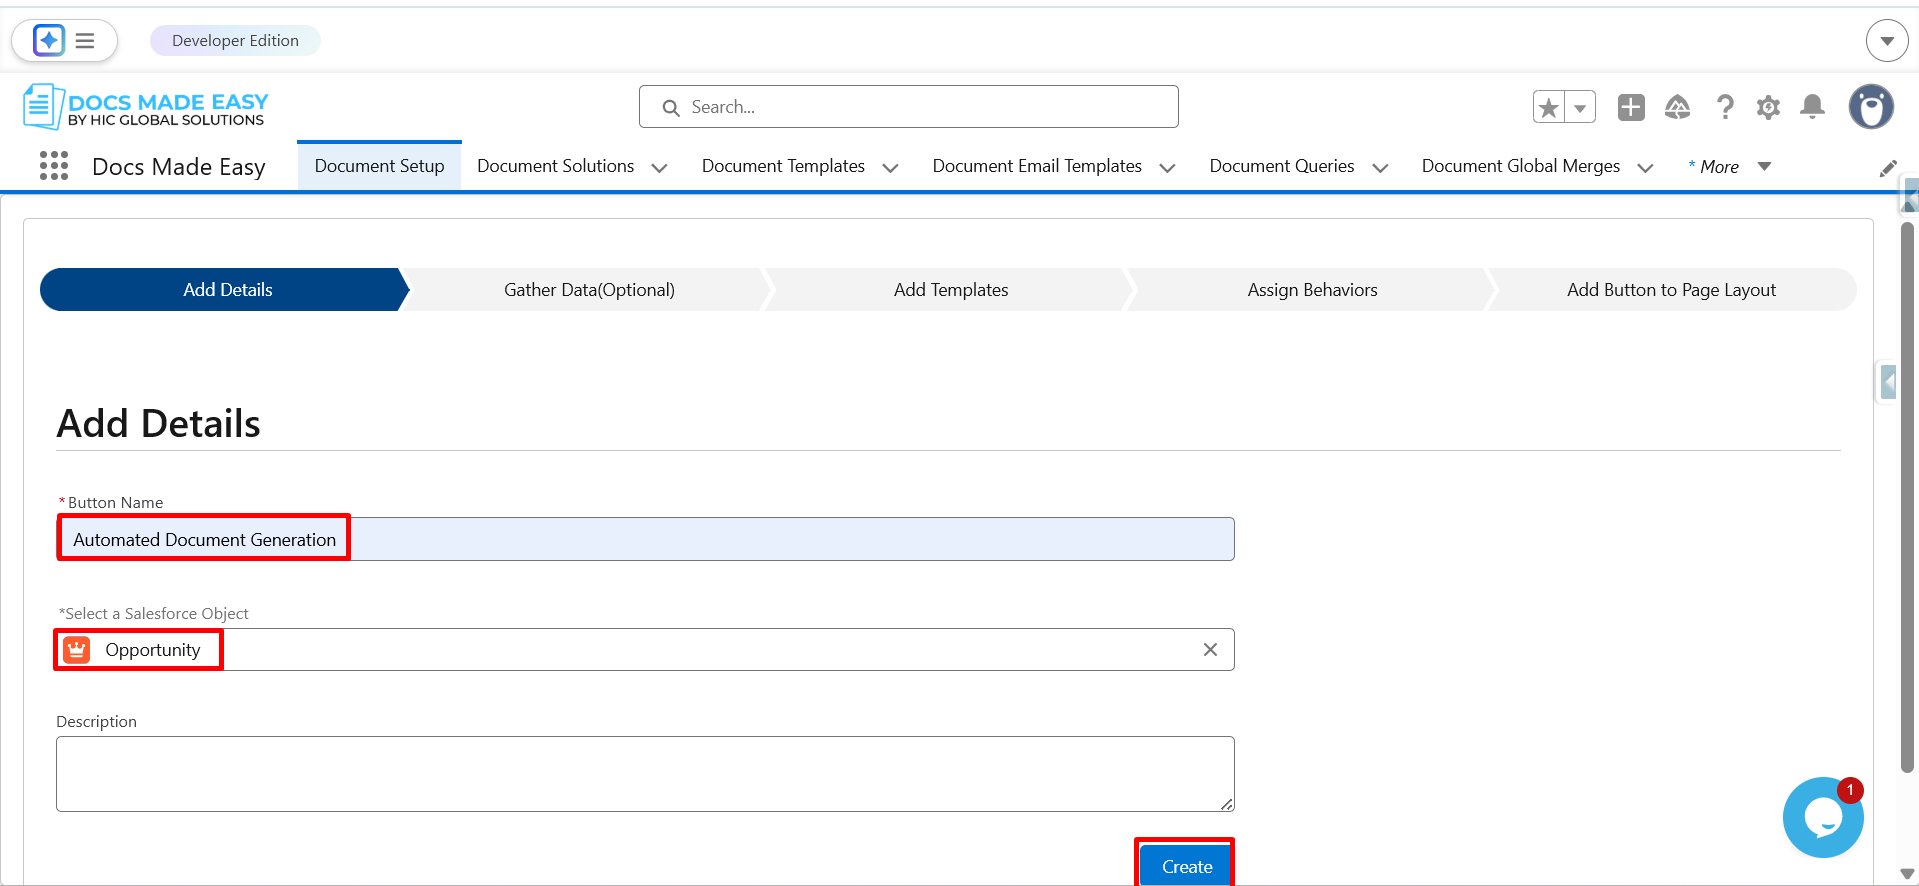
Step 4: Enter the button name, select the Salesforce object (Opportunity), and then click on Create.
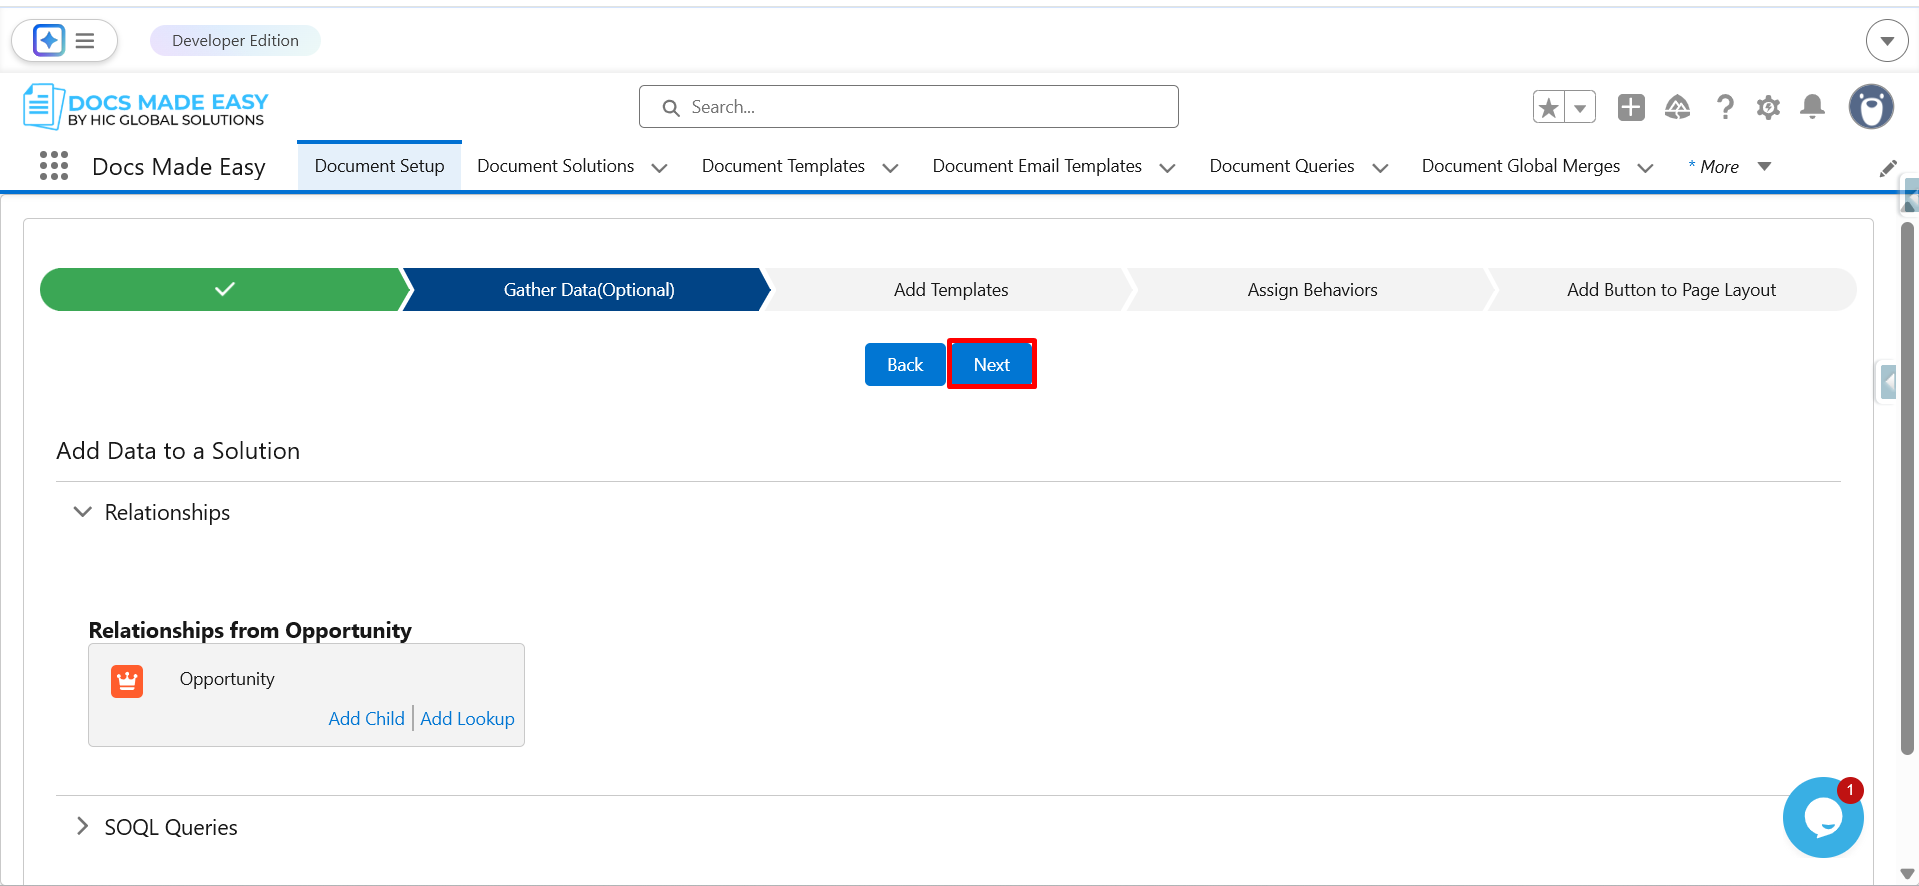
Step 5: Click on Next to proceed to the template section.'
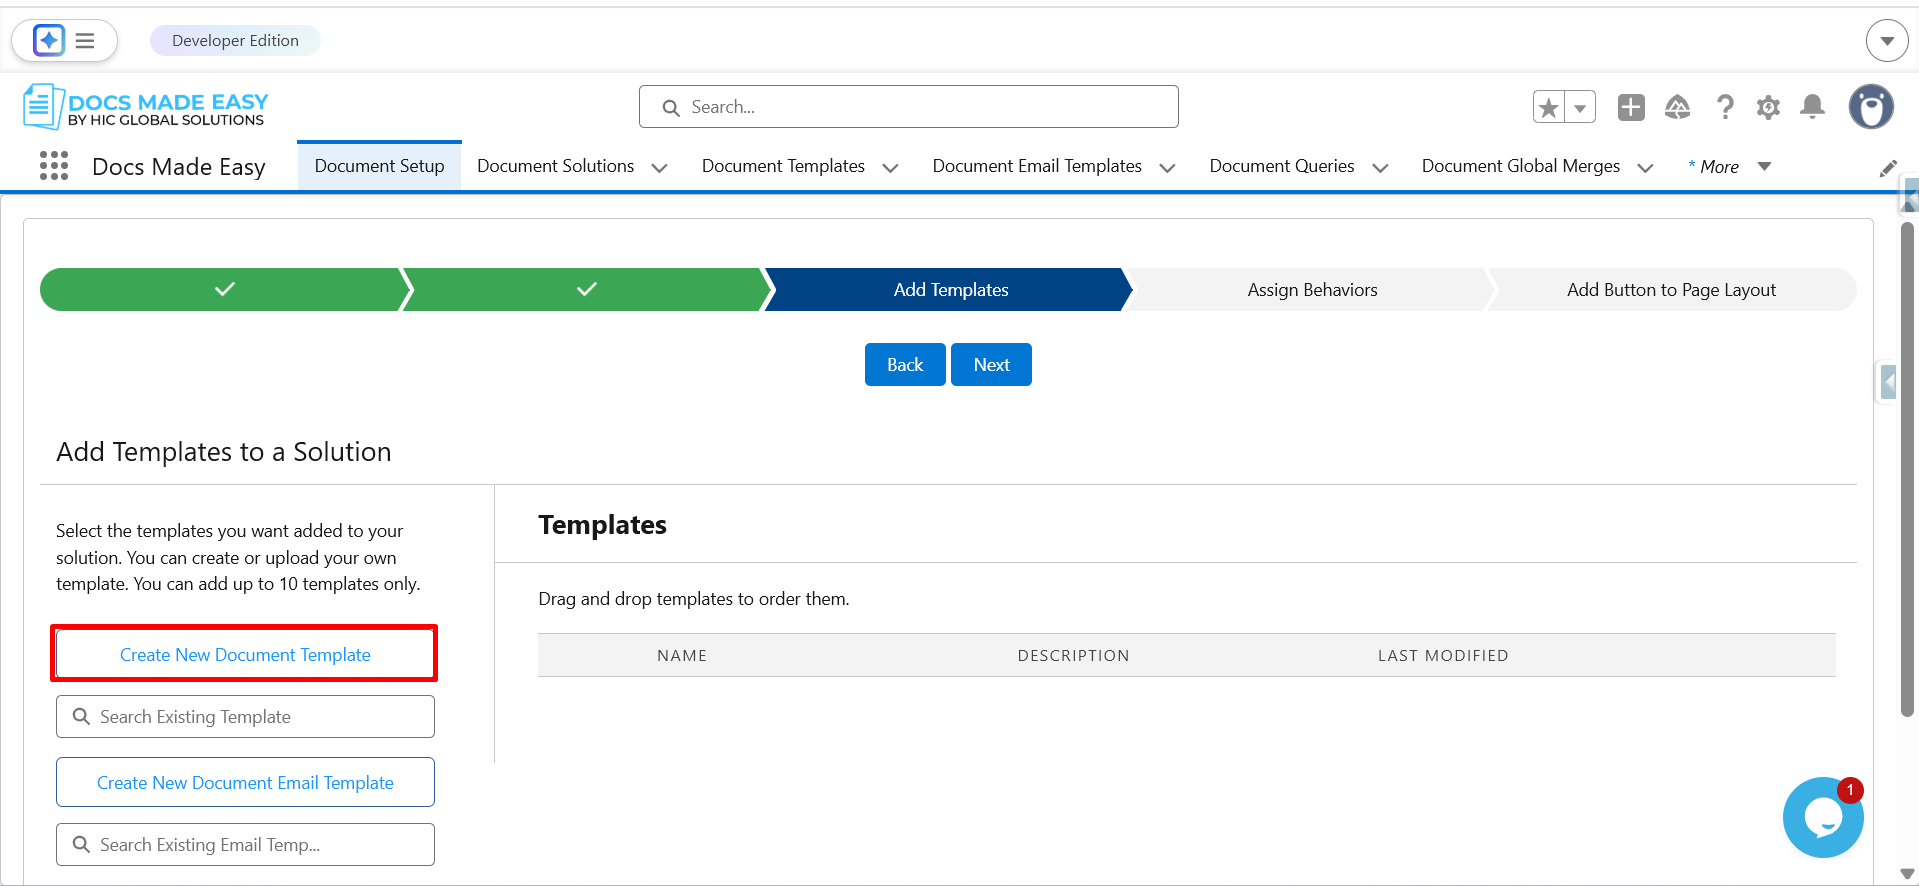
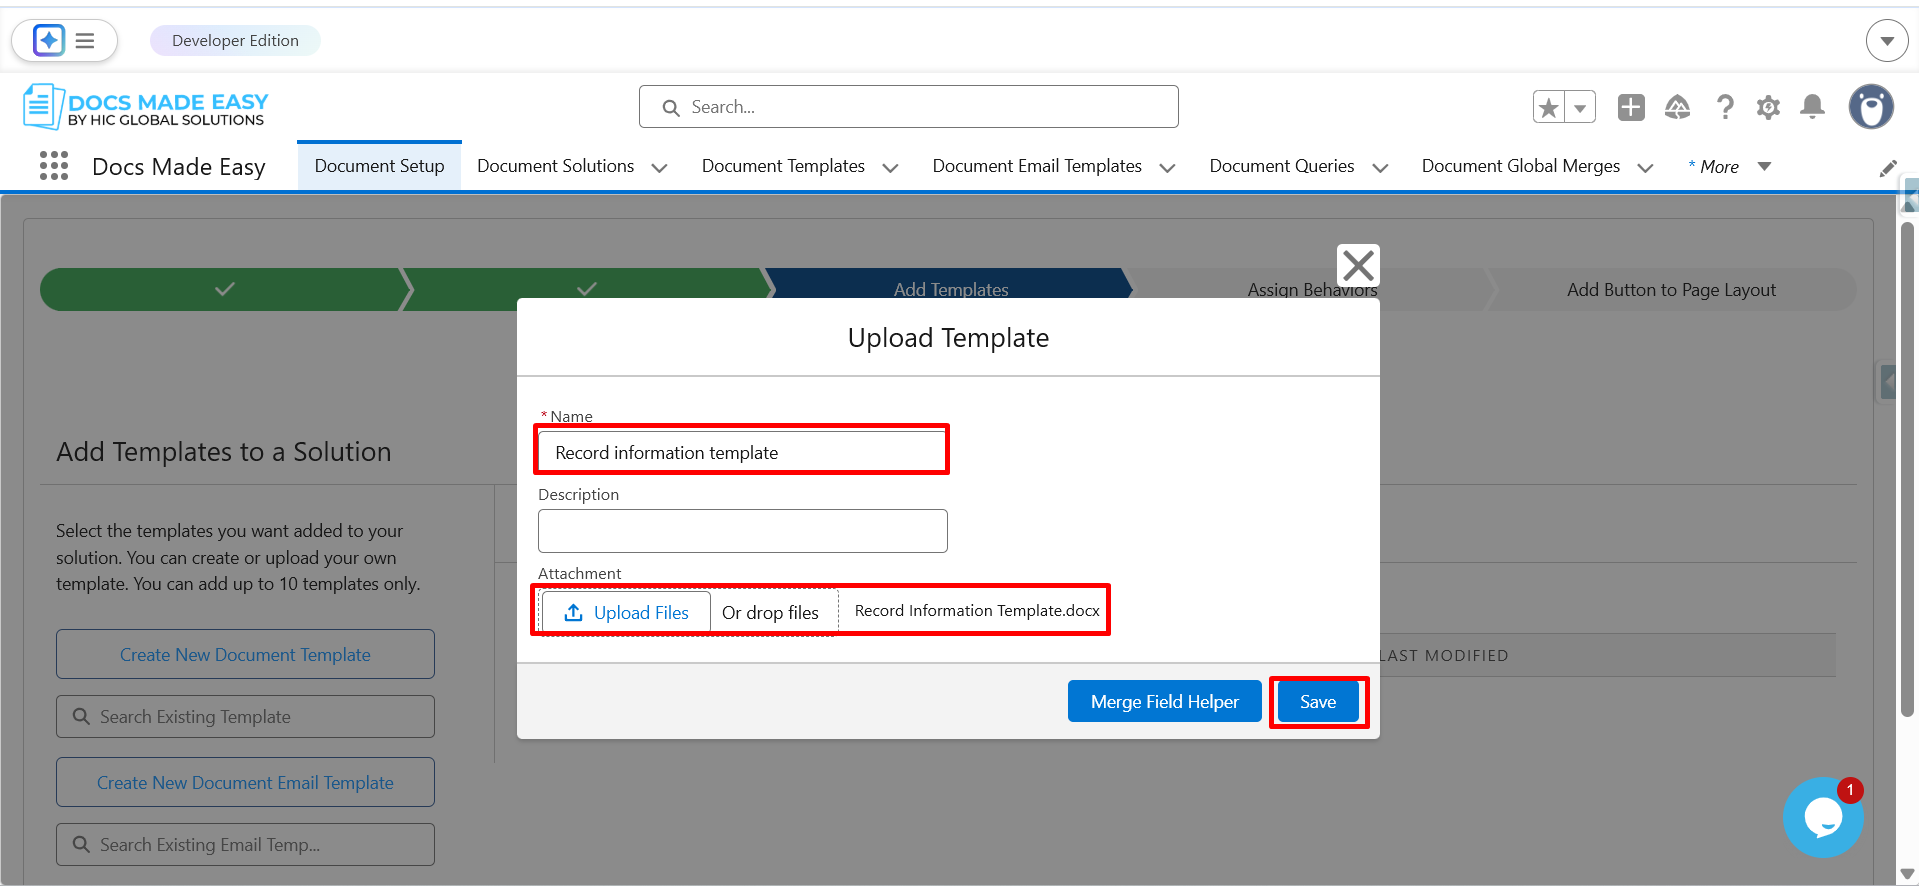
Step 6: Now, click on Create New Document Template to upload your template.
Step 7: Enter the template name, upload the template file, and click on Save.
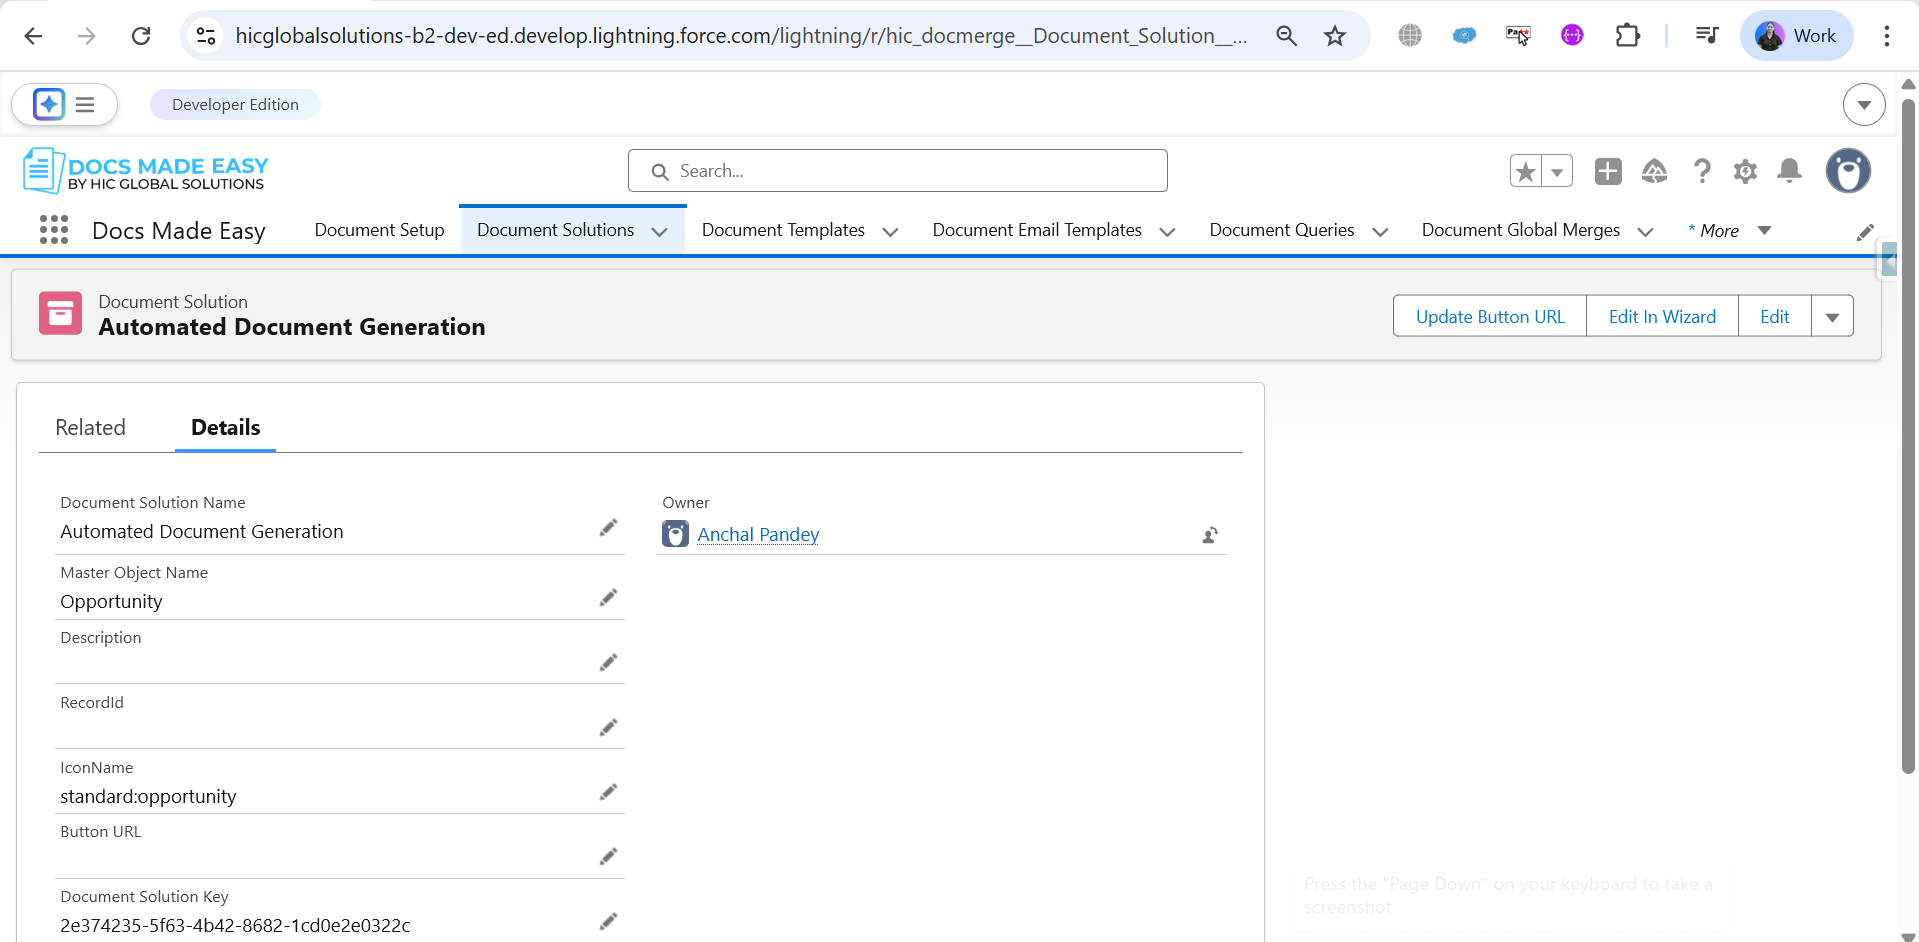
Step 8: Open the created solution and copy the Solution ID.
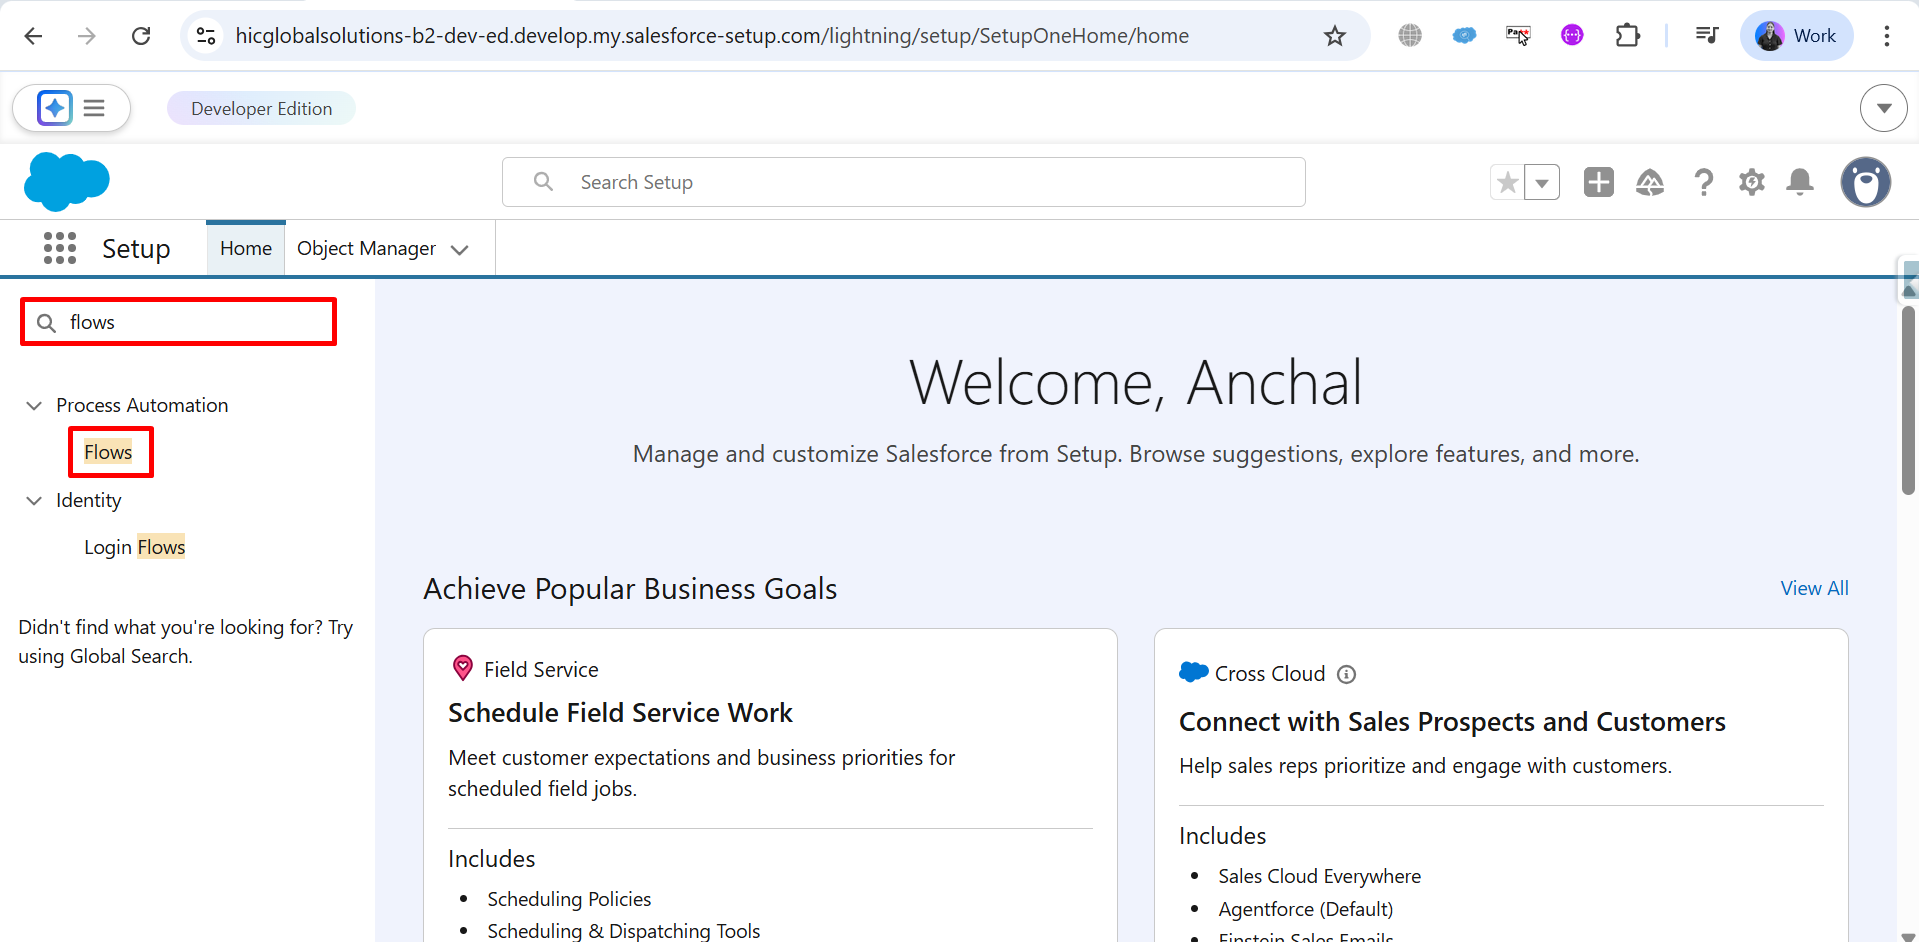
Step 9: Go to Home, search for Flows in the Quick Find box, and click on Flows under Process Automation.
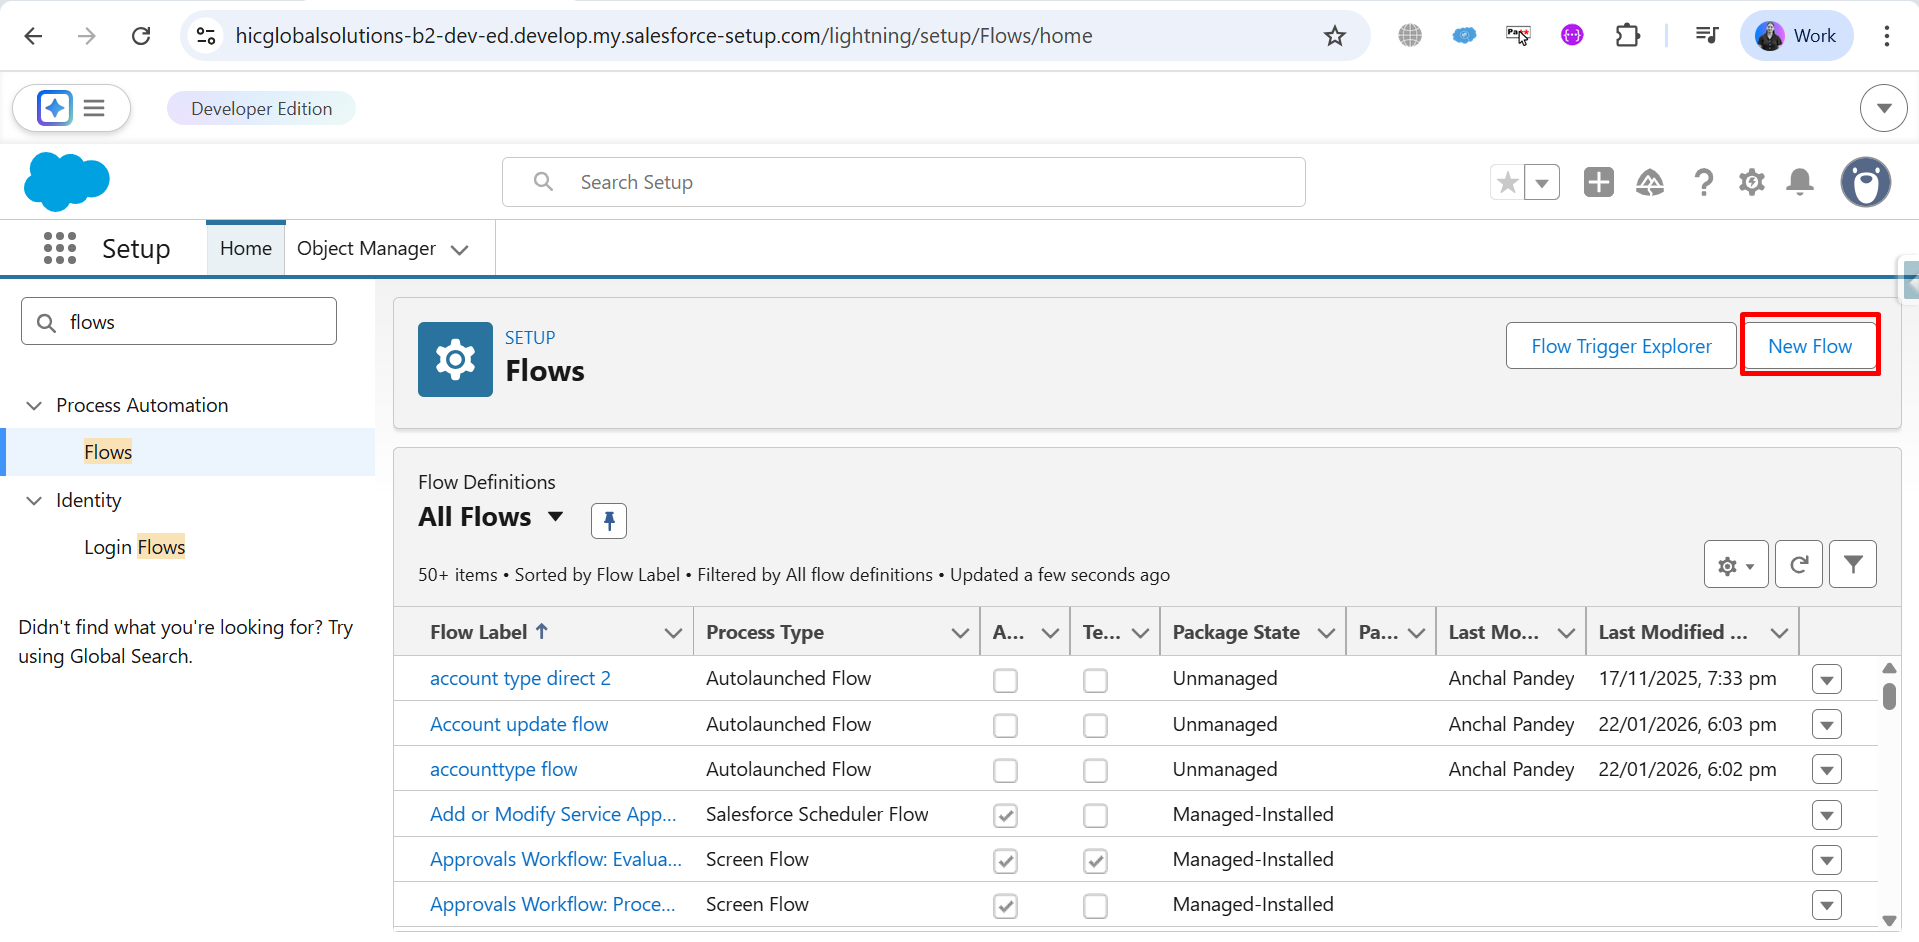
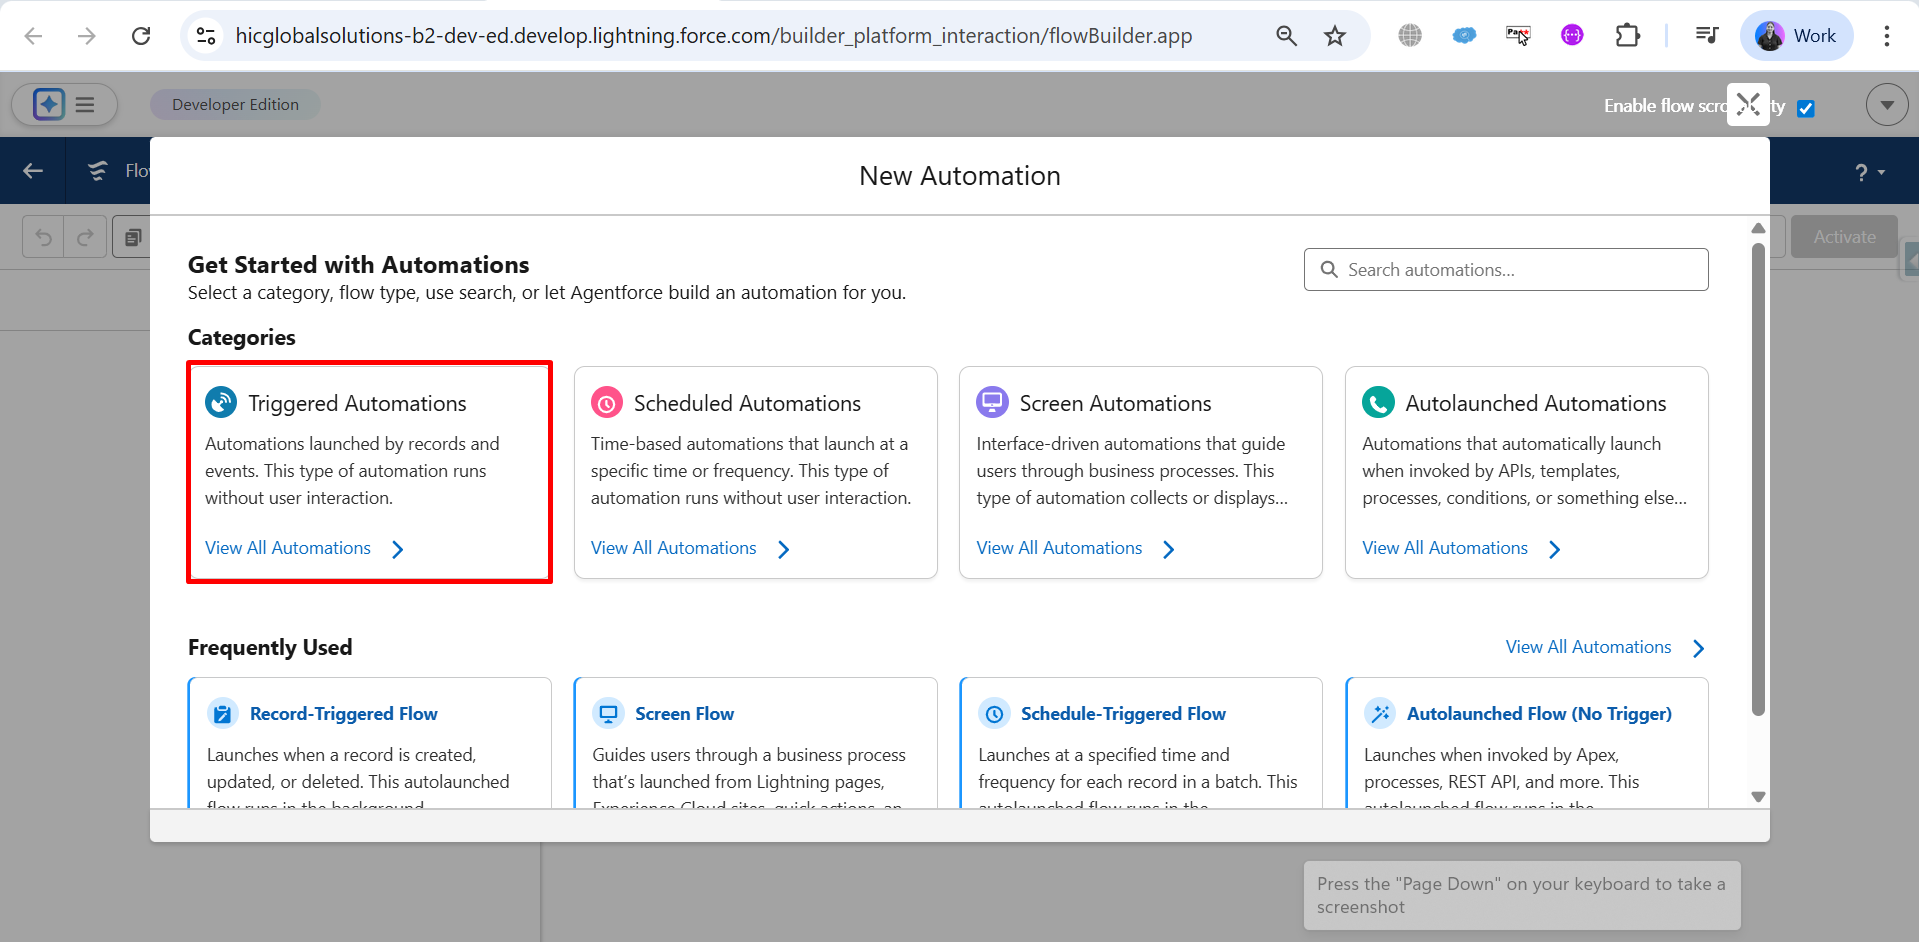
Step 10: Click on New Flow to create a new automation.
Step 11: Choose the category Triggered Automations.
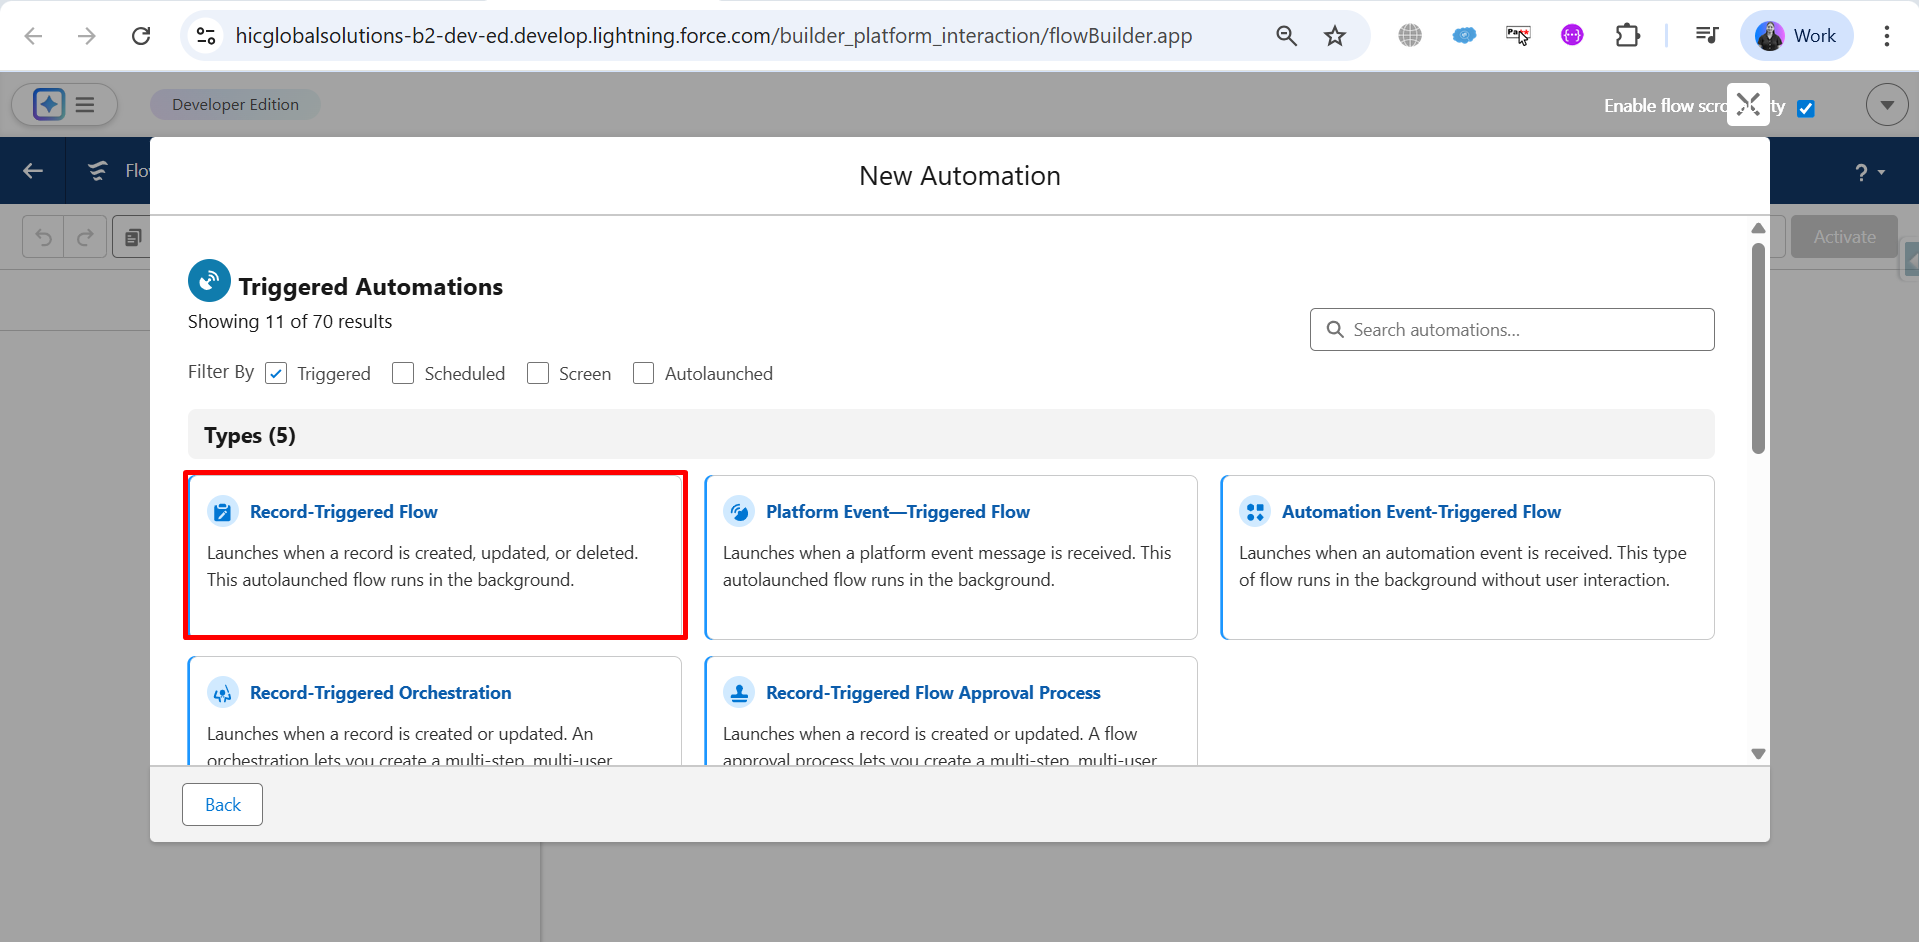
Step 12: Select Record-Triggered Flow as the flow type.
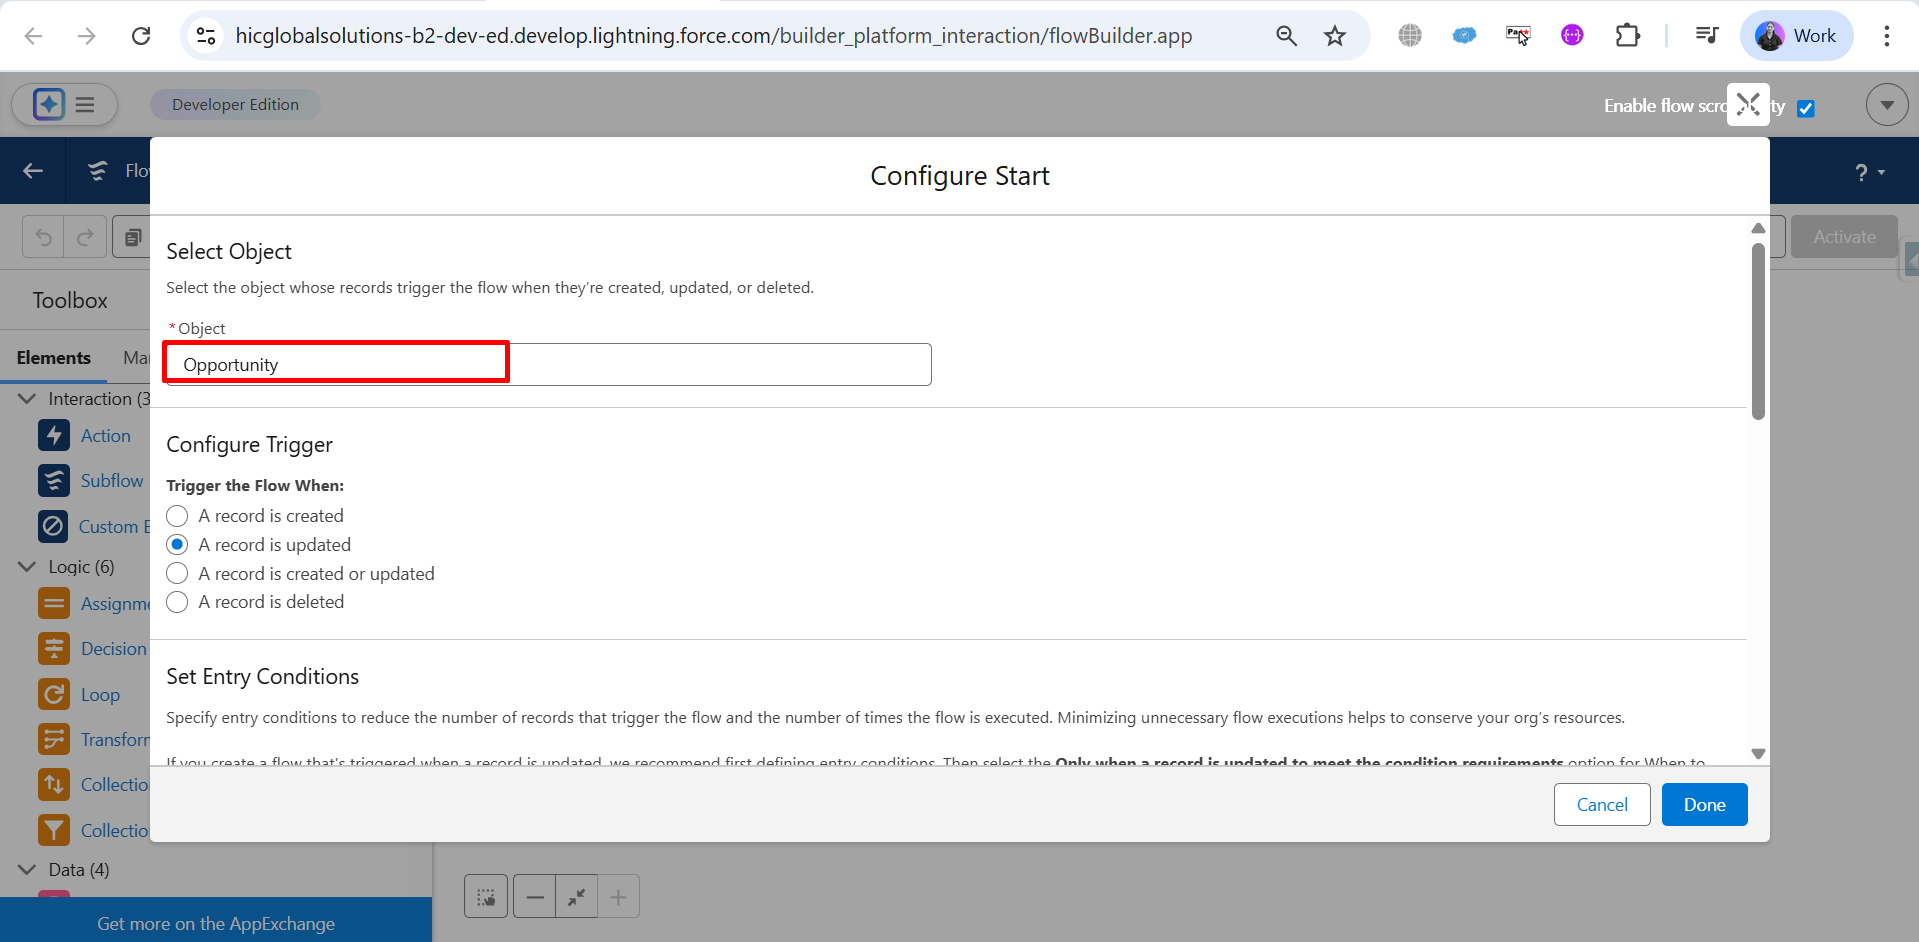
Step 13: Select the Salesforce object (Opportunity) and configure a trigger to trigger the flow when a specific event occurs (like A record is updated).
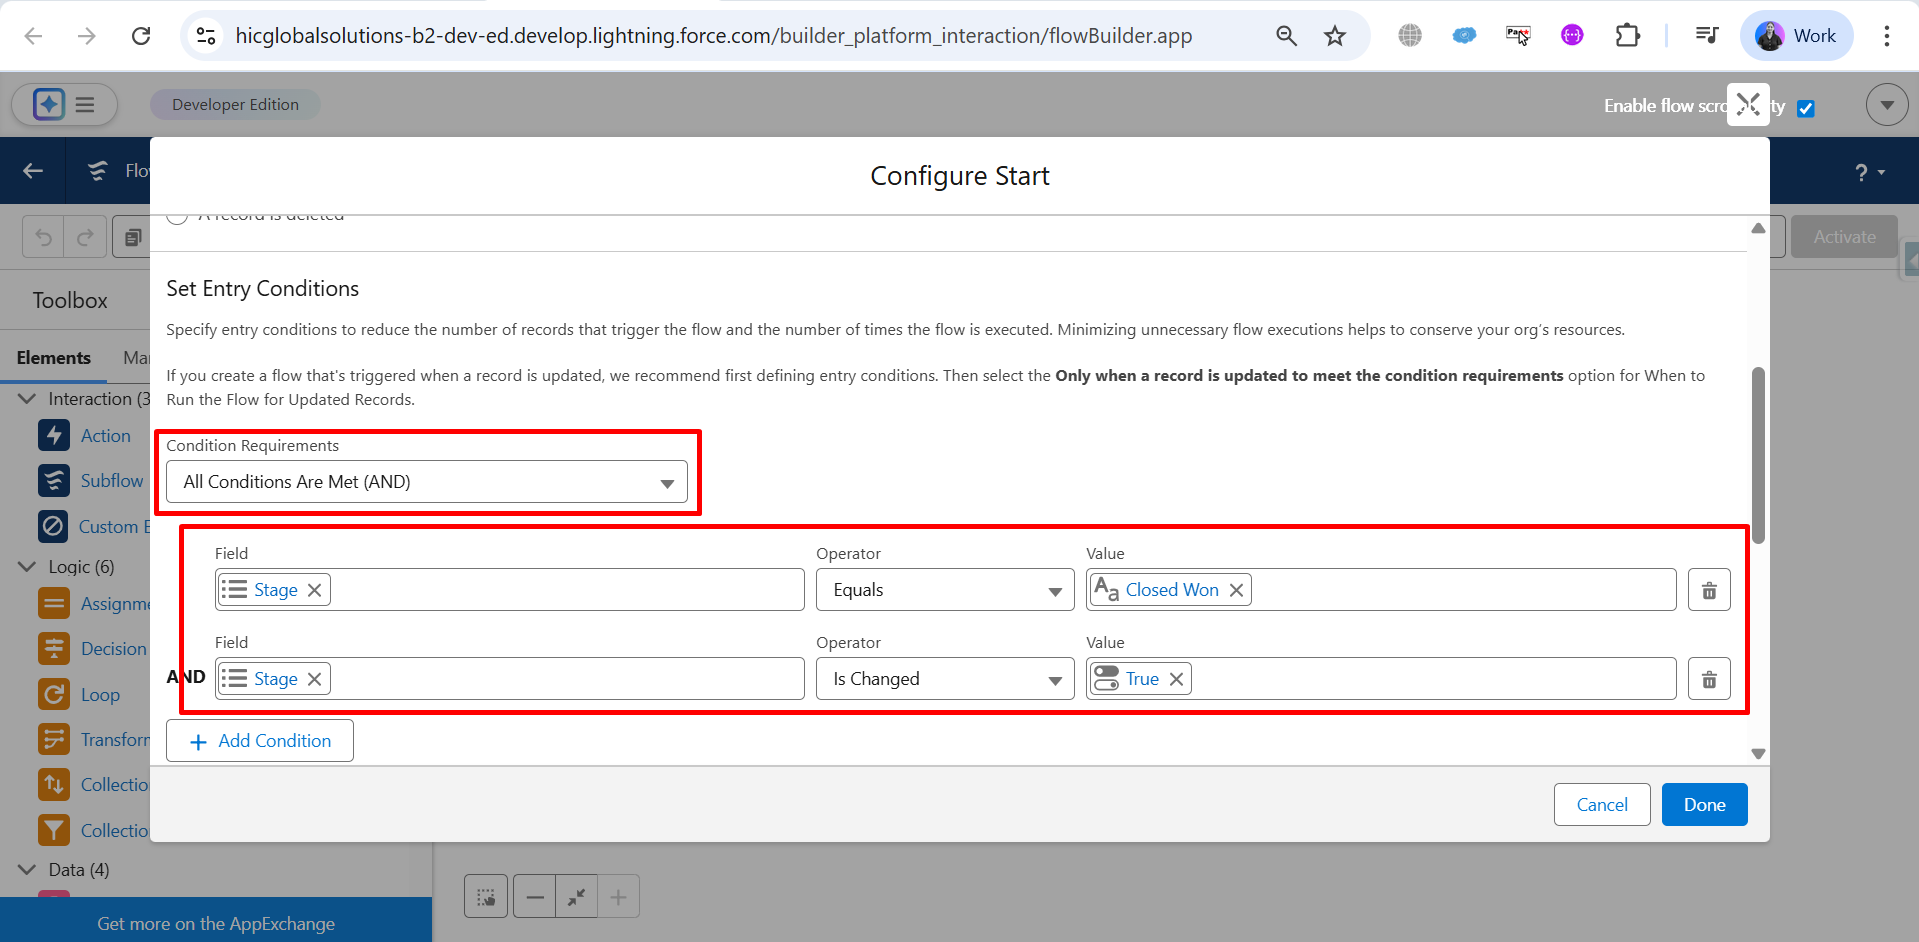
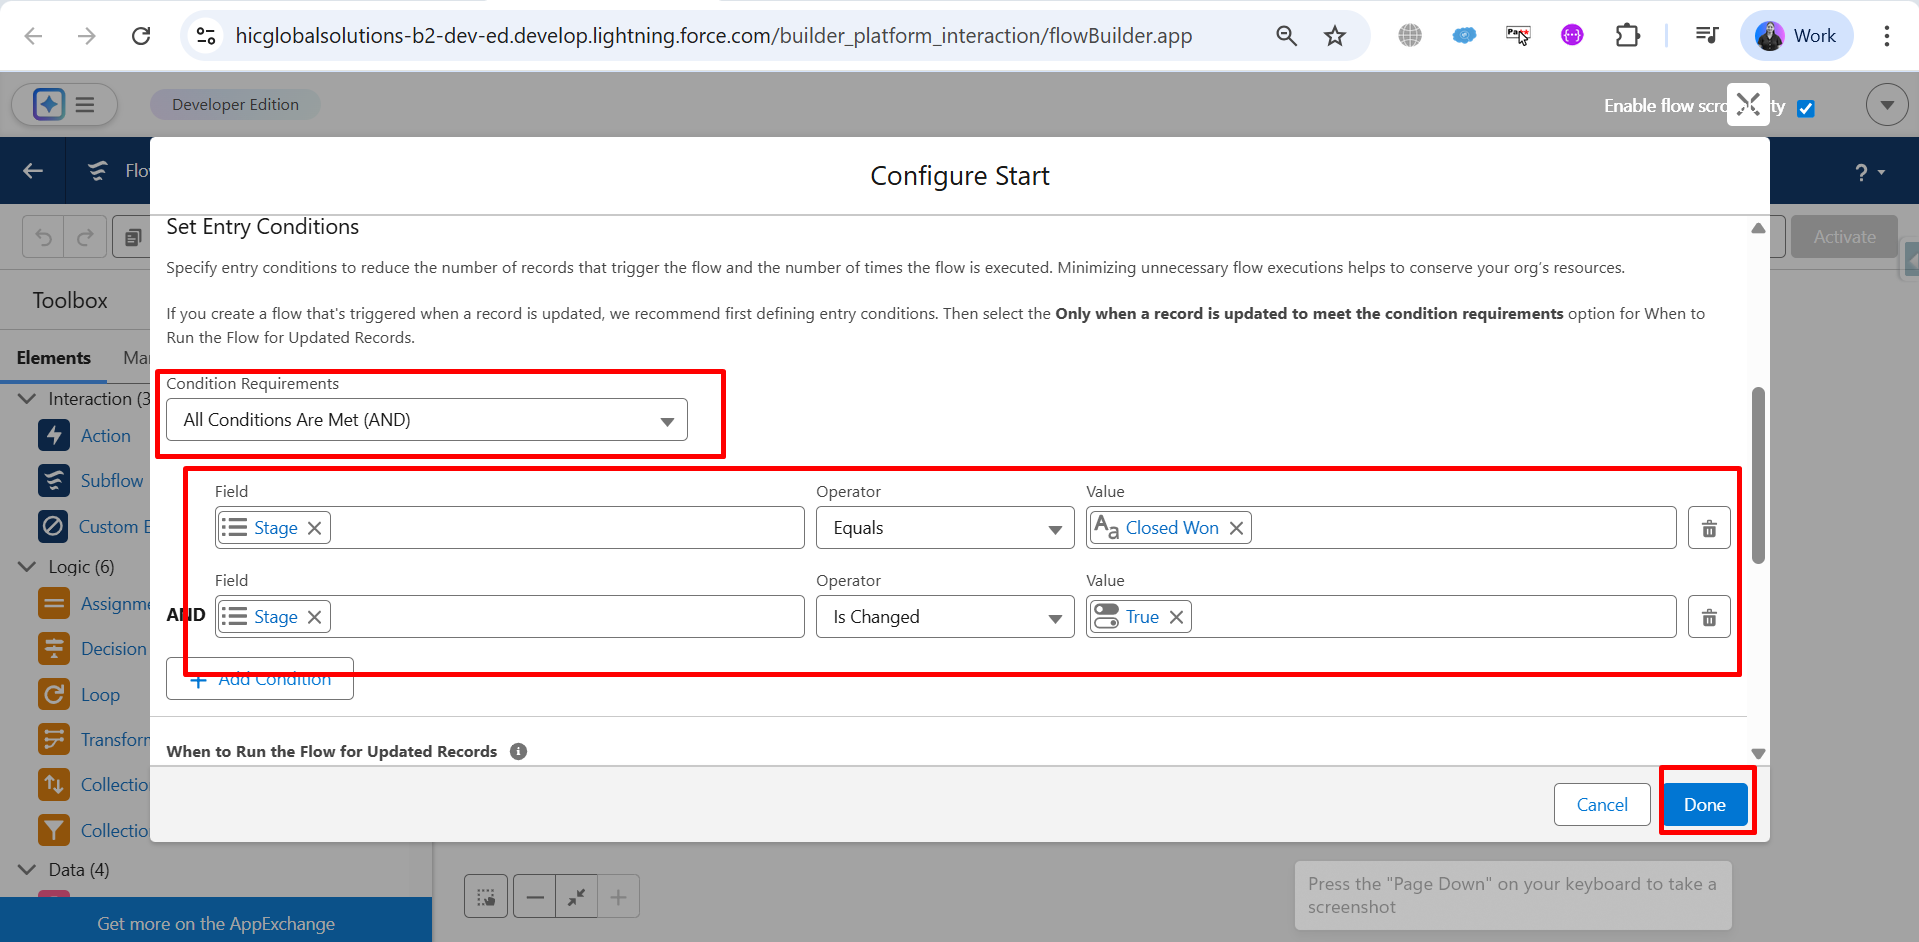
Step 14: Under Condition Requirements, select All Conditions Are Met (AND).
Add the first condition:
- Field: Stage
- Operator: Equals
- Value: Closed Won
Add the second condition:
- Field: Stage
- Operator: Is Changed
- Value: True
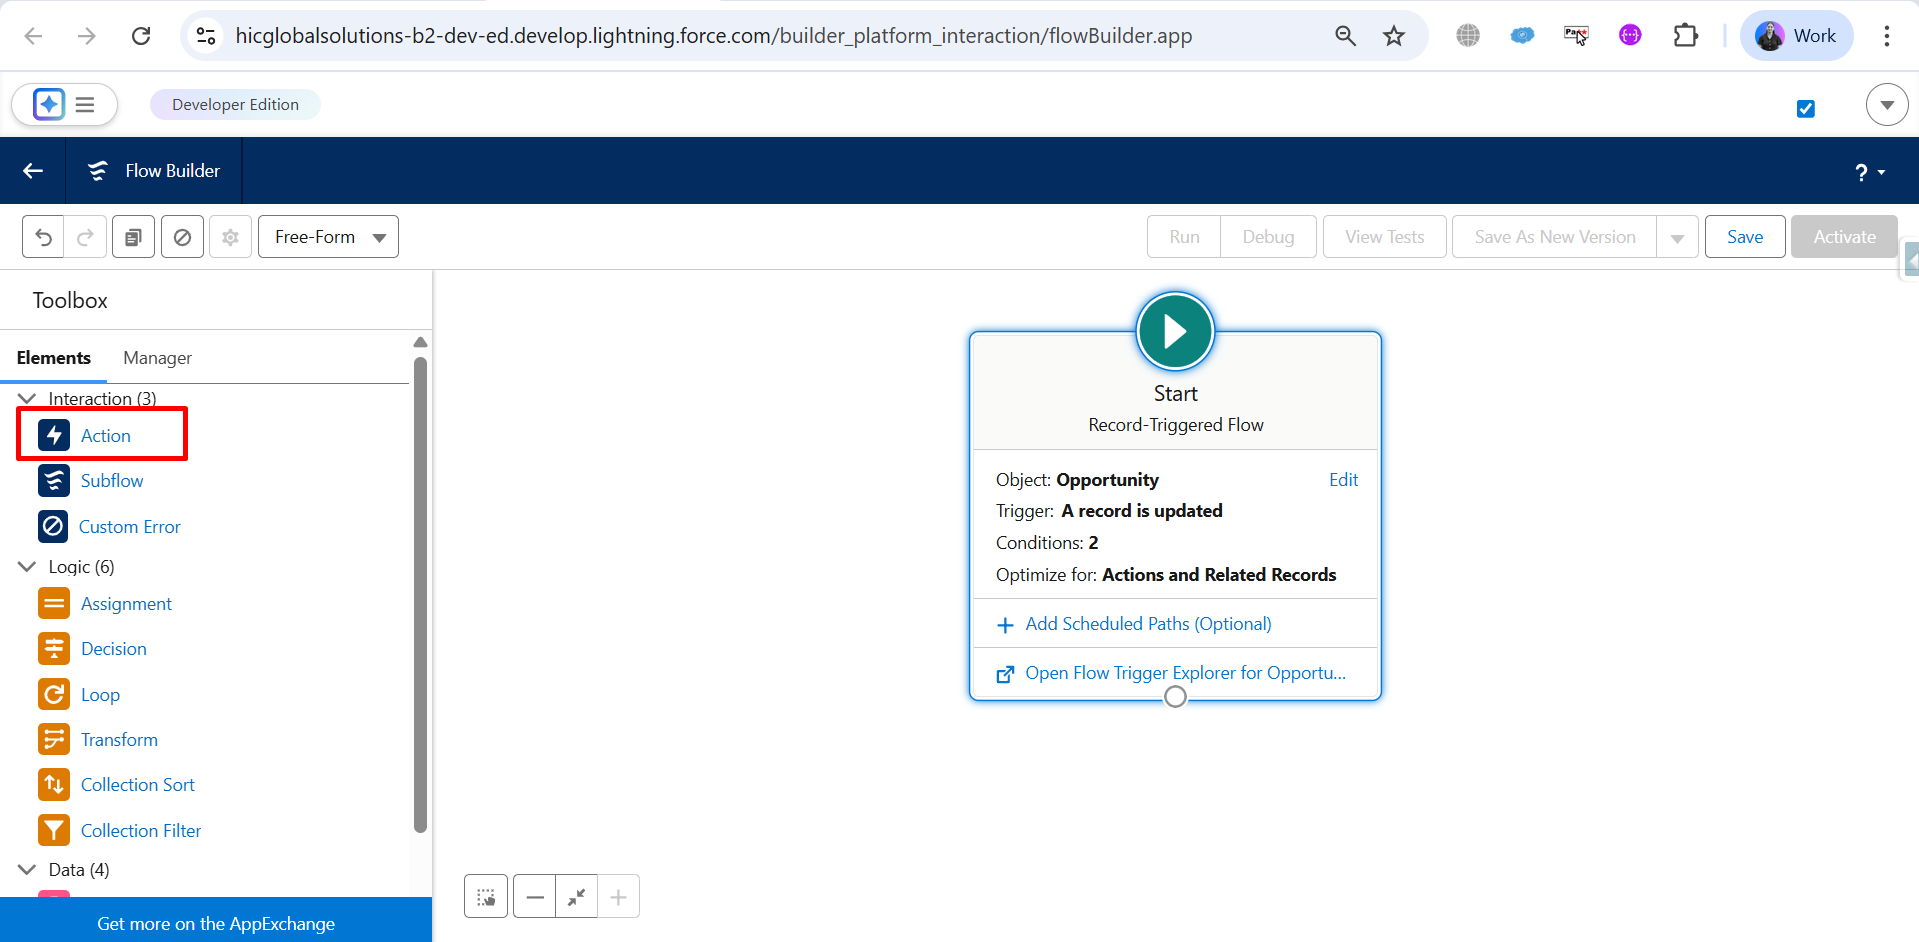
Step 15: Now, Optimize the Flow by selecting Actions and Related Records, then click on Done.
Step 16: Next, drag and drop the Action element from the Toolbox.
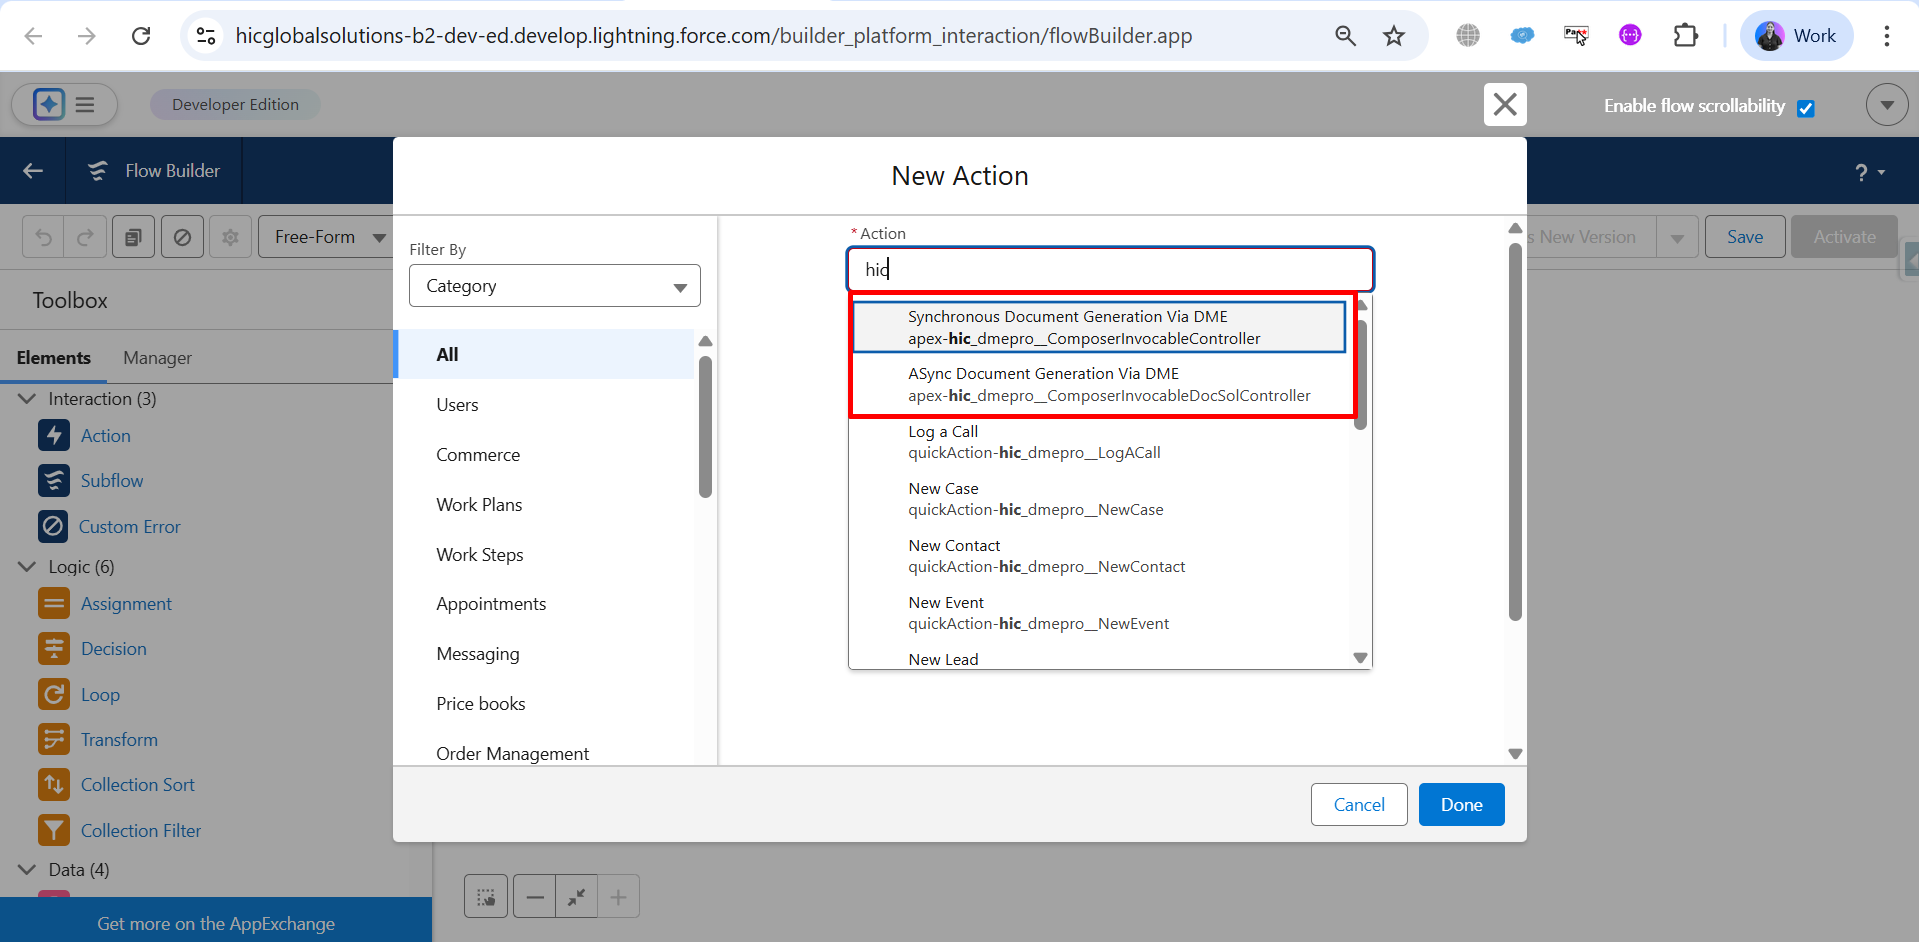
Step 17: Here, choose the required action and click on Done.
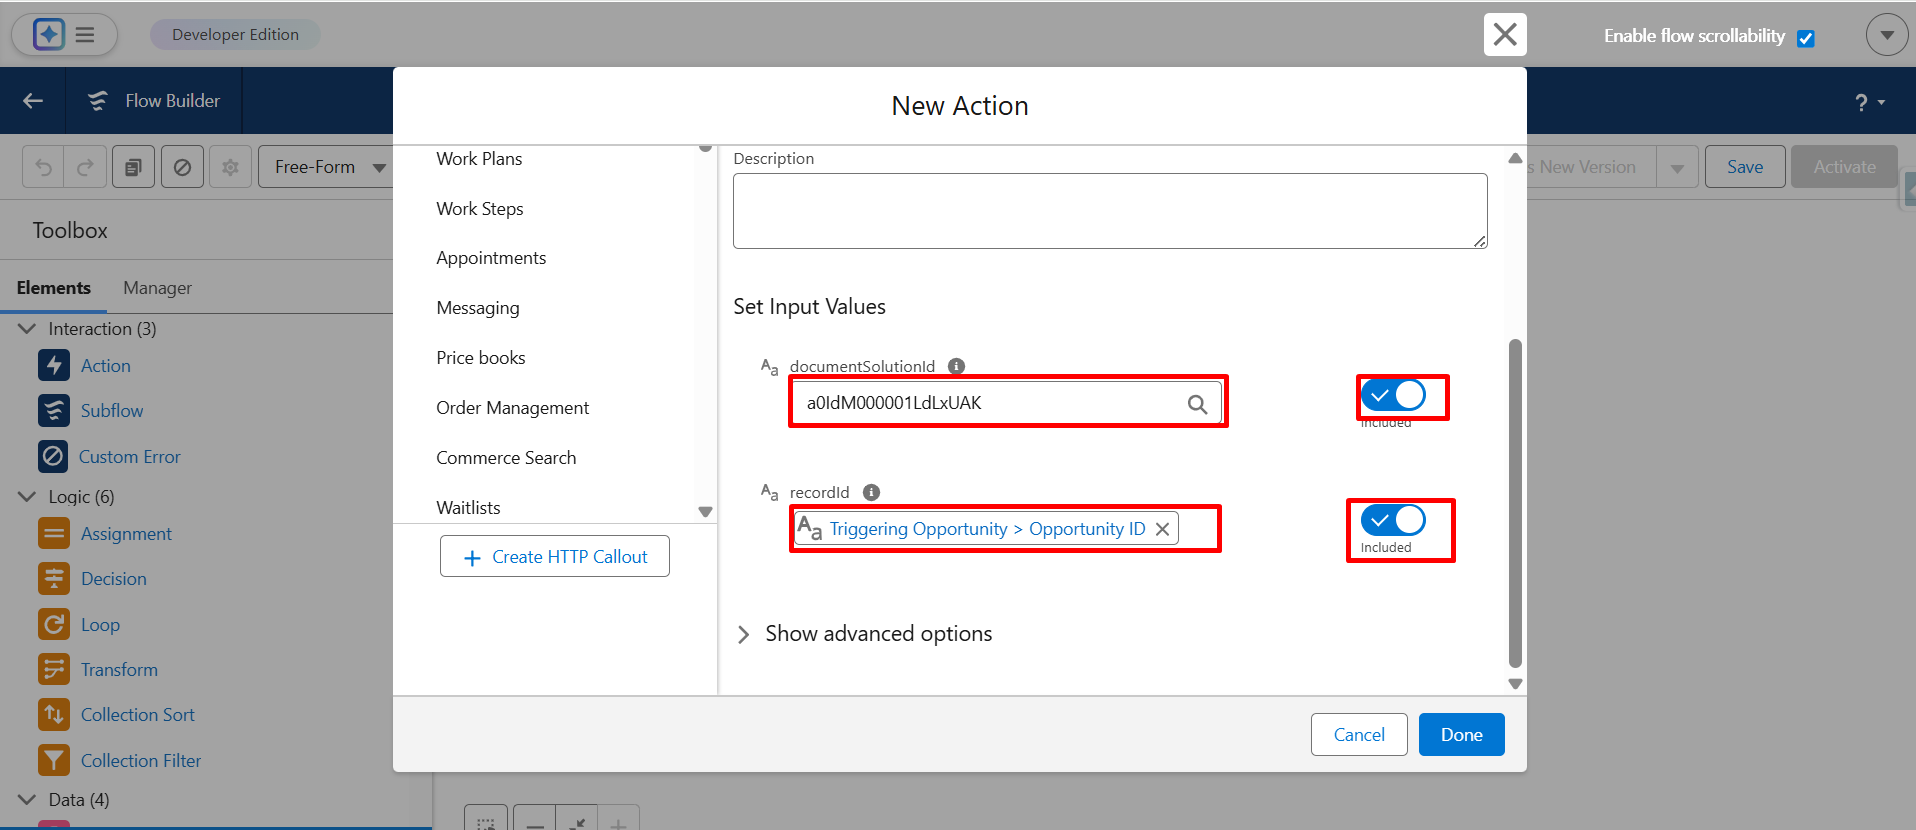
Step 18: After that, enable these options.
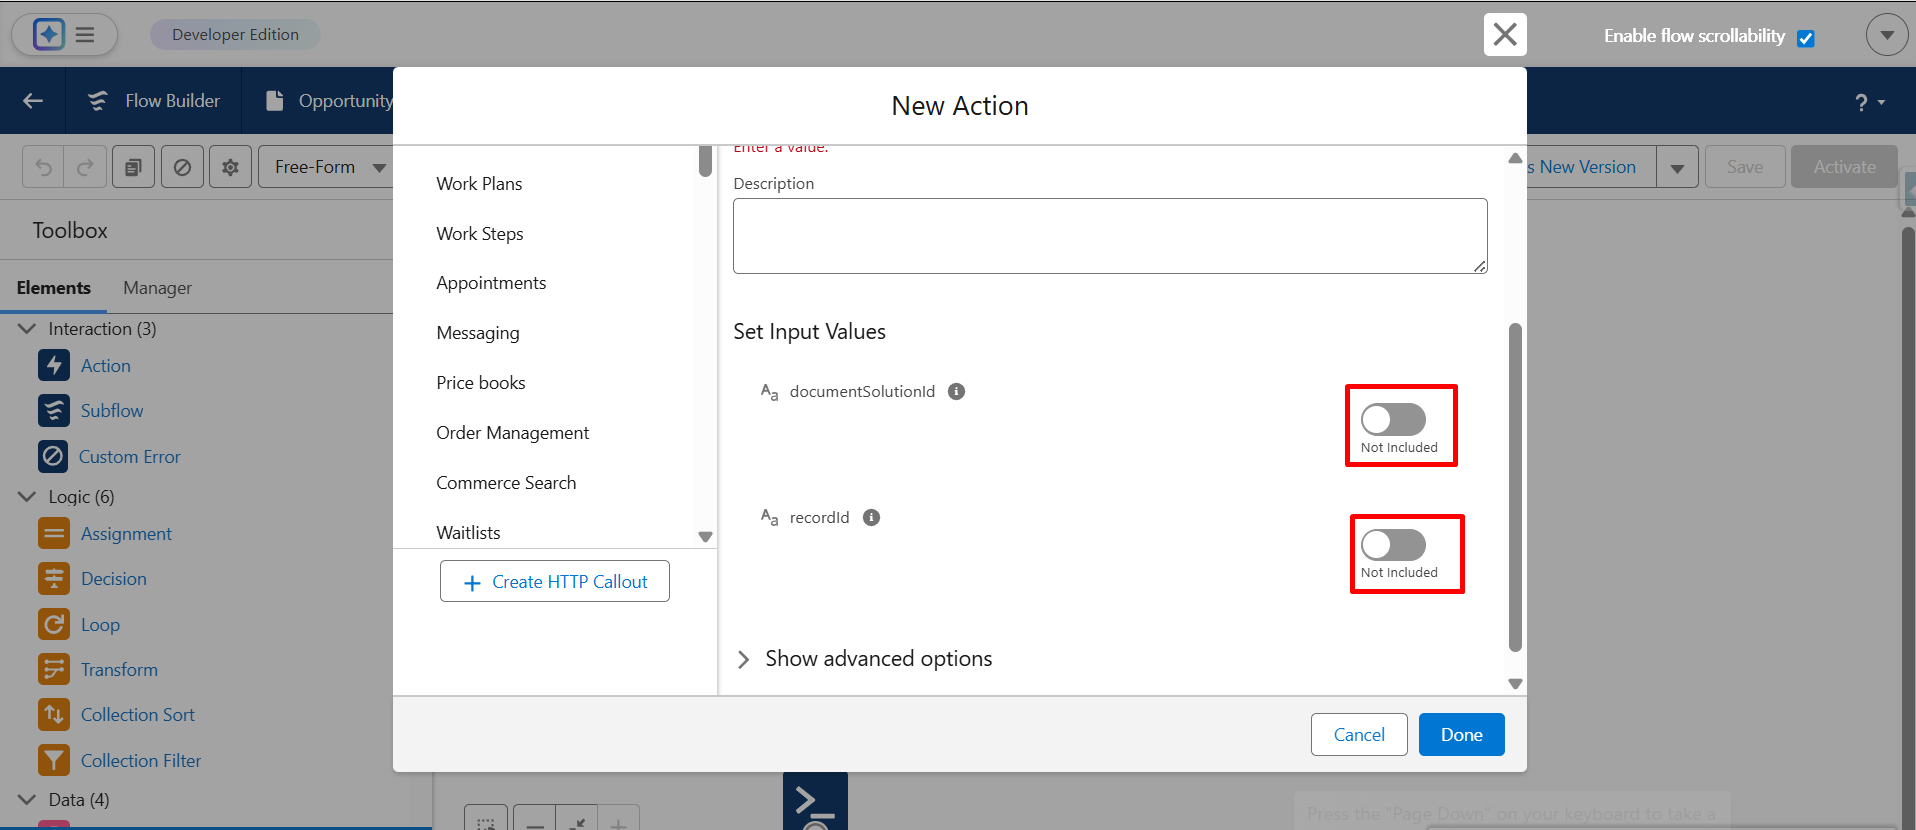
Step 19: Enter the Document Solution ID and the Record ID so the system knows which record to generate the document for.
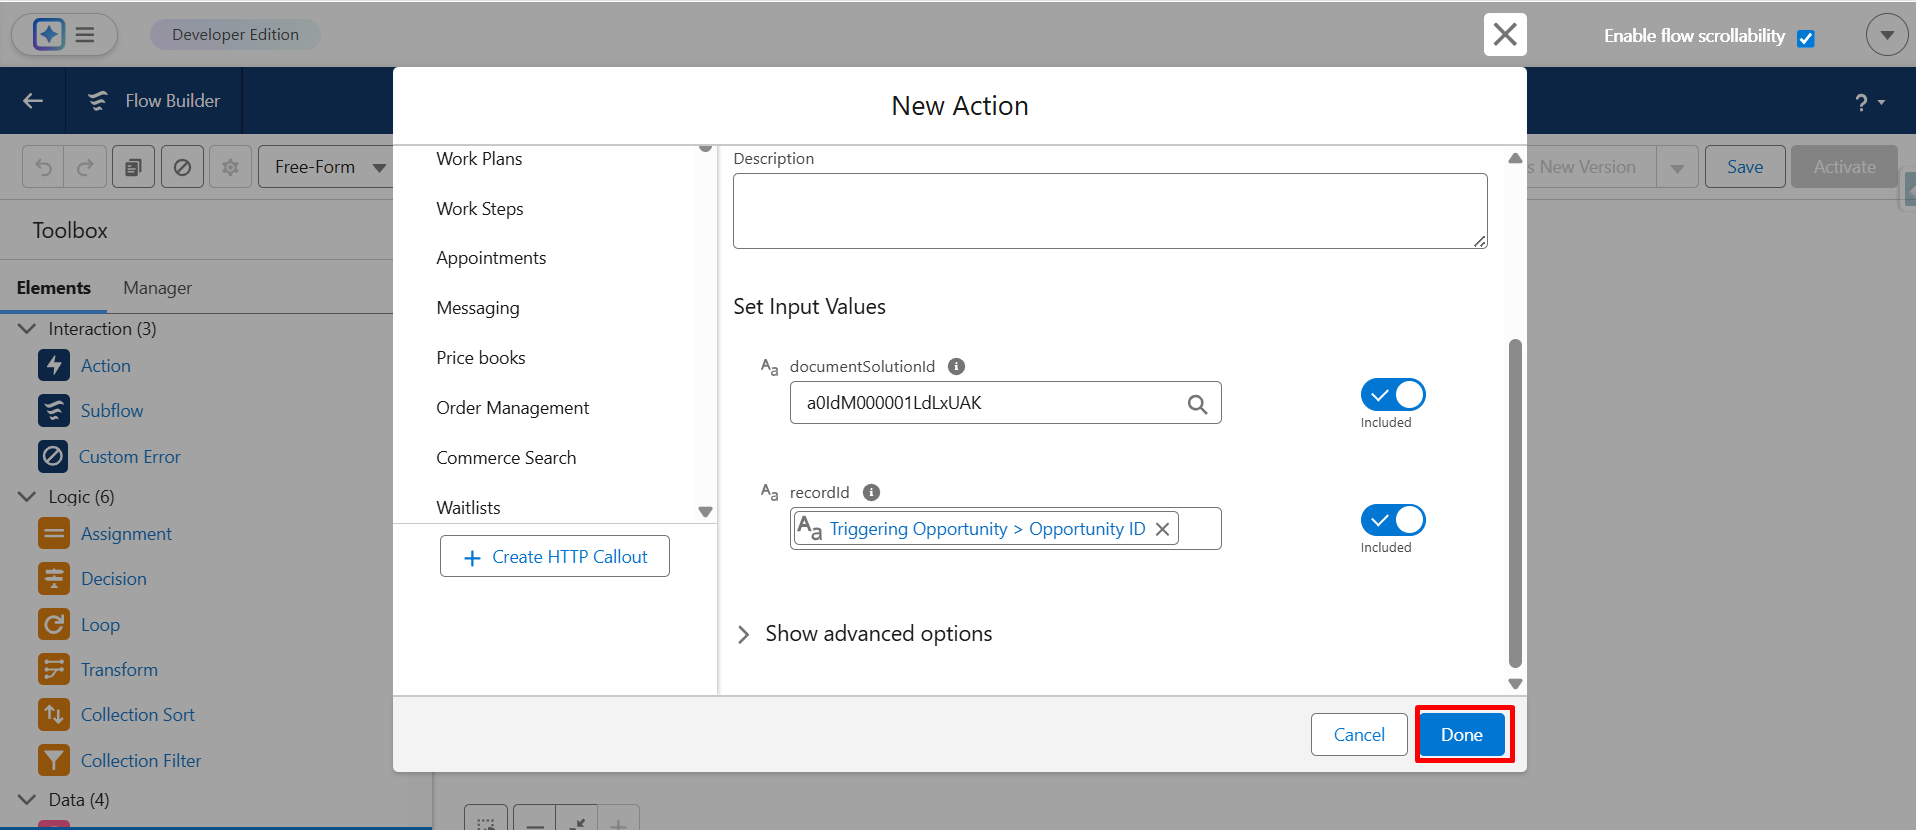
Step 20: Click on Done to save the action configuration.
Step 21: Connect the flow and Apex Action properly, and then click on Save.

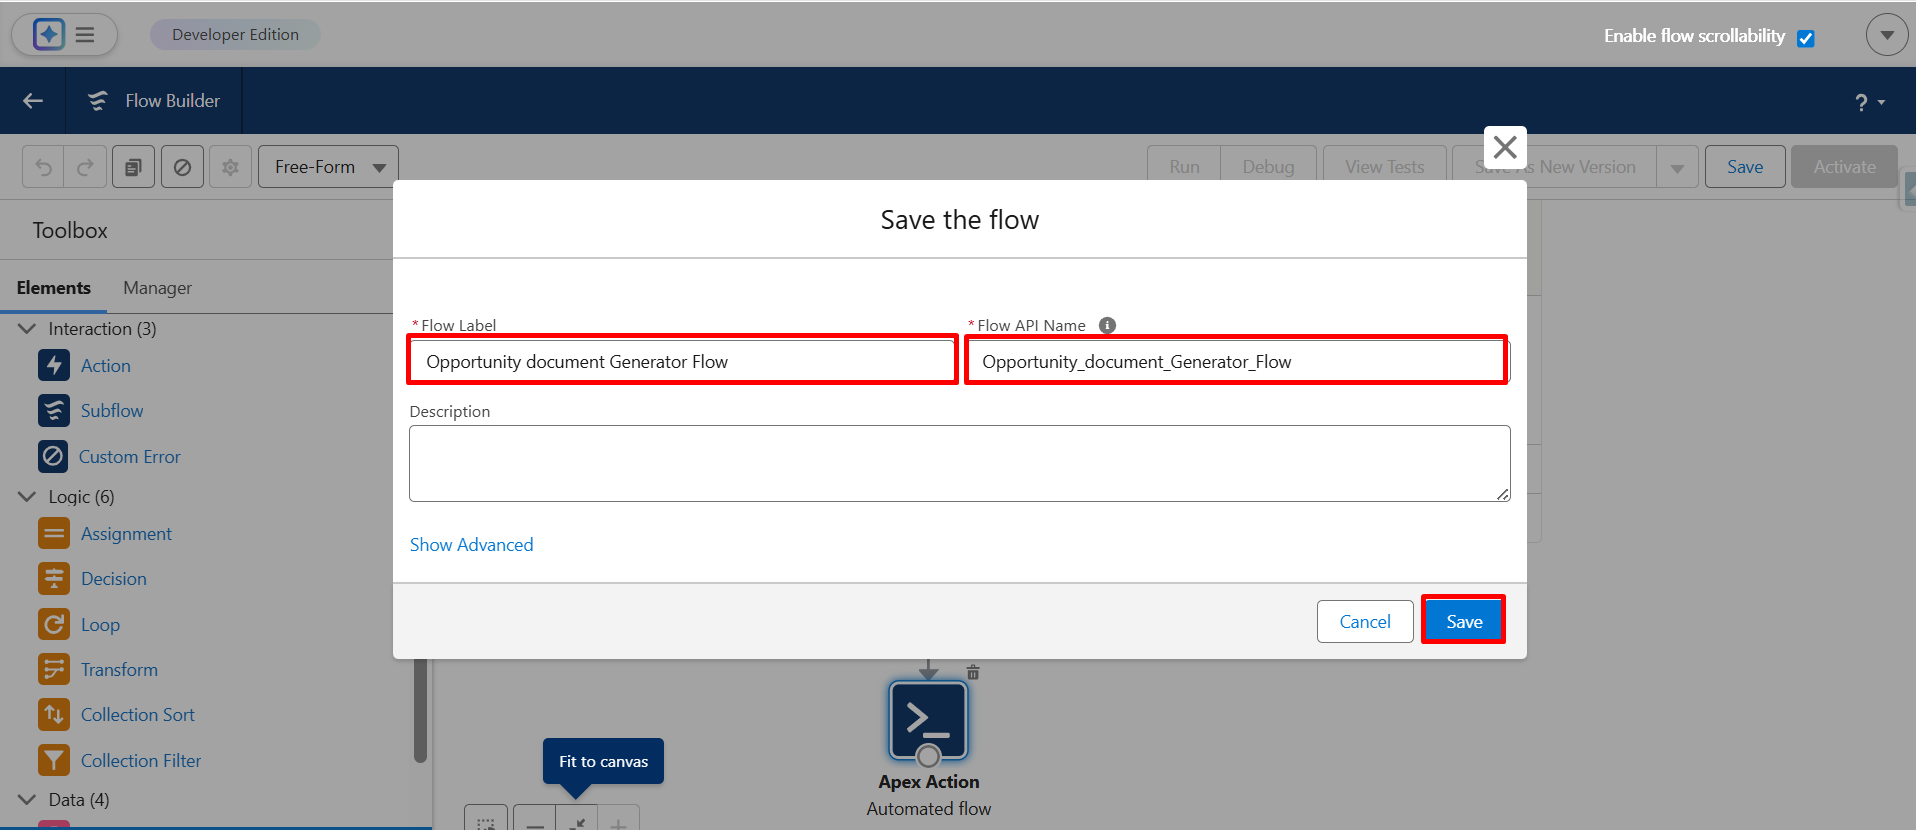
Step 22: Enter the Flow Label name and click on Save again.
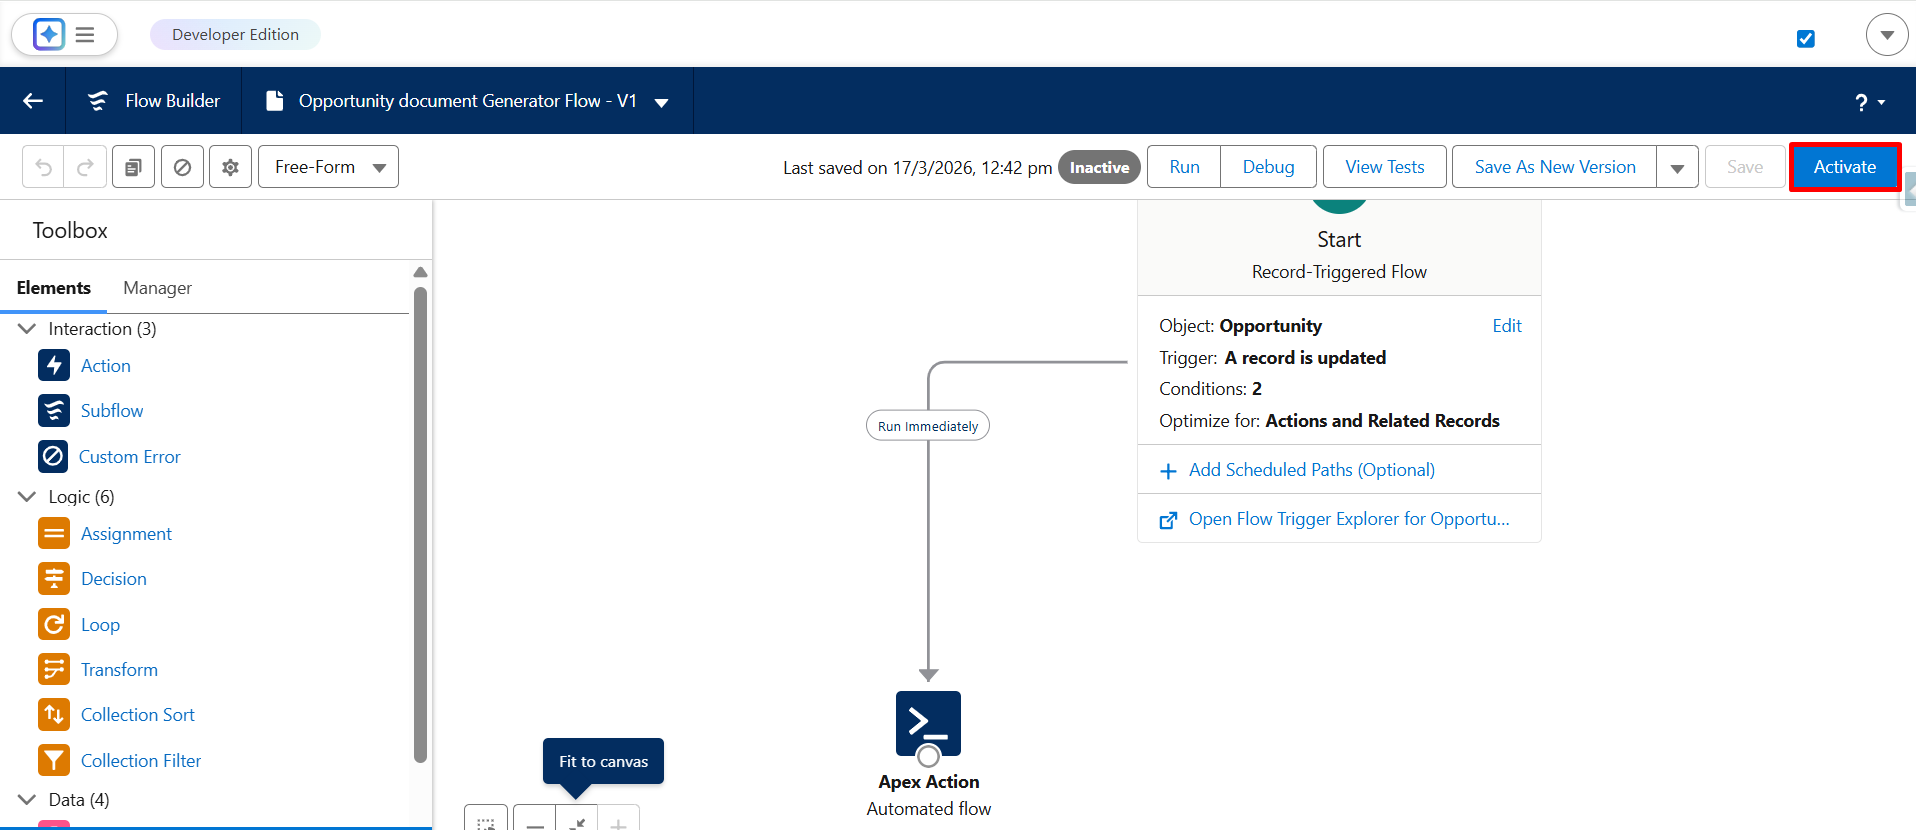
Step 23: Click on Activate to make the flow live.
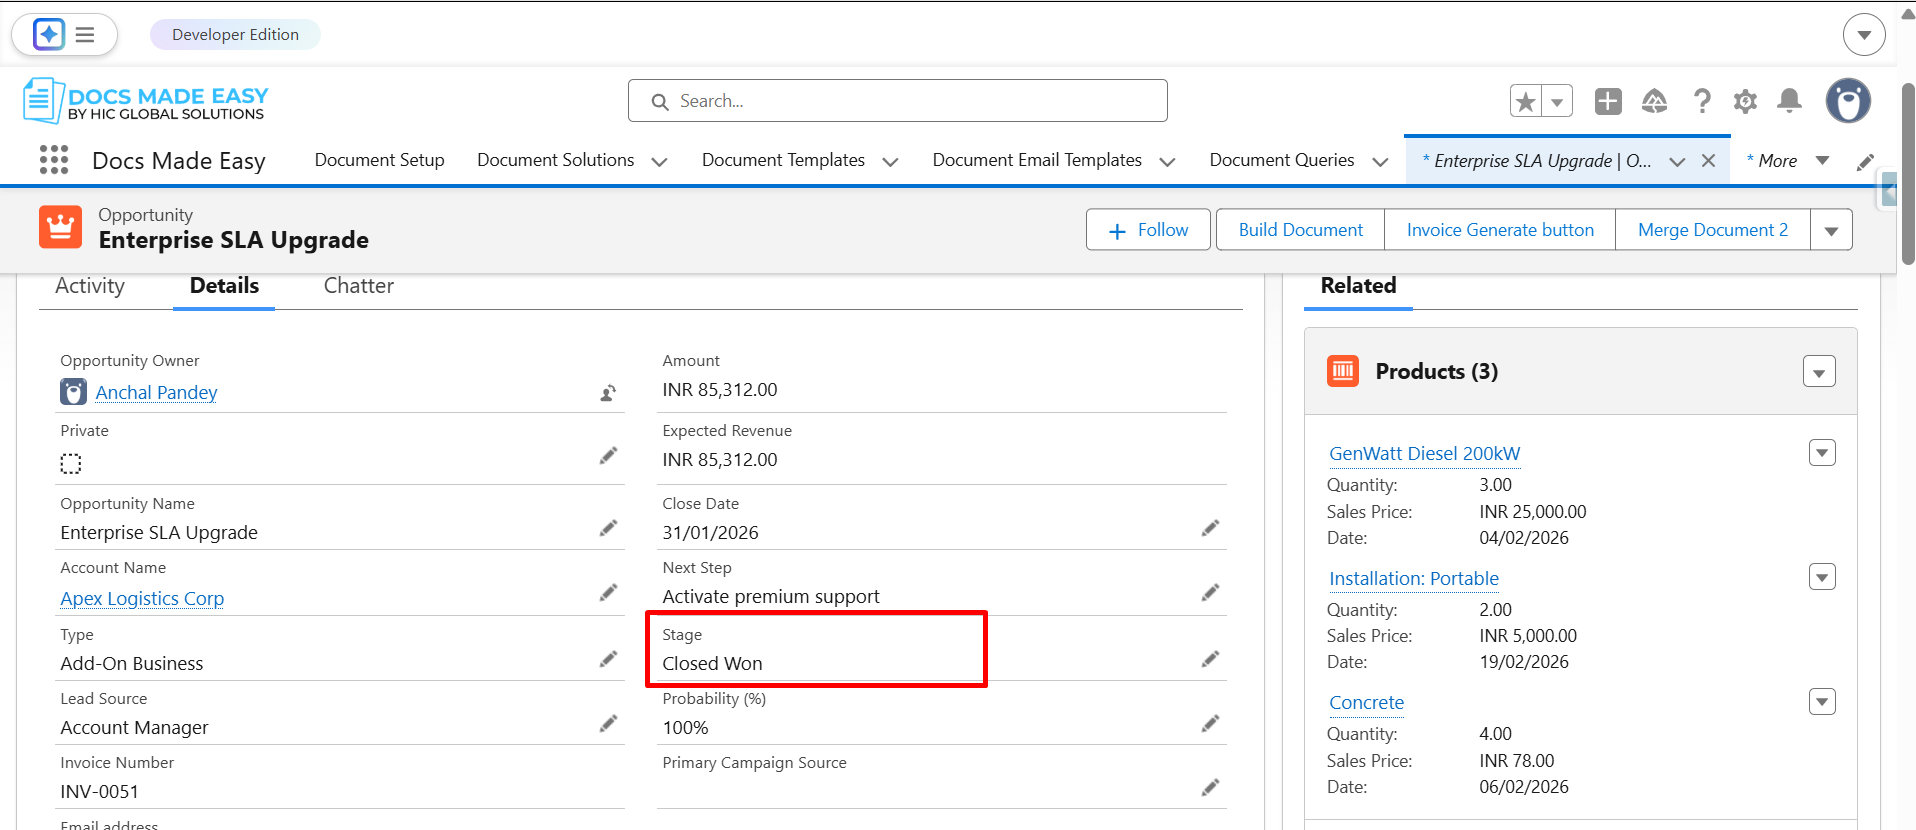
Step 24: Now, go to the Opportunity record, update the Stage to Closed Won, and click on Save.
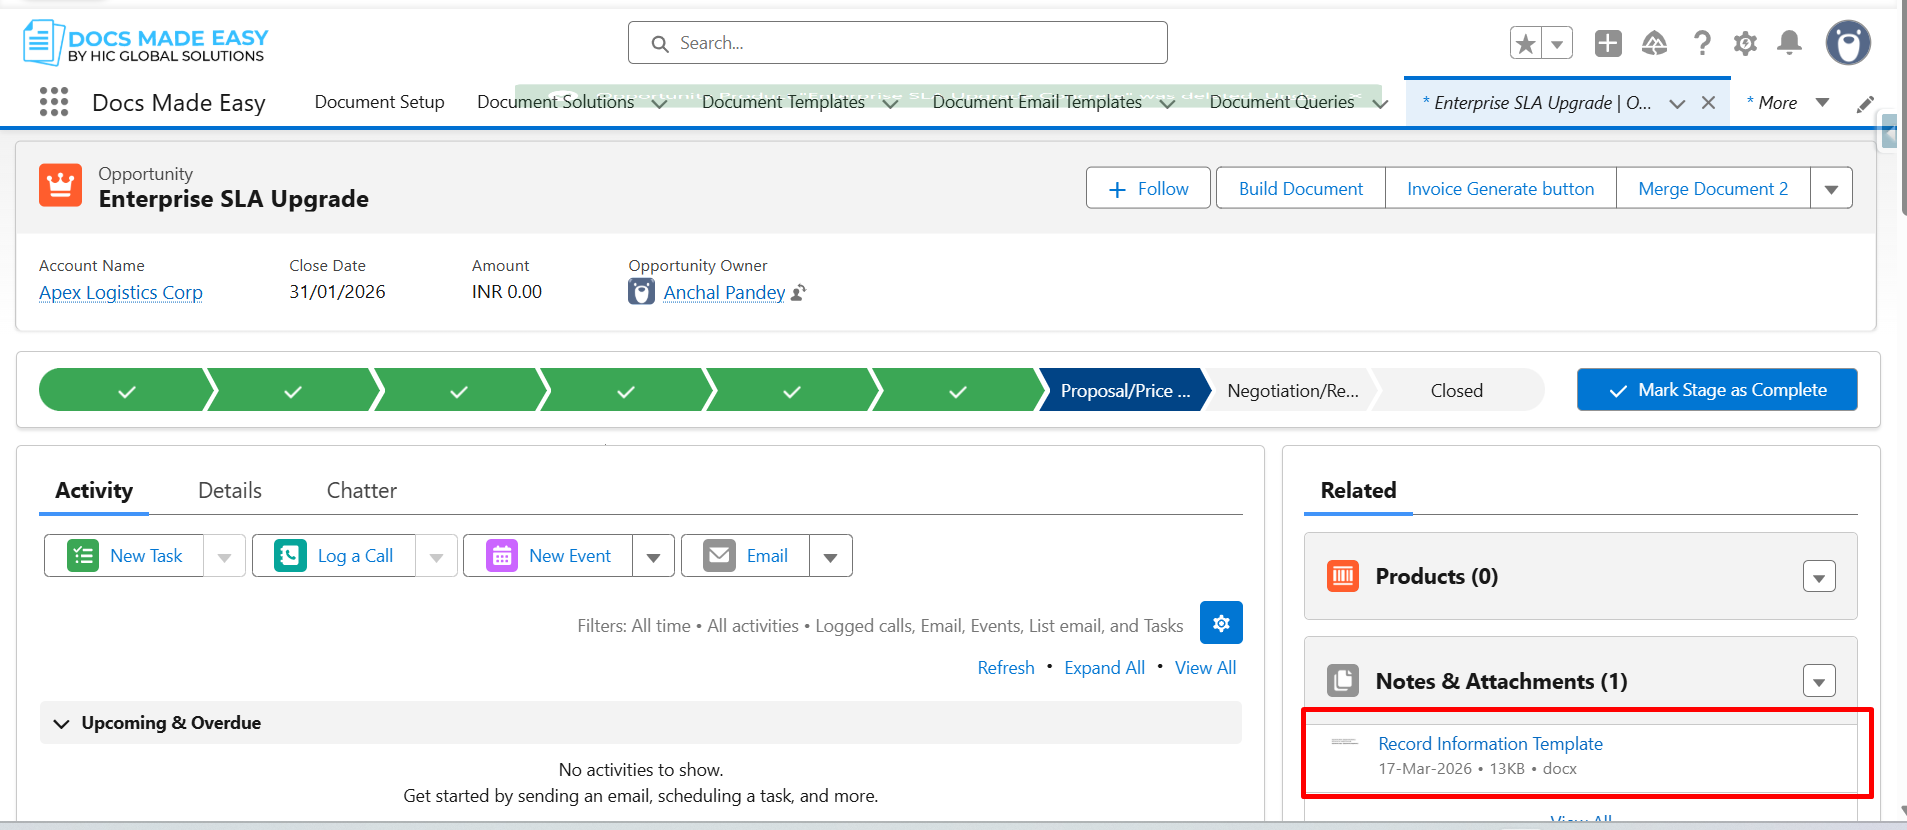
Step 25: Once the record is saved, the generated document will automatically appear in the Related (Notes & Attachments) section.
Thank You
Was this article helpful?
That’s Great!
Thank you for your feedback
Sorry! We couldn't be helpful
Thank you for your feedback
Feedback sent
We appreciate your effort and will try to fix the article